
16 Magazine Rack Upcycle Ideas You’ll Love
Introduction
You can discover many creative ways to upcycle old magazine rack designs into functional pieces for every room in your home. These projects offer a simple path to reimagining furniture that often features convenient handles for easy movement between rooms.
This guide covers essential preparation techniques, including how to clean wood surfaces and fill minor imperfections. You will find inspiration for various repurposed magazine rack ideas, ranging from kitchen storage solutions to footwear organizers. We also detail specific finishing methods, such as applying milk paint for a distressed look, to help you complete your next DIY magazine rack makeover. Whether you are looking for vintage magazine rack storage hacks or modern upcycled home organization projects, these steps will help you achieve a polished result while giving new life to a tired accessory.
Breathing New Life into Forgotten Magazine Racks
Transforming a neglected magazine rack offers a rewarding opportunity to reclaim vintage furniture while creating a functional piece for your home. These items serve as a perfect canvas for beginners because they are small, manageable, and often require minimal supplies to achieve a striking change.
The structure of these pieces is generally straightforward, which makes them ideal for practicing different refinishing techniques. Many designs feature integrated handles that facilitate movement between rooms, adding an extra layer of utility to your final project. Whether you are experimenting with bold colors or a distressed look, these racks are forgiving enough for those new to furniture crafts.
Before you begin your DIY magazine rack makeover, start by cleaning the frame to ensure your new finish adheres properly. It is common practice among enthusiasts to use hot soapy water to remove accumulated grime and oil from wood surfaces. Once dry, you can address any minor damage with wood filler or give the piece a light sanding to prepare it for paint or stain.
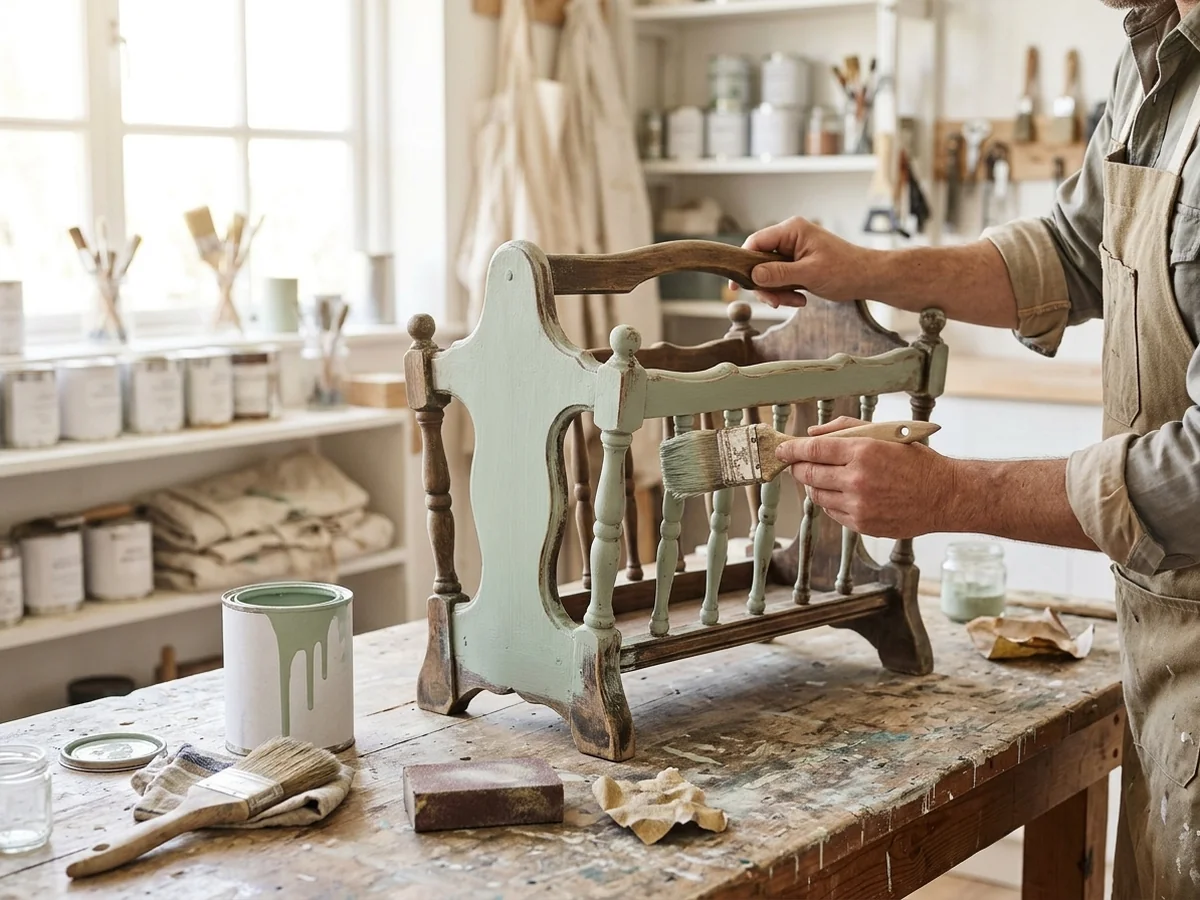
If you prefer a charming, aged aesthetic for your home, you might consider using milk paint. This medium is frequently chosen by hobbyists to achieve a naturally chipped, distressed finish that highlights the history of the wood. Applying this finish is a simple process that yields significant character, turning a standard thrift store find into a unique decor piece.
Because of their open design, these racks are highly versatile beyond their original purpose. You can explore many creative ways to upcycle old magazine rack items into:
- Kitchen organizers for holding bread boards or cookbooks.
- Entryway storage for footwear or umbrellas.
- Craft room stations for organizing fabric scraps or pattern booklets.
Evaluating Your Rack’s Potential
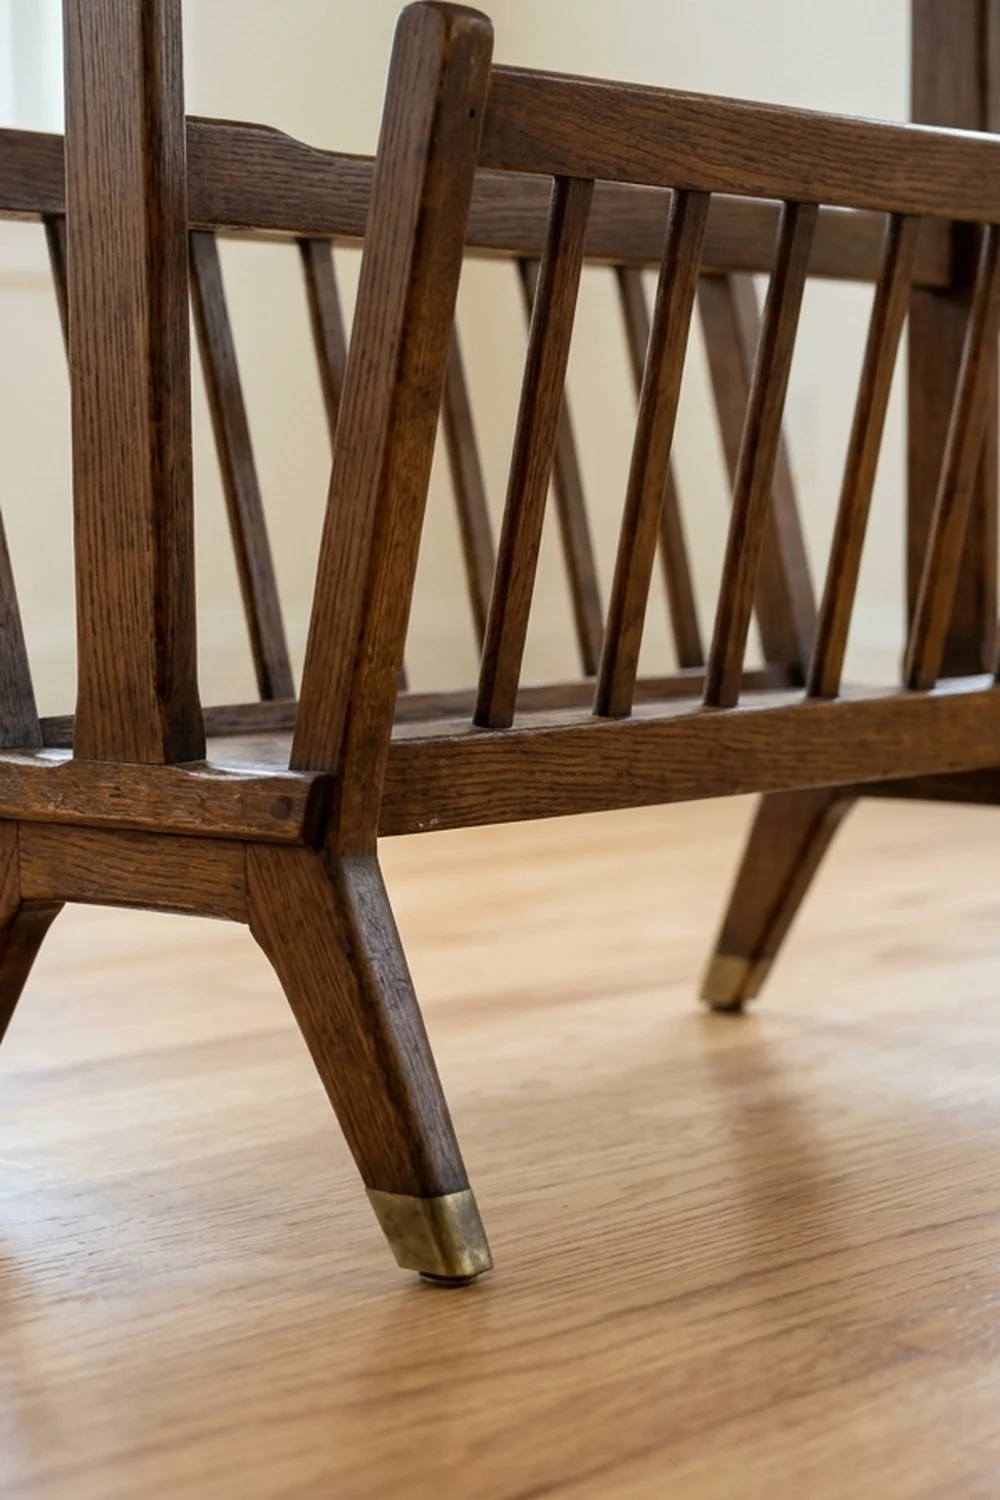
Before beginning your DIY magazine rack makeover, you must confirm the frame and base are sturdy enough to support a new design. Check that the unit sits level on a flat surface, as a wobbly base often indicates warped wood or uneven legs that could make the finished piece unstable.
Inspect every joint and connection point for signs of movement or separation. It is common for these pieces to loosen over time, especially if the unit was frequently moved using its handle. If you find wiggling joints, apply a small amount of wood glue and clamp the area firmly until it dries completely to ensure long-term stability.
Examine the existing finish to determine if you need to strip the surface before applying new paint or varnish. If the current coating is flaking or peeling, it likely requires sanding to create a smooth surface for your new project. If the finish is merely dull or scratched, a light scuff sanding is usually enough to help your new coat of paint adhere properly.
Carefully look for any missing hardware, such as screws or decorative caps, that may have been lost over the years. Replacing these minor components early in the process prevents frustration later. If you are dealing with a wooden piece, common guidance suggests that hot soapy water is typically sufficient for cleaning grime and oil from the surface before you begin any refinishing work.
Consider the overall condition of the wood material itself. If you notice soft spots or deep cracks, these areas may require wood filler to create a uniform look before you start your painting project. Taking the time to assess these details ensures your final piece is as durable as it is beautiful.
Prep Work for Magazine Racks
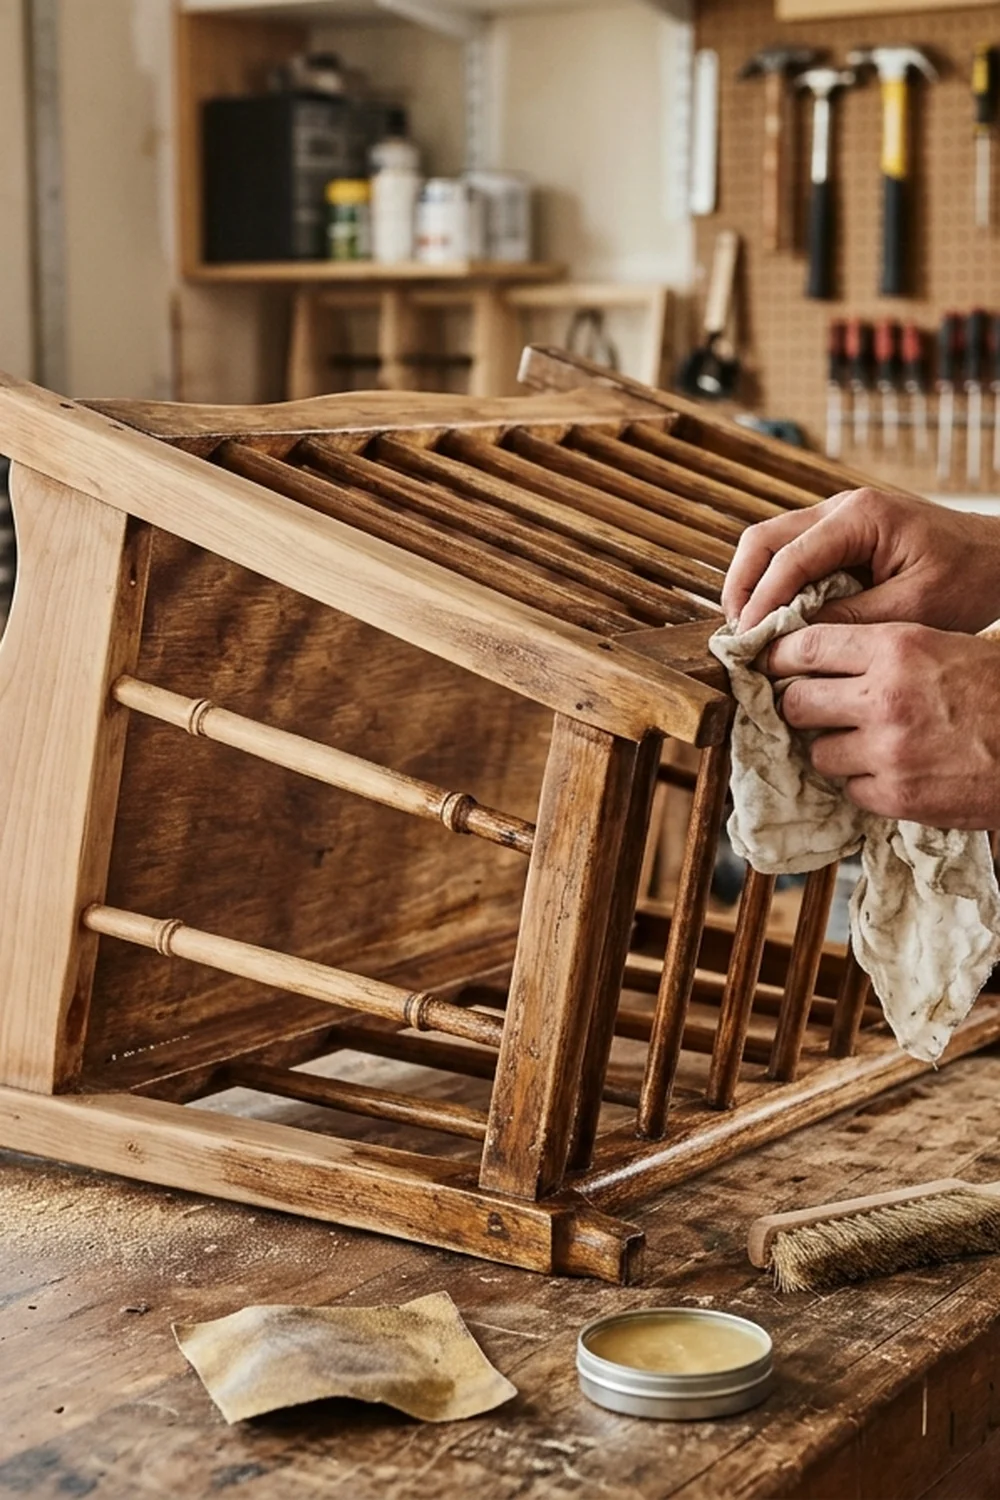
Proper surface preparation is the secret to a professional result when you start creative ways to upcycle old magazine rack designs. Before applying any fresh paint or stain, you must ensure the wood is clean, smooth, and structurally sound to provide the best possible foundation for your project.
You can follow these essential steps to get your piece ready for a transformation:
- Start by using hot soapy water to remove accumulated grime, dust, and oil from the wood, which is typically sufficient to clean the surface thoroughly.
- Once the rack is completely dry, use sandpaper to smooth out any rough edges or to scuff up old finishes so the new paint adheres more effectively.
- Inspect the wood closely for any cracks or deep gouges that might distract from your new design.
- Apply wood filler to address these imperfections, then allow it to dry completely before sanding the area flush with the surrounding surface.
- Wipe away all dust with a tack cloth or a slightly damp rag to ensure a clean base for your chosen finish.
- If your piece features handles to facilitate movement between rooms, remove them or use painter’s tape to protect them while you work on the main structure.
Taking the time to clean and repair your furniture ensures that your finished project looks intentional rather than rushed. Whether you plan to use milk paint to achieve a naturally chipped, distressed finish or prefer a modern, solid coat, starting with a pristine surface prevents common issues like peeling or uneven coverage. Always work in a well-ventilated area when sanding old finishes to keep your workspace safe and comfortable. Once the surface is prepped, you are ready to start the creative process of turning an old piece into a functional part of your home organization.
Painting and Distressing Techniques
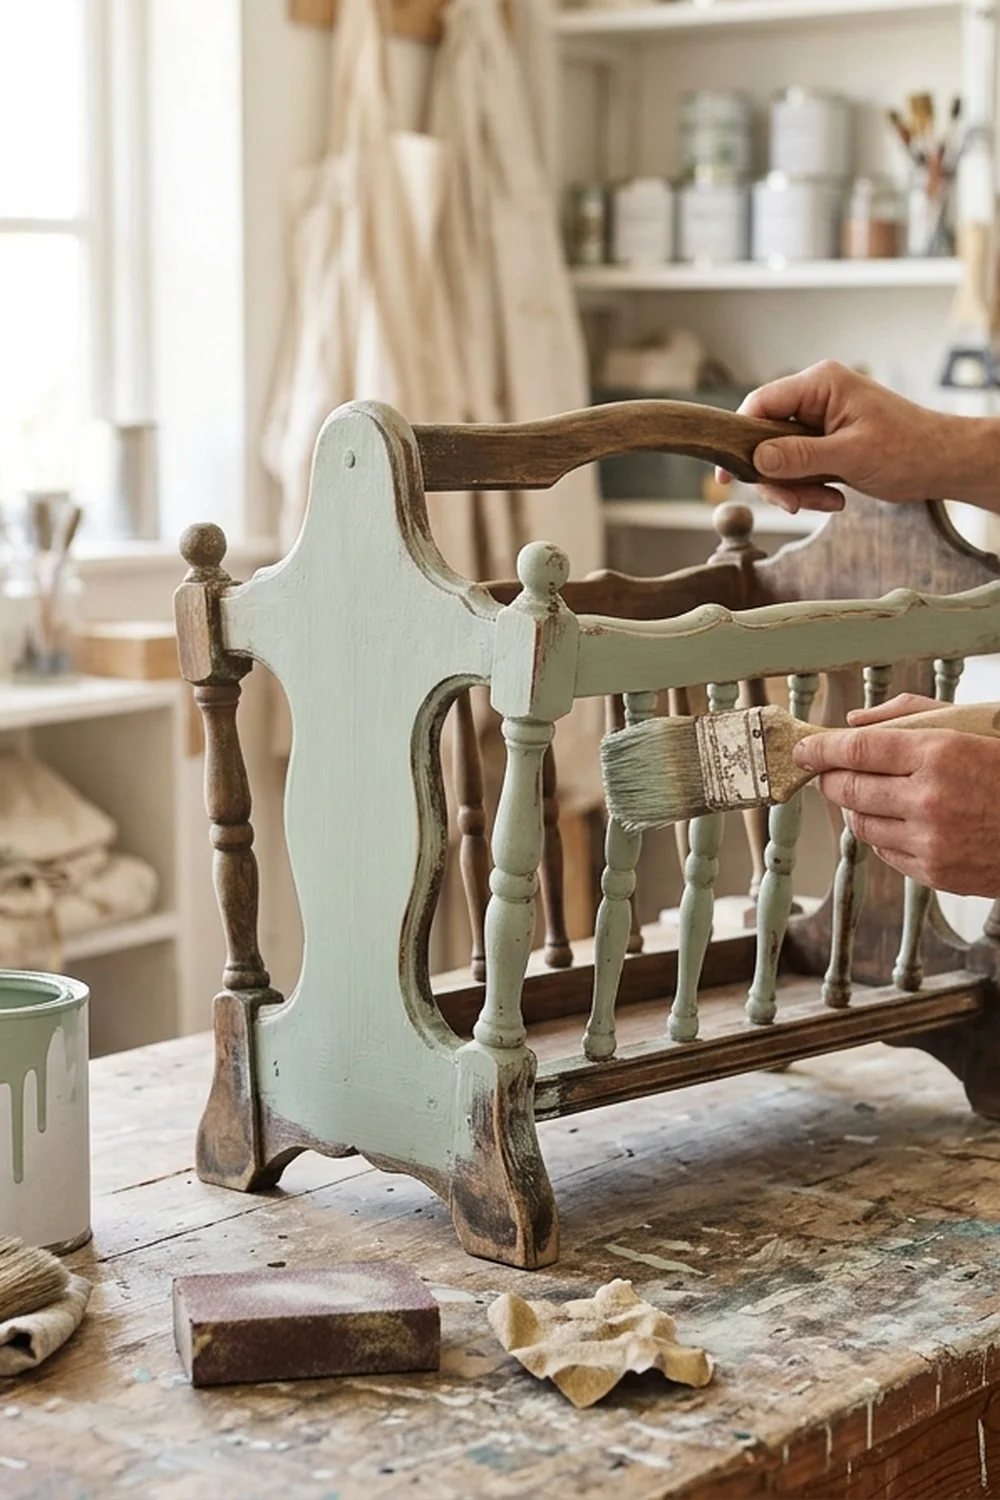
When you prepare to update a wooden magazine rack, the finish you choose sets the tone for your entire space. Achieving a professional result requires careful preparation, especially since vintage pieces often have years of accumulated wax or dust. As a general starting point, cleaning your piece with hot soapy water is typically sufficient for removing common grime and oil. Because many magazine racks feature handles to facilitate movement between rooms, be sure to clean around these small nooks and crannies to prevent debris buildup that could interfere with paint adhesion.
Achieving a Vintage Look with Milk Paint
Milk paint is an excellent choice for those wanting a naturally chipped, distressed look. This medium is unique because it often resists certain areas of the wood, resulting in a beautiful, authentic vintage appearance as it dries. You can encourage this effect by avoiding excessive sanding before application or by applying a wax resist to corners and edges. This method allows the finish to crack and peel in a way that suggests decades of history, making it one of the most effective creative ways to upcycle old magazine rack designs into standout decor pieces.
Creating Modern Lines
If you prefer a clean, modern aesthetic, painter’s tape is essential for achieving crisp, sharp lines. When learning how to paint a wooden magazine rack with a geometric design, apply the tape firmly along the edges of your sections to prevent bleeding. Use long, even strokes with your brush or spray paint, and remove the tape while the paint is still slightly damp. This technique creates professional boundaries between colors, elevating a simple household item into a custom piece of art.
Essential Tips for Lasting Results
Before applying your final color, lightly sand the wood to create a better surface for your paint to grip. If you notice deep scratches or gouges, use a wood filler to smooth the surface first. Once your paint has fully cured, always finish with a clear coat sealant. This protective layer is vital for upcycled home organization projects, as it prevents chips and moisture damage, ensuring your work stays functional for years to come.
Creative Storage Solutions
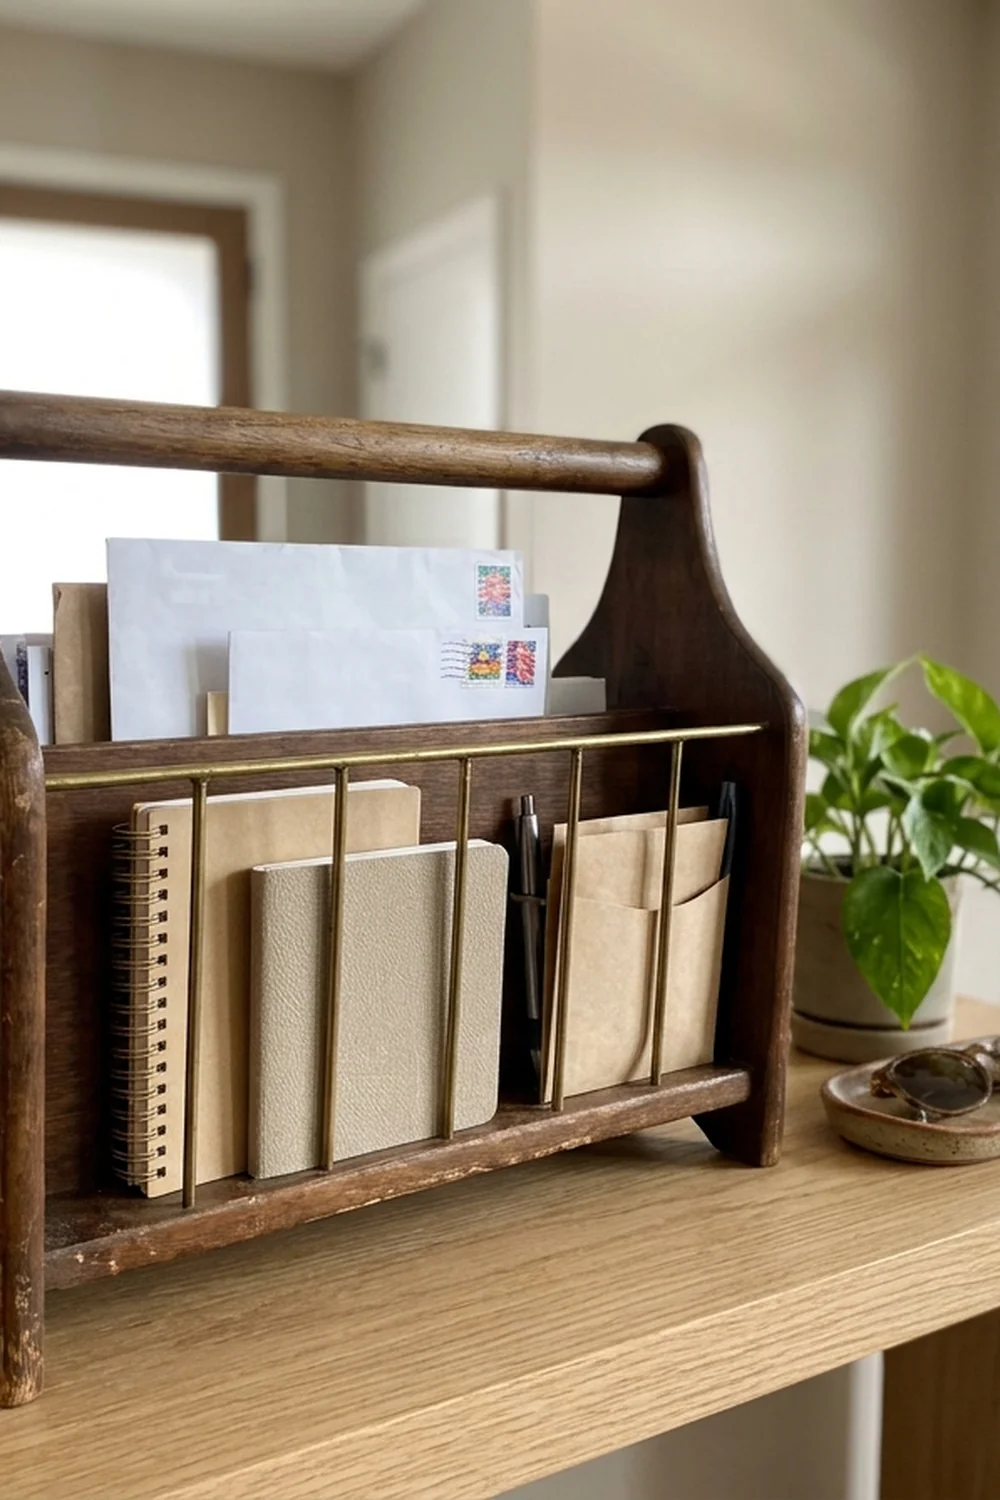
You can transform a simple magazine rack into a versatile storage piece by rethinking how its structure serves your daily needs. These repurposed magazine rack ideas turn overlooked household items into functional organizers that simplify your workspace, kitchen, or entryway. Because these units often feature handles, they are inherently portable, making them ideal for dynamic spaces where your storage requirements shift frequently.
Functional Organization Ideas
Beyond traditional paper storage, consider these practical applications:
- Kitchen utility: Store wooden cutting boards, serving trays, or baking sheets upright to save valuable drawer space and keep them within reach.
- Entryway management: Use a rack as a compact footwear organizer to keep sandals or flats off the floor.
- Workspace efficiency: Take advantage of the built-in handle to move your rack between home office desks or craft stations as you transition through project stages.
- Art studio storage: Use the dividers to hold large sheets of construction paper, cardstock, or unfinished art projects.
- Countertop displays: Keep cookbooks standing upright to create an accessible, decorative reference point while you cook.
Preparing Your Vintage Piece
Before beginning the process of refreshing your vintage find, it is vital to address the condition of the wood. Common guidance suggests using hot soapy water to effectively clean away old grime and oils that build up on vintage furniture. If the item has existing paint that is cracked or peeling, use sandpaper to smooth the surface, but always be aware of potential hazards if you are working with antique finishes that could contain lead. If the structure feels loose, apply a small amount of wood filler or tighten the joints before you begin painting.
Achieving a Distressed Finish
If you want to lean into the vintage charm of your find, milk paint is a popular choice. It is often used to achieve a naturally chipped and distressed aesthetic. Simply apply the paint and allow it to dry, observing how it interacts with the wood grain to create a rustic, weathered look. You can finish your upcycled home organization projects with a clear coat sealant to ensure the paint remains durable for years to come.
Common Upcycling Project Pitfalls
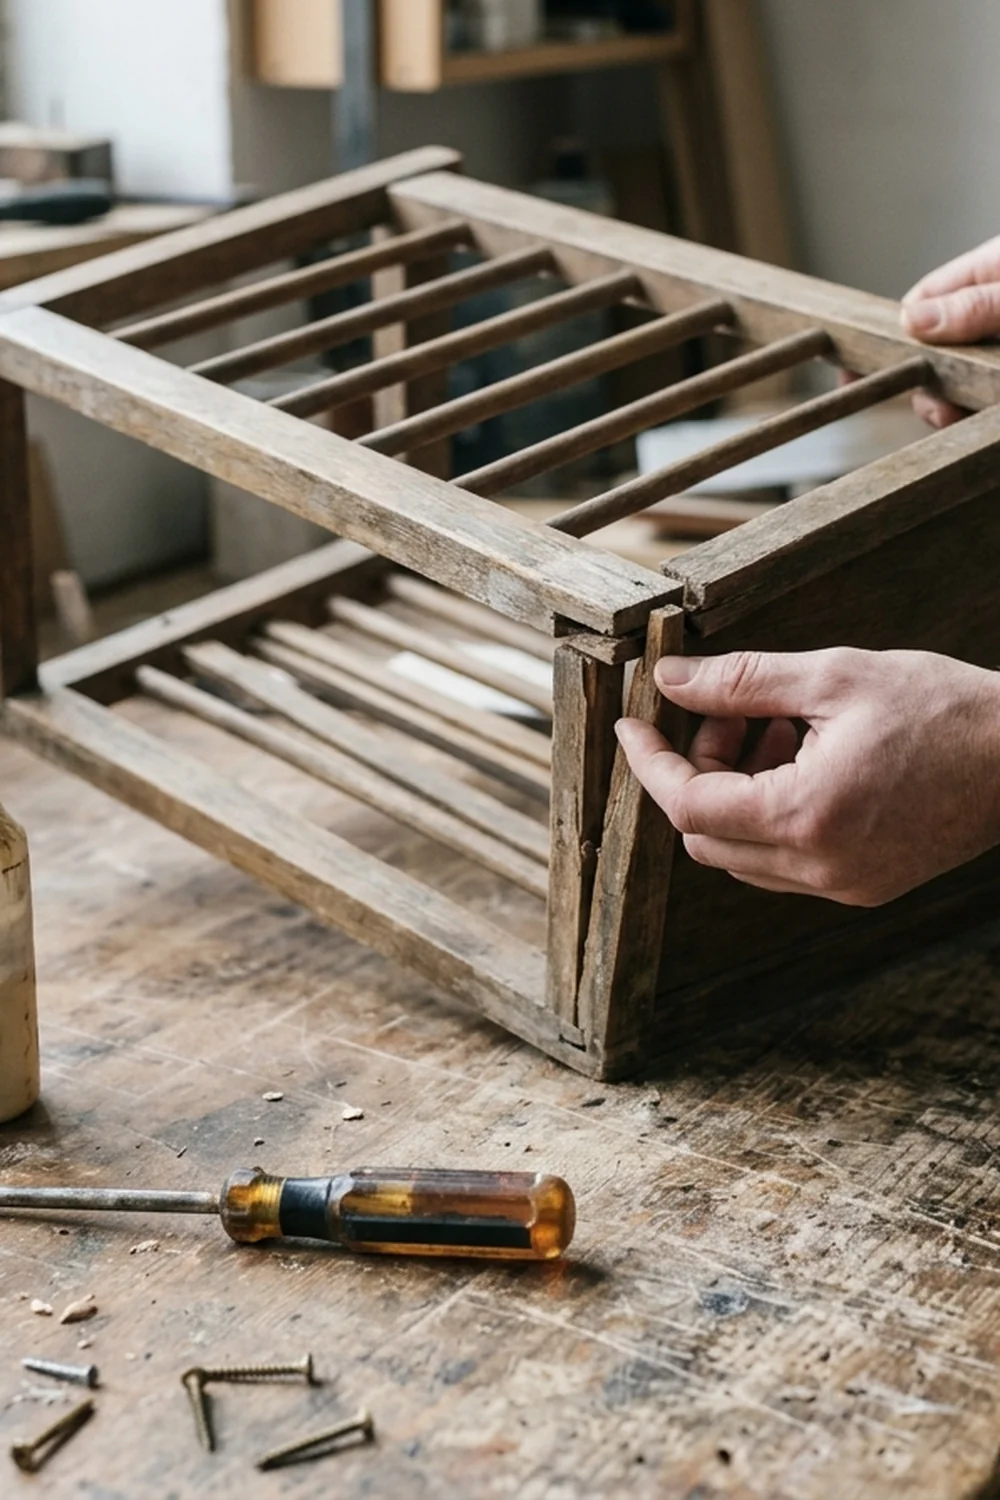
You can avoid frustrating setbacks during your project by being mindful of safety and structural integrity. Common mistakes often stem from rushing the preparation phase or ignoring the weight capacity of your repurposed item.
Always prioritize safety when sanding down a vintage magazine rack by avoiding dry sanding if you suspect the presence of lead-based paints. Many older furniture pieces were finished with lead-containing products, and sanding them can release hazardous dust into your workspace. If you are unsure about the finish, use a chemical stripper or a wet sanding technique to keep particles contained and out of the air you breathe.
Do not overlook the necessity of a clear coat sealant on surfaces that will see frequent use. While a fresh layer of paint or milk paint provides a beautiful aesthetic, it remains vulnerable to scratches and moisture without a protective top layer. Applying a high-quality sealant ensures that your hard work stays protected from everyday wear, especially if you plan to use the piece to store items like books or craft supplies.
Neglecting to check weight distribution is a frequent error when transforming a magazine rack into a kitchen organizer for heavy items like bread boards. These racks often feature handles to facilitate movement between rooms, but they are typically designed for light paper goods. Before you load yours with heavy kitchen tools, verify that the base and joints can support the load. Reinforcing the bottom structure with additional wood or brackets can prevent the piece from buckling under pressure, ensuring your upcycled storage remains both functional and safe for long-term use.
Fixing Loose Rack Joints
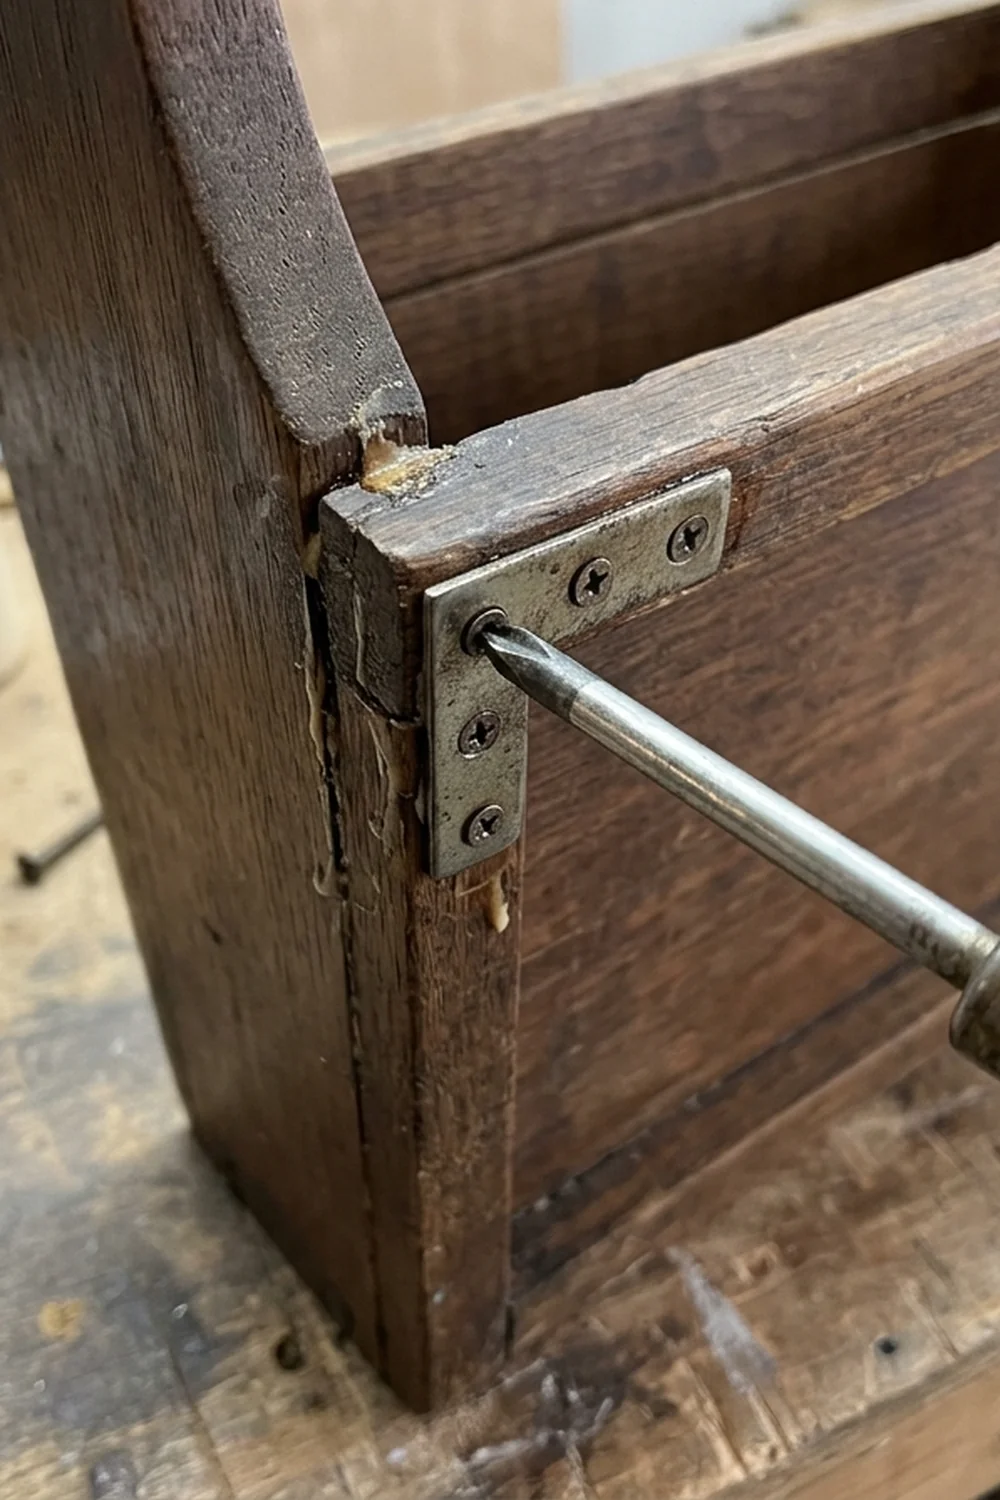
You can restore stability to a wobbly frame by tightening all existing hardware and reinforcing key connection points. Since vintage pieces often loosen over time, a quick inspection before starting your project ensures the frame remains sturdy for your creative storage transformations. If the frame feels shaky despite tightening the screws, adding corner brackets is a simple way to increase structural integrity.
These small metal supports provide extra bracing at the joints, which is especially important if you plan to use the piece for heavier storage needs like storing kitchen bread boards or footwear.
Addressing Structural Weakness
Many older designs feature a thin bottom panel that may not support significant weight on its own. Reinforcing the base is an essential step when repurposing the rack for heavier household items. You can add a piece of plywood or a thicker MDF board to the interior floor of the rack to distribute weight more evenly.
For joints that have lost their grip due to stripped screw holes, wood filler is your best friend. Clean the area thoroughly, fill the gap, let it cure, and then re-drill a pilot hole to ensure the screw bites into fresh material.
Common Mistakes to Avoid
One common mistake during the process of giving an old magazine rack a fresh look is over-tightening hardware, which can cause older, brittle wood to split. Use a manual screwdriver rather than a power drill to maintain better control. Additionally, check for stability before applying any finish. Applying clear coat sealant or spray paint to a wobbly structure is rarely worth the effort if the frame fails under pressure later.
If your rack features handles, which are often used to facilitate movement between rooms, ensure the connection points at these handles are particularly secure, as these areas experience the most stress during daily use. Taking the extra effort to stabilize your piece now allows you to use your newly finished furniture with total confidence.
FAQ
What could you use an old magazine rack for besides magazines?
You can repurpose these items for various creative home storage projects, such as storing kitchen bread boards, organizing footwear by the entryway, or holding craft supplies in your office. Since magazine racks often feature handles to facilitate movement between rooms, they serve as excellent portable storage solutions for books or even rolled-up blankets.
How do you prepare a vintage magazine rack for a new finish?
To prepare a wood surface, begin by cleaning away years of grime and oil using hot soapy water, which is often enough for most pieces. After the rack dries, lightly sand the wood to smooth out any rough spots or old varnish before applying your chosen primer or paint.
What are common design styles for vintage magazine racks?
Vintage magazine racks frequently appear in mid-century modern designs with clean wooden lines, ornate metal scrollwork, or rustic farmhouse styles. These pieces are often found at thrift stores and can be easily transformed through a creative furniture painting project using modern colors or distressed paint techniques.
How do you achieve a distressed look on a wooden rack?
Milk paint is often applied to wood furniture to achieve a naturally chipped, distressed finish that provides an authentic vintage aesthetic. By applying a base coat and allowing the paint to settle and crackle, you create a textured appearance that highlights the character of the original piece.
Are there safety concerns when upcycling old furniture?
Older pieces may contain lead-based paints or finishes that require caution during the sanding process. Always work in a well-ventilated area, wear protective gear like a mask, and consider testing the existing finish if you are unsure of its age or chemical composition.
Conclusion
Deciding which project to tackle next depends entirely on how you want to use the piece in your home. Whether you need a clever way to store footwear by the entryway or a vertical organizer for your kitchen bread boards, these repurposed vintage storage solutions offer endless possibilities. Once you have selected your favorite concept, start by inspecting the structural integrity of the frame. If the wood is solid, clean it with hot soapy water, which is typically sufficient to remove common grime, before applying your chosen finish. Grab your supplies and begin your transformation today to turn a simple thrifted find into a functional and stylish statement piece.
You might also like: 18 Stunning Diy Outdoor Furniture Ideas For Garden