
17 Hand Painted Furniture Ideas To Transform Home
Painted Distressed Wood Dressers
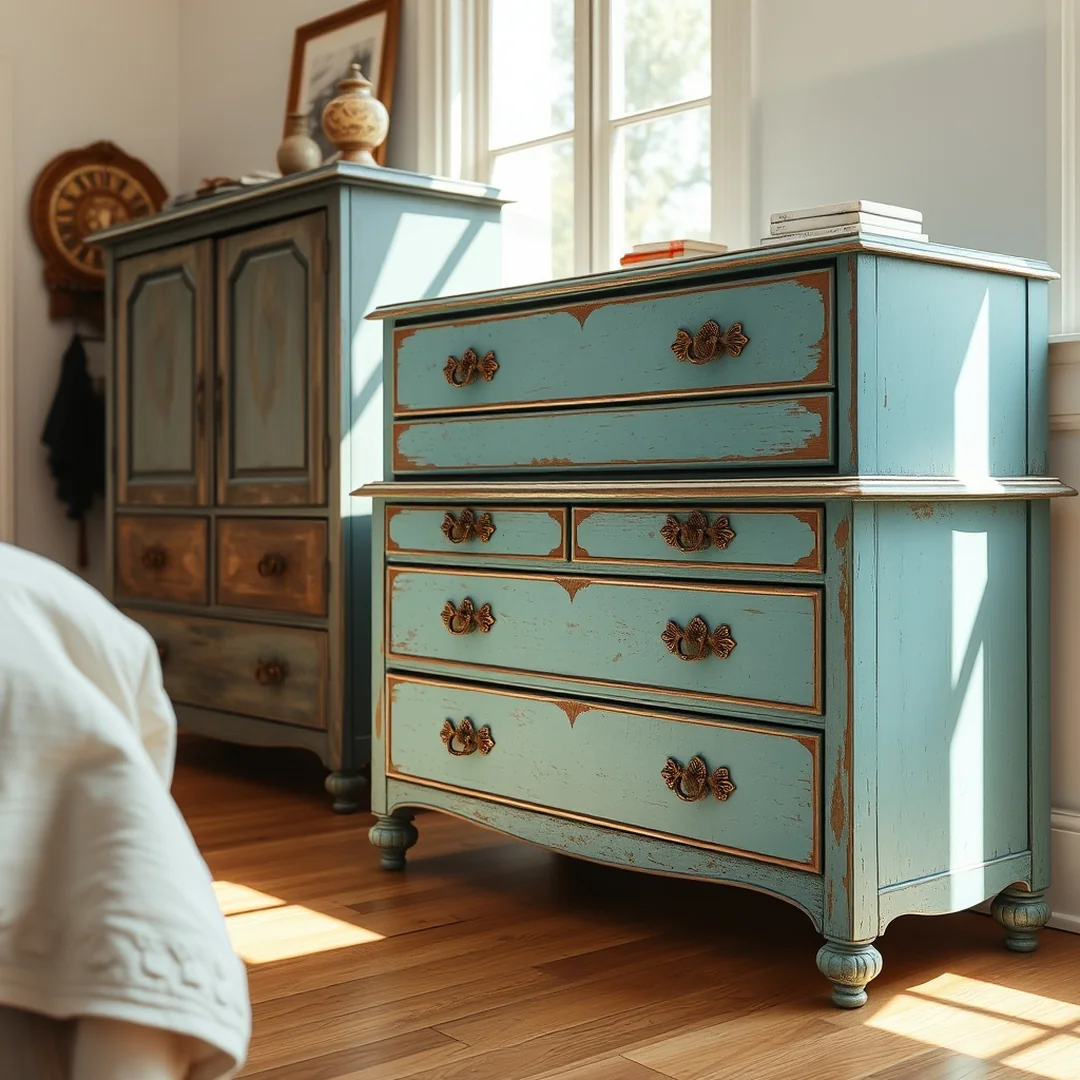
Giving an old dresser a second life with paint is a great way to save money while creating a custom piece for your bedroom. You can take a piece from a thrift store and turn it into a bohemian style focal point for less than $50. This process proves that you do not need new items to refresh your space. It allows for total creative control over your home decor.
The appeal of this project lies in the character of the final result. A distressed finish highlights the history of the wood while adding a soft, lived-in feel to your room. You can achieve this look easily by focusing on the edges and corners where natural wear would happen.
Follow these steps to ensure your project lasts:
- Clean the entire surface to remove dust and oils.
- Apply a thin layer of wood primer if the piece has a dark or glossy finish.
- Use a medium grit sanding block after the first coat of paint dries to reveal the wood underneath.
- Finish with a clear matte varnish to protect the surface from daily wear.
Many people enjoy using chalk paint for these projects because it sticks well to most surfaces without heavy sanding. It provides a flat, velvety texture that works beautifully with a farmhouse aesthetic. I have found that working on these projects provides a deep sense of satisfaction. Watching the piece evolve from a tired, scratched item into a statement piece is the best part of the process.
You can include 17 Hand Painted Furniture Ideas to Transform Home as part of your larger design strategy. By choosing a unique color palette, you ensure the dresser fits perfectly with your existing room layout. If you want to take it further, consider swapping out the original hardware for new, modern drawer pulls. This small change adds a professional touch to your DIY work. Whether you prefer a bold color or a soft neutral, the goal is to make the piece feel like an extension of your own personality. Just remember to work in light layers to avoid drips and clumps.
Floral Motif Accent Tables
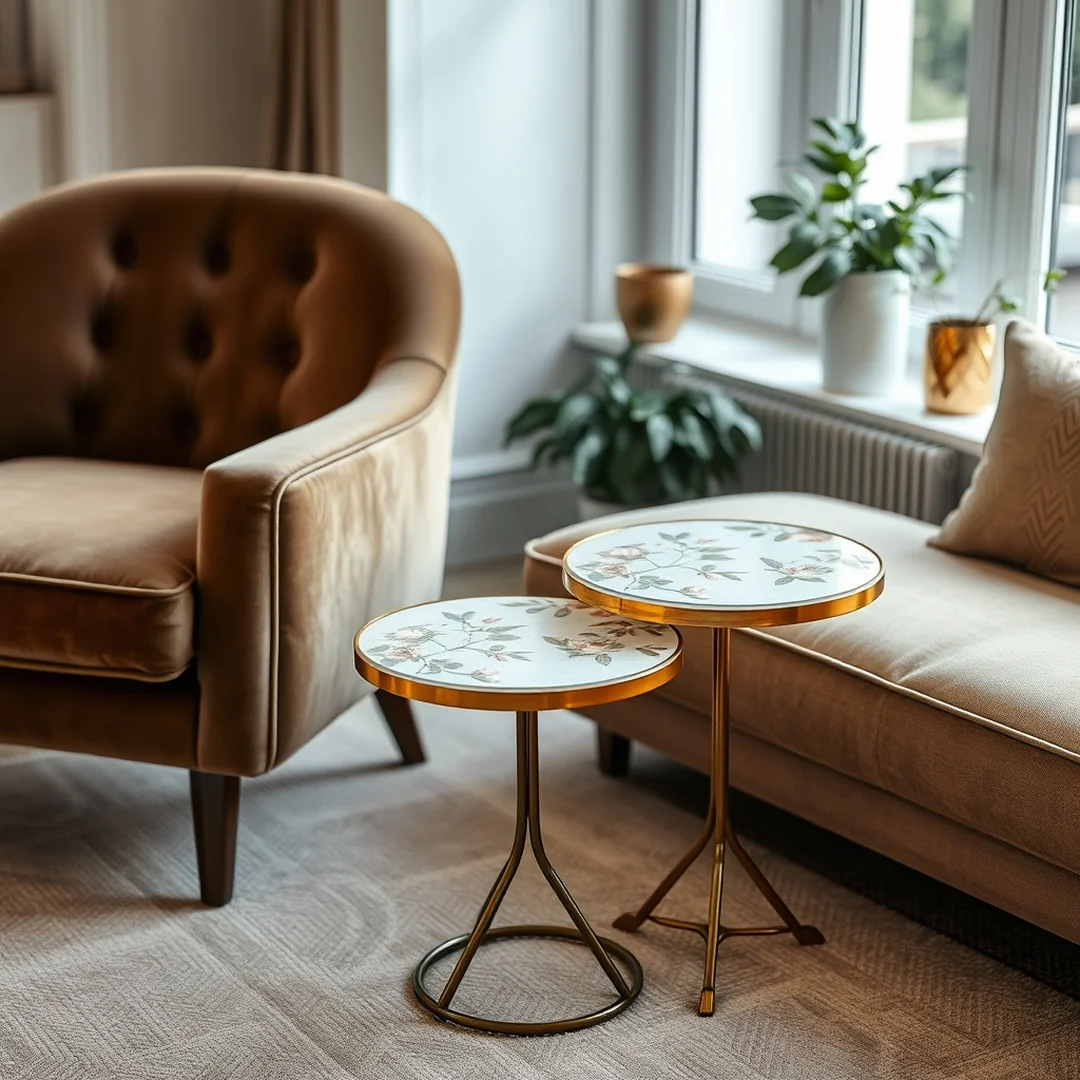
A small accent table with hand-painted florals can completely shift the mood of a room. It’s one of the most beginner-friendly projects in any collection of DIY painted furniture ideas, and the results look genuinely custom when the prep work is done right.
Before you pick up a brush, surface preparation decides everything. Skip it and your paint will peel within weeks, no matter how careful your brush strokes are.
Sanding blocks and wood primer are non-negotiable. A sanding block gives you even pressure across flat surfaces, which a folded piece of sandpaper can’t match. It opens the wood grain so primer actually bonds instead of sitting on top. Then primer seals the surface and gives paint something to grip. Skipping either step is the most common reason hand-painted furniture chips early.
Prep steps differ depending on your surface:
- Raw or unfinished wood: Sand with 120-grit first, then finish with 220-grit for a smooth base. Wipe away all dust with a damp cloth. Apply one coat of wood primer and let it dry fully, usually around 2 hours, before painting.
- Laminate surfaces: These are slippery by nature. Use a liquid deglosser or lightly scuff with 220-grit sandpaper, then apply a bonding primer specifically rated for laminate. Standard primers won’t adhere properly and the paint will lift at the edges.
For the floral design itself, chalk paint works beautifully on accent furniture. It dries to a soft matte finish that makes painted petals and leaves look almost hand-illustrated. Milk paint is another strong option if you want a slightly more aged, organic texture that suits a bohemian style or vintage feel.
If you’re painting indoors, paint choice matters for air quality too. Look for paints labeled zero-VOC or low-VOC. Many chalk paint brands fall into this category naturally. A small accent table takes roughly 250ml of paint for two coats, so the cost of choosing a safer formula stays low.
Seal the finished piece with a water-based matte varnish. It protects the floral detail without yellowing over time, which oil-based sealers often do.
Geometric Patterned Dining Chairs
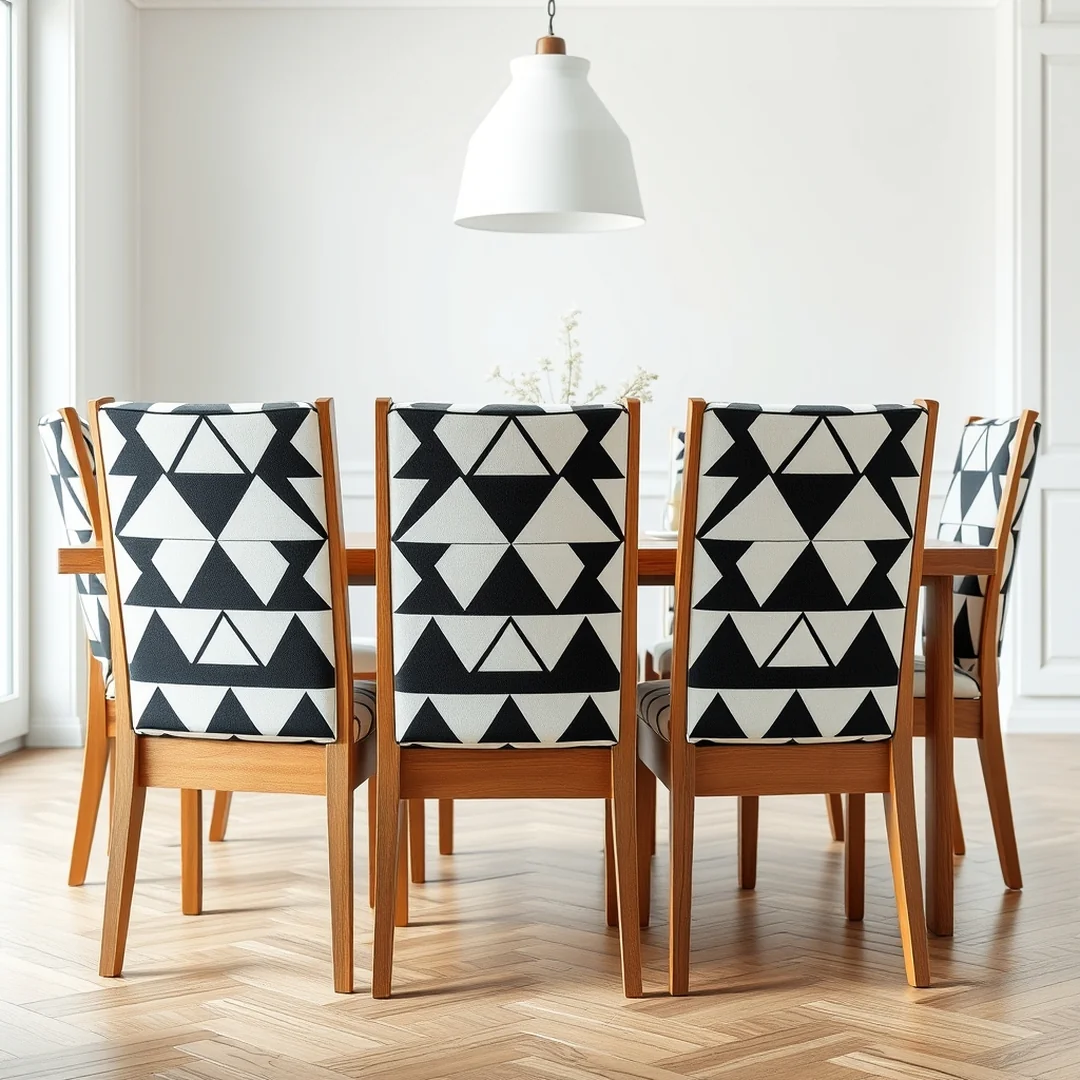
Geometric patterns turn plain wood chairs into bold accent furniture. Adding crisp lines creates a modern focal point in your dining room. This is one of the 17 Hand Painted Furniture Ideas to Transform Home that relies on precision.
Chalk paint is popular for beginners because it sticks to almost any surface without heavy sanding. It leaves a flat, chalky texture. Milk paint offers a more authentic, chippy look if you want a vintage feel. Acrylic paint is the easiest to find and provides a durable, smooth surface. Acrylic also comes in the widest range of colors for your specific color palette.
You should pick a matte finish if you prefer a soft, organic look that hides surface imperfections. A matte finish feels cozy and suits a farmhouse aesthetic well. Use a glossy varnish when you need extra protection against food spills or high traffic. A high-quality water-based polyacrylic varnish seals your geometric design without yellowing over time.
Visible brush strokes often ruin a sharp, graphic pattern. You can stop this by using a high-quality synthetic brush with tapered bristles. These brushes hold paint well and leave fewer marks than cheap hardware store alternatives. Expect to spend around $12 for a professional-grade 2-inch synthetic brush. Always apply thin coats rather than one thick layer to keep the finish level.
Painters tape is your most important tool for clean geometric shapes. Apply the tape firmly to the wood surface to prevent paint from bleeding underneath. Press the edges down with your thumb before you start painting. Remove the tape while the final coat is still slightly damp to get the crispest line possible.
If you are new to this, start with a simple diamond or chevron pattern on the chair back. Use a small sanding block to smooth the surface before you apply any primer. This preparation step ensures the paint adheres evenly. Proper drying time between colors is essential for a professional result. Even a simple geometric update changes the entire mood of your dining space.
Boho Style Painted Cabinets
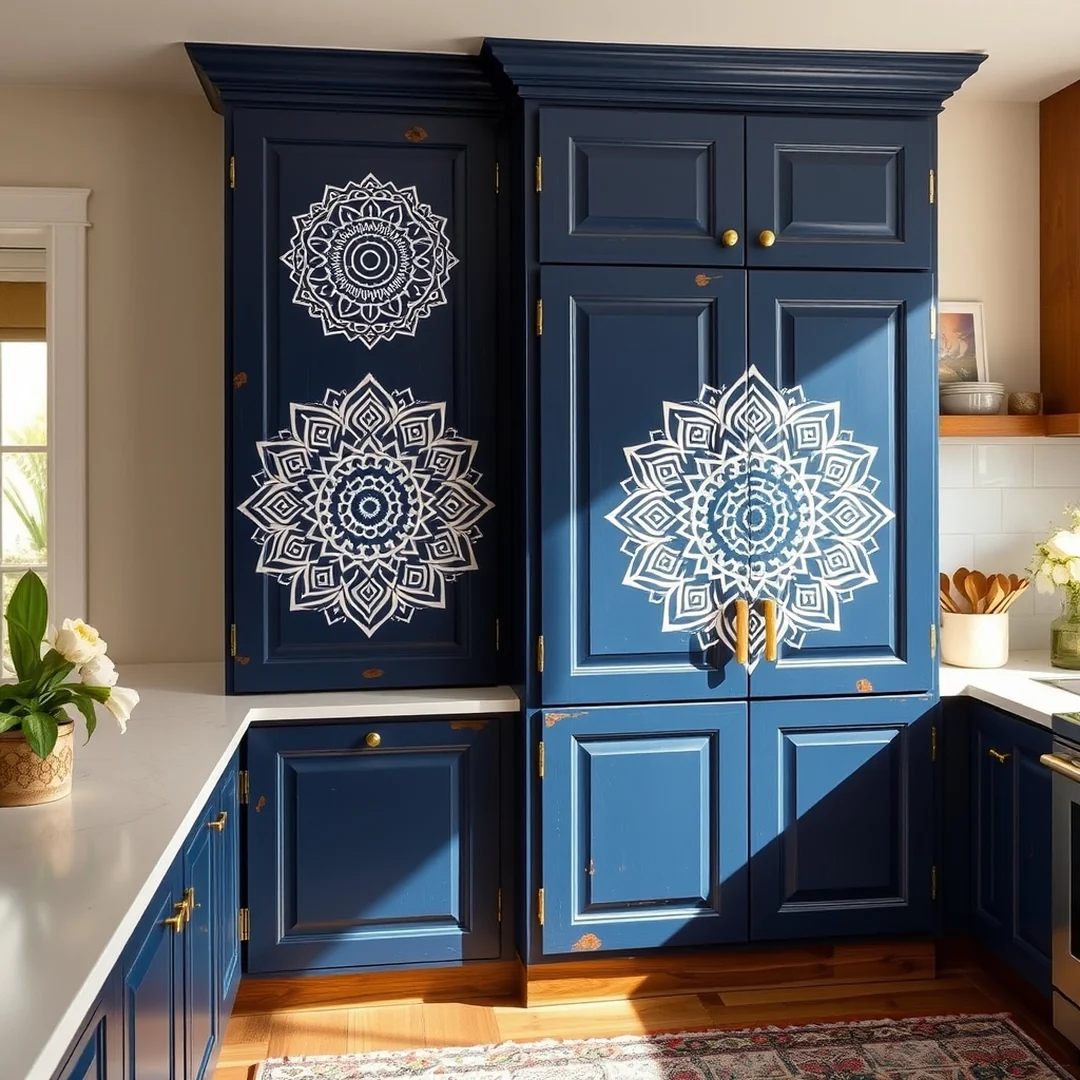
Boho cabinets rely on global patterns and earthy tones to bring character into a room. One of the best 17 Hand Painted Furniture Ideas to Transform Home is using stencils to create intricate, professional designs on flat cabinet doors. Place a large mandala stencil in the center of the door and secure it with light adhesive spray. Use a dense foam roller to apply thin layers of chalk paint to avoid bleeding under the edges.
If you prefer clean lines, use painters tape to mask off geometric patterns. Apply the tape in overlapping triangles or diamonds across the front of your cabinet. Press the edges down firmly with a credit card to ensure a sharp paint line. Paint over the taped areas with a contrasting color, then peel the tape away while the paint is still slightly damp for the cleanest results.
Drawer fronts offer the perfect canvas for an instant pop of color. By focusing your design on just these small sections, you can experiment with bold shades without overwhelming the entire piece. Apply your pattern to the drawers and keep the cabinet frame a neutral, solid color to let the art stand out. This method works well on older dressers where the wood might be worn, as the paint hides minor imperfections.
I have found that a fine grit sanding block is essential before you start. Always sand your surface lightly to help the primer stick, especially if the cabinet has a glossy factory finish. For a professional look on your boho piece, apply two coats of a water based varnish once the paint is fully dry. This seals your hard work and prevents the edges from chipping during daily use.
Keep your project affordable by choosing sample pots of paint rather than full quarts. A typical 8 ounce sample pot costs around $7 and provides enough coverage for a standard set of drawers. If you notice brush strokes, switch to a high quality synthetic brush or a microfiber roller to smooth out the texture before the paint cures. This simple approach turns basic storage into a custom focal point for your home.
Ombre Painted Nightstands
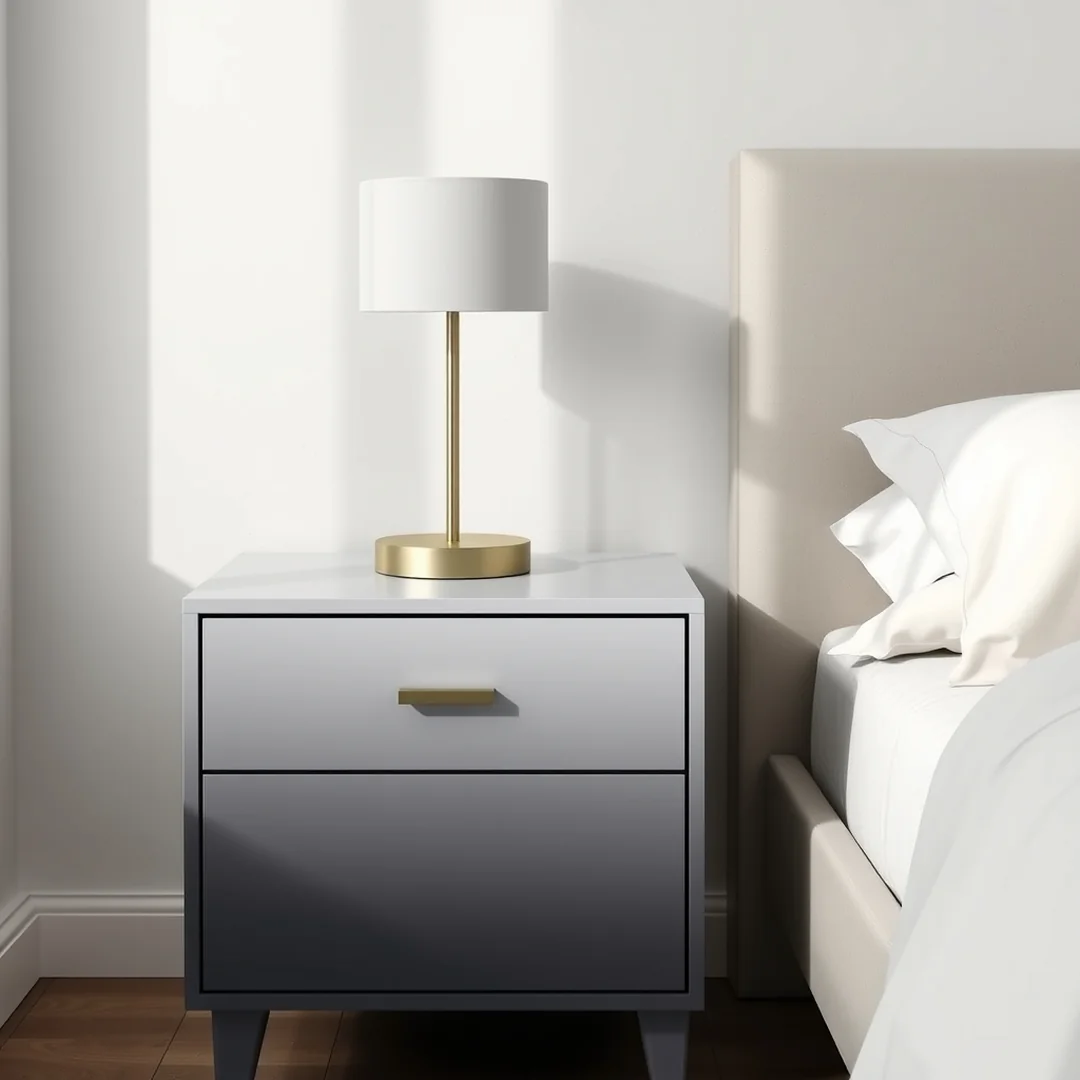
You can create a dreamy bohemian style look by blending two or three shades of paint across your nightstand drawers. Start with the darkest color at the bottom and fade into a lighter shade toward the top. This technique works best when you keep the paint wet while blending to avoid harsh lines. Adding a distressed finish with fine grit sandpaper on the edges enhances that vintage, relaxed vibe.
If you prefer a farmhouse aesthetic, skip the blending and use a single, solid color like soft cream or slate grey. This approach relies on clean lines and a smooth, consistent application. A solid paint job highlights the structure of the piece and fits well in rooms with neutral decor. You might replace original hardware with matte black drawer pulls to ground the look and provide a sharp contrast to the painted finish.
Since nightstands get heavy daily use, you must protect your hard work. Always apply a high-quality water-based varnish or a wax sealant after the paint dries. I suggest applying at least two thin coats for maximum durability. If you choose a matte finish, look for a non-yellowing polycrylic sealer to prevent the surface from becoming sticky or picking up dust over time. This extra step prevents the paint from chipping when you set down your phone or a glass of water.
When planning your 17 Hand Painted Furniture Ideas to Transform Home, consider the size of your bedroom. A standard nightstand is usually about 24 inches tall. This height is perfect for testing your blending skills without needing a huge amount of materials. Always use a high-quality synthetic brush to minimize visible streaks. If you find the paint is drying too fast, add a small amount of water or a paint extender to your mix. This keeps the pigment workable for longer periods, which is vital when you are trying to perfect that subtle ombre fade. Proper surface prep, like using a wood primer, ensures your new finish stays vibrant for years.
Stenciled Coffee Table Designs
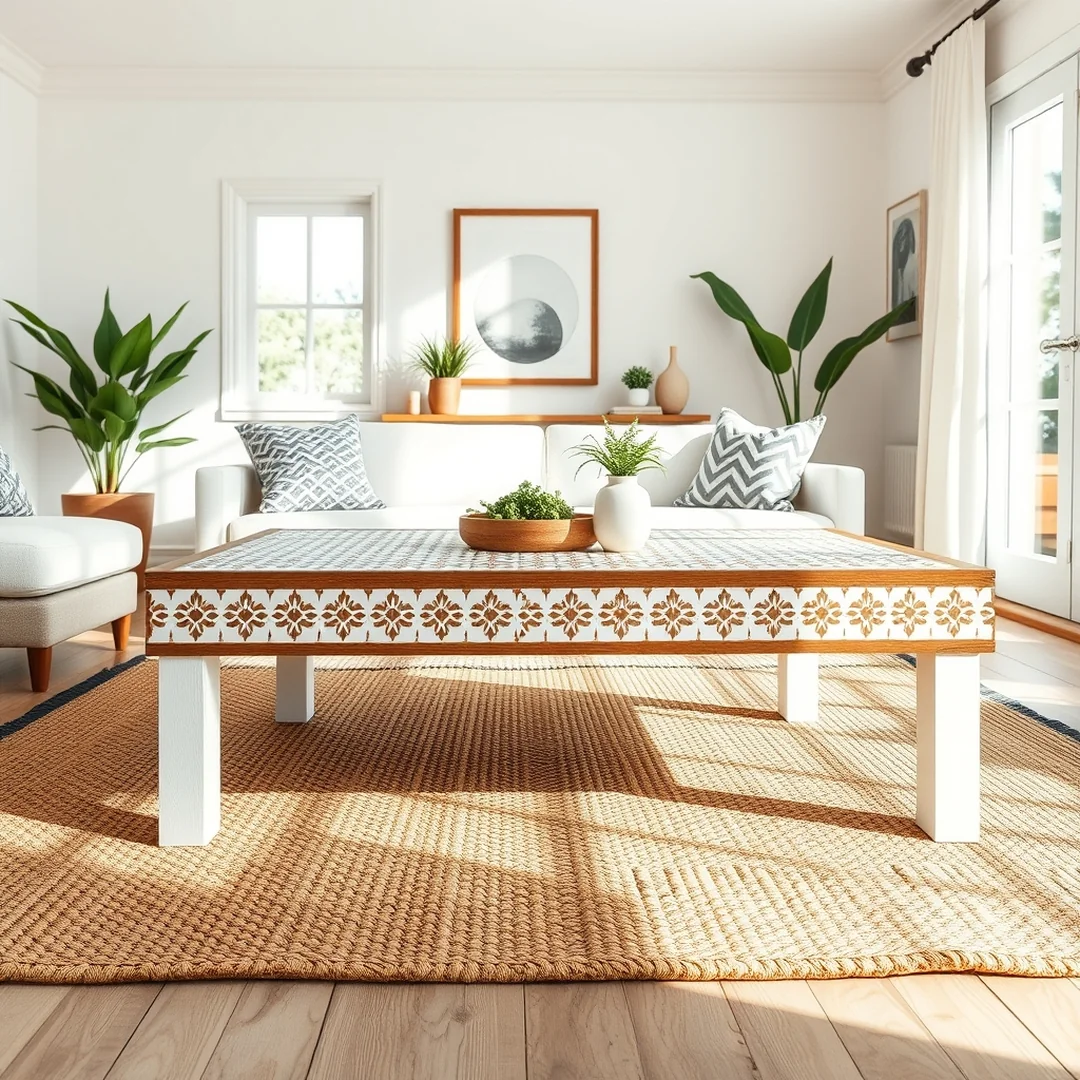
A stenciled pattern turns a plain coffee table into a bold focal point for your living room. You can apply intricate designs using **chalk paint** and a light touch with a foam roller for a crisp result.
Place your table in the center of a seating area to ground the space. In a modern room layout, this piece works best when it acts as the primary accent furniture. Keep surrounding items neutral so the table pattern remains the star. If you need a specific size, a standard 40-inch wide table provides enough surface area for detailed stenciling without cluttering the floor plan.
Swapping your hardware provides an immediate update to the overall aesthetic. Replace basic knobs with **new drawer pulls** to change the feel of the entire piece. Brushed gold or matte black metal finishes often bridge the gap between a vintage frame and a contemporary room. These small additions make the work look custom rather than DIY.
Always consider the room color palette before you start your project. Pick a stencil color that repeats a tone already present in your throw pillows or curtains. This ties the piece into the existing decor naturally. If you prefer a subtle look, use a tone-on-tone approach by choosing a paint color just one shade lighter or darker than the base coat.
For those trying these 17 Hand Painted Furniture Ideas to Transform Home, remember that surface prep is vital. Always start by using a medium-grit **sanding block** to remove old varnish. This creates a rough texture that helps the new paint stick. Once your design is dry, seal it with a clear **matte finish** varnish to protect the pattern from daily coffee spills and scratches.
Start by taping your stencil firmly to the center of the table. Use very little paint on your brush to prevent bleeding under the edges. If you make a mistake, wipe it away with a damp cloth immediately before it sets. This method ensures your furniture makeover looks polished and intentional. Take your time with the drying process between coats to ensure the best long-term durability.
Gold Leaf Accented Desks

You can add a luxury touch to any workspace by applying gold leaf to drawer fronts or legs. This project serves as one of the best 17 Hand Painted Furniture Ideas to Transform Home because it turns a plain desk into a high end statement piece.
Start by cleaning the desk surface with a degreaser. Use a medium grit sanding block to roughen the wood so the primer sticks. Apply a thin coat of wood primer before painting your base color. If you prefer a matte finish, chalk paint works well because it hides small surface imperfections.
To avoid visible brush strokes, use a high quality synthetic brush or a dense foam roller. Apply multiple thin layers instead of one thick coat. If you see streaks, lightly sand between layers with 400 grit paper. For a professional look, choose a paint that self levels as it dries.
Apply gold leaf using a thin layer of adhesive size. Once the size becomes tacky, gently press the gold leaf sheets onto the surface with a soft brush. Seal the entire desk with a clear water based varnish to prevent the gold from flaking or tarnishing. This step is vital for desks that see daily use.
Current color trends favor deep navy or emerald green bases paired with gold accents. These shades feel modern and grounded. Avoid overdoing the leafing. Focus on accent furniture elements like drawer pulls or the bottom 6 inches of the legs. This subtle approach creates a sophisticated bohemian style without looking cluttered.
If you are worried about durability, pay extra attention to the corners. These areas often chip first. Applying two coats of high quality polyacrylic sealer ensures your desk survives regular contact. Budget for about $15 in gold leaf supplies to complete a standard desk project. Remember that wood type matters. Dense hardwoods require less primer than porous softwoods or laminate surfaces. Test your paint on an hidden area first to ensure it bonds correctly. By keeping your lines clean and your layers thin, you create a piece that looks custom made rather than DIY.
Striped Painted Bookshelves
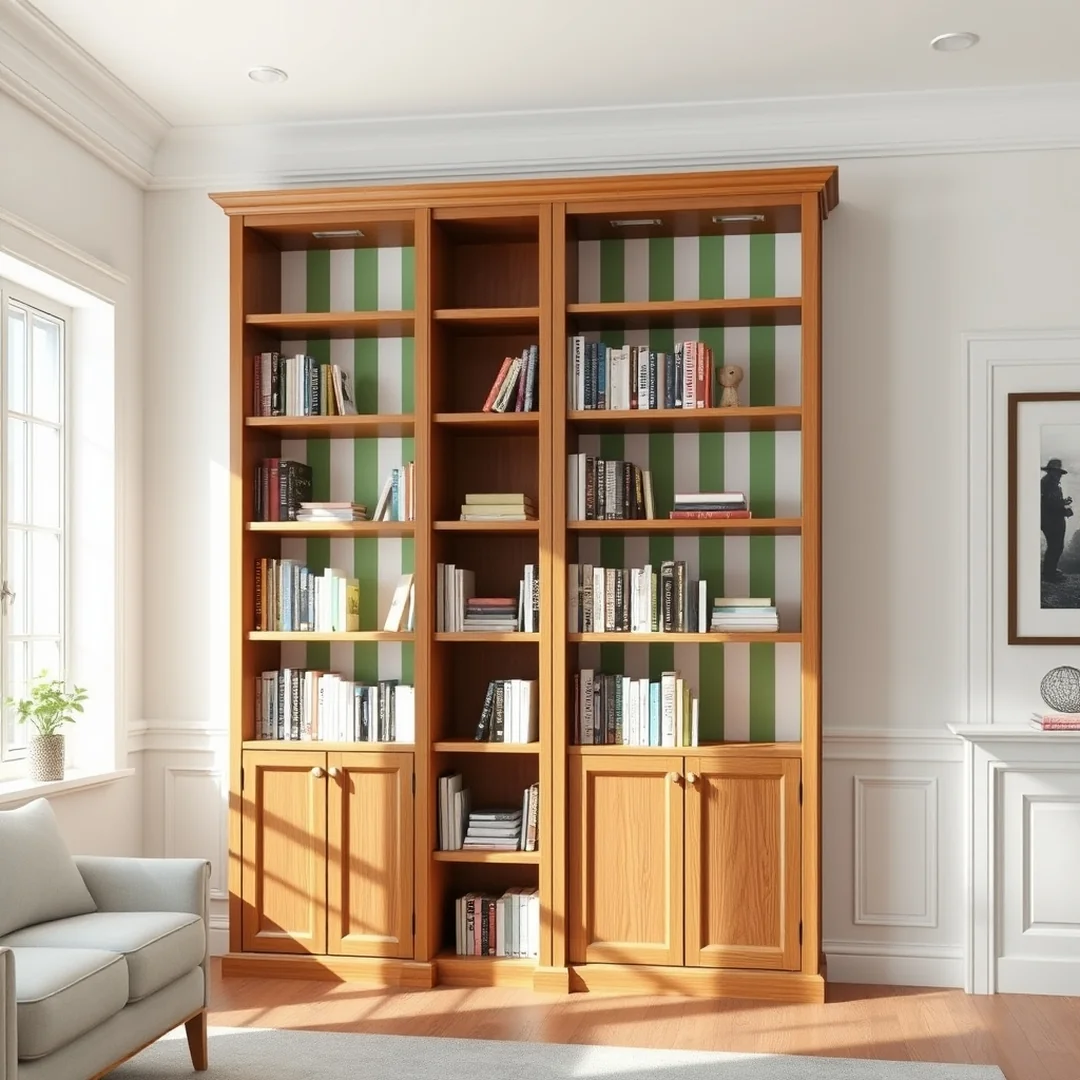
Striped patterns add visual interest to plain wooden units. You can start this project by painting simple vertical lines on the back panel of your bookshelf. This is one of the easiest 17 Hand Painted Furniture Ideas to Transform Home for beginners to attempt.
I suggest you start small with a single piece of accent furniture before moving to larger cabinets. Grab a roll of high-quality painters tape to ensure your lines stay sharp. You should press the edges down firmly to prevent any paint bleeding underneath. Applying two coats of paint will give you a solid, professional finish that hides the wood grain.
Painting old furniture is a smart way to practice furniture upcycling. It keeps items out of the trash and gives them a second life in your living room or study. You only need a basic sanding block and a tin of primer to prepare your surface. Spending about $25 on materials can often yield results that look like high-end store items.
When you finish your project, consider how the new look fits your space. Stripes work well with a bohemian style room if you use warm tones. If you prefer a farmhouse aesthetic, stick to soft whites or muted greys. You can seal your work with a thin coat of matte varnish to protect the surface from scratches and dust.
Upcycling existing items is a sustainable habit that saves money. You learn new skills with every project you complete. I have found that taking your time with the prep work makes the final result much more durable. If you choose to add new drawer pulls or hardware, you can instantly change the personality of the piece.
I would love to see how your bookshelf turns out. Please snap a photo of your finished piece and share your results online. Showing off your creative process helps others feel confident to start their own projects. Your work might be the inspiration someone else needs to get started on their own home update today.
For another perspective, this detailed piece on Fabulous Hand Painted Furniture And Recycled Furniture Ideas is worth a read.
You might also like: 17 Pottery Vase Painting Ideas For Home Decor