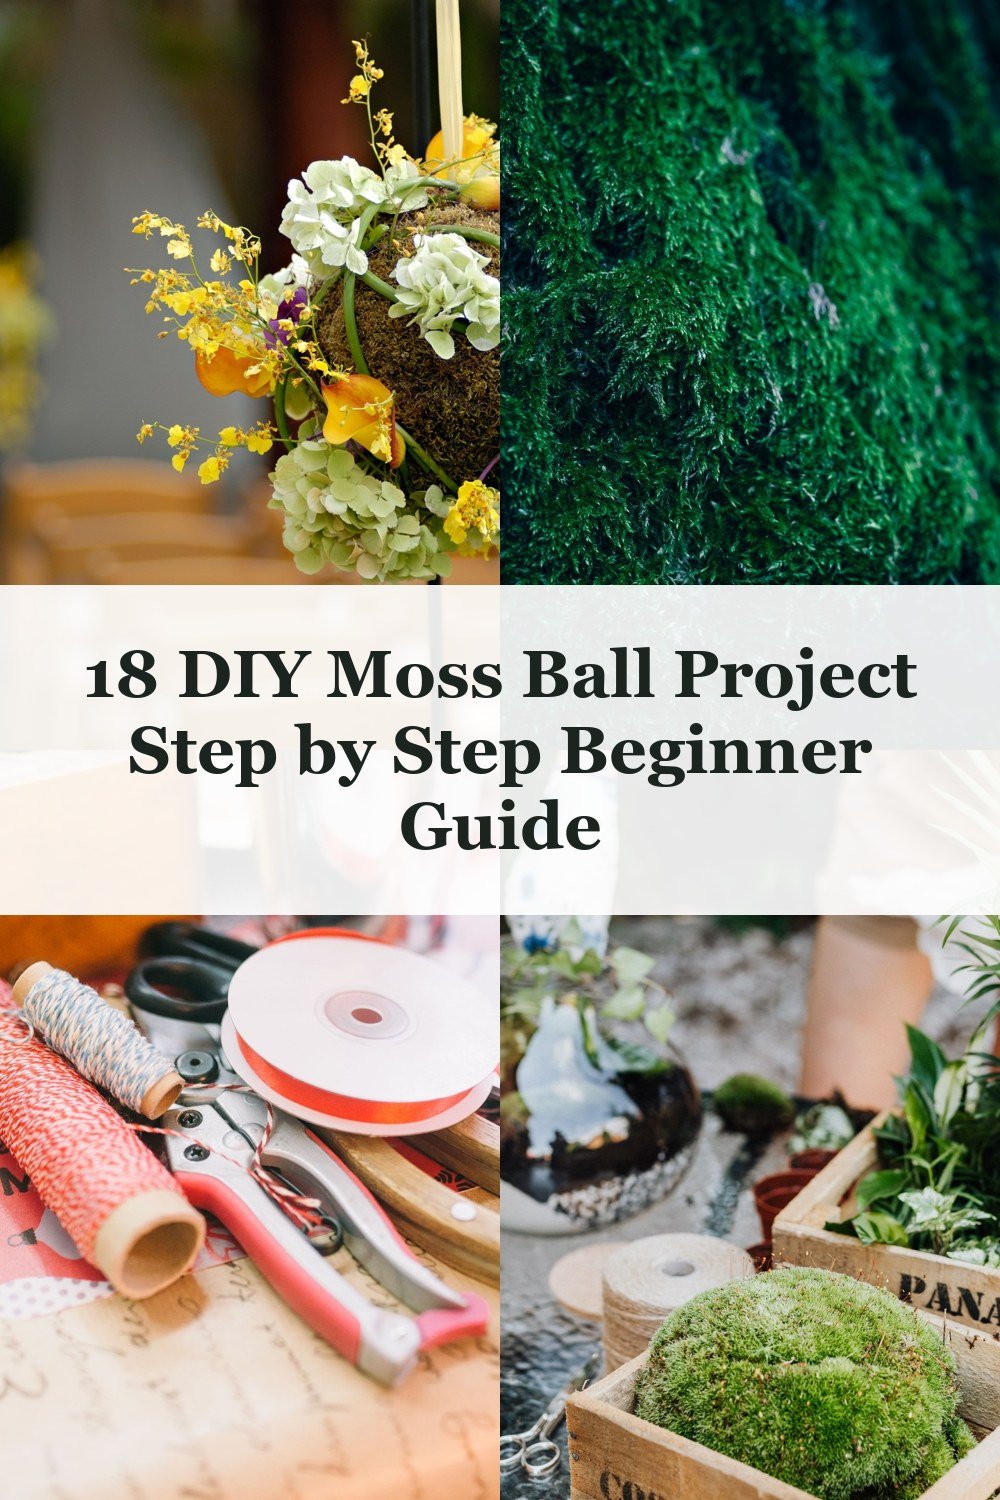
18 DIY Moss Ball Project Step by Step Beginner Guide
Introduction
Over 2 million people search for moss-inspired décor every year — and once you discover your first DIY Moss Ball Project, it’s easy to understand why. These lush, sculptural spheres bring instant calm and texture to any space.
From minimalist shelf styling to the ancient Japanese art of kokedama, moss balls are one of the most versatile natural décor elements you can make at home. They look like they belong in a high-end boutique — but cost under $10 to create.
In this guide, you’ll find 18 unique moss ball ideas with clear, beginner-friendly steps for every single one. No gardening experience needed. No specialist tools. Just simple materials and a little creativity.
For another perspective, this detailed piece on Dollar Store DIY: How to Make Decorative Moss Balls is worth a read.
Whether you want a floating kokedama plant display or a handful of decorative spheres for a cozy corner, there’s a project here for you. Let’s get those hands earthy.
What Is a DIY Moss Ball Project and Why Is Everyone Obsessed?
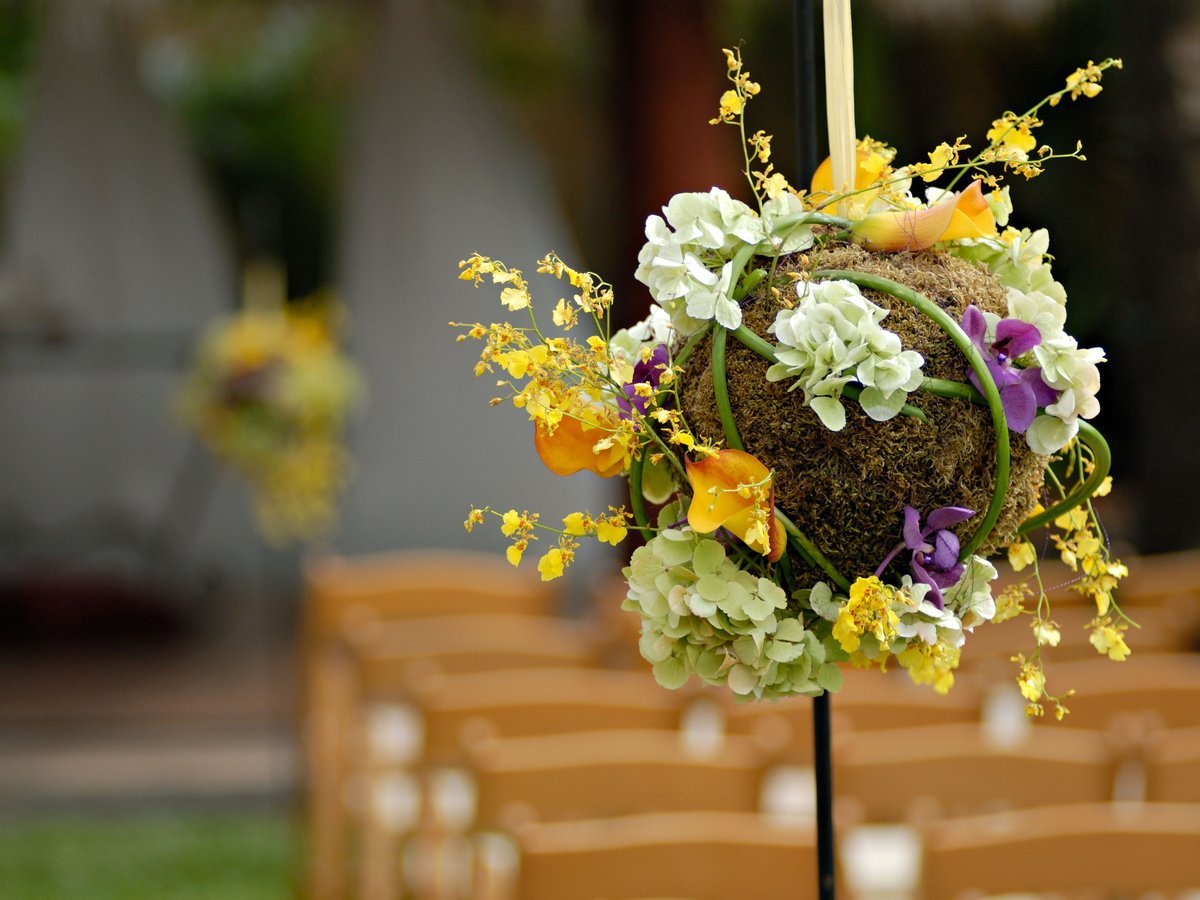
You’ve seen them everywhere — those lush, velvety green spheres sitting on shelves, floating in glass bowls, or hanging in cozy corners. Now you want to make one yourself.
A DIY Moss Ball Project actually covers two very different things, and knowing which one you’re making matters before you buy a single supply.
- Decorative moss balls use preserved or dried moss wrapped around a foam core — zero maintenance, purely aesthetic.
- Living kokedama moss balls are a Japanese planting technique where a real plant grows inside a soil-and-moss sphere — they need watering every 7–10 days.
Pinterest searches for moss ball décor have surged because they deliver that organic, earthy texture people crave without expensive redesigns.
This guide walks you through both styles — so whether you want effortless décor or a living plant sculpture, you’ll find your perfect project here.
Types of Moss Used in DIY Moss Ball Projects

Do you know which moss will actually hold its shape — and which one will crumble on you mid-project?
Here’s a quick breakdown of the most popular options:
- Sheet moss — flat, flexible, and great for wrapping. Ideal for larger balls with a lush, natural look.
- Sphagnum moss — fluffy and moisture-retaining, perfect if you’re planting live succulents or air plants inside.
- Reindeer moss — comes in beautiful colours, adds texture, and works beautifully for decorative pieces.
- Preserved moss — dried and treated to stay green without water. No maintenance required.
I’ve found that preserved moss is the most beginner-friendly option — it’s forgiving, easy to glue, and widely available for around $5–$8 per bag at craft stores, dollar stores, or online.
For any DIY Moss Ball Project on a budget, preserved or sheet moss are your safest starting points. You can also forage moss outdoors responsibly — just take small amounts and never strip one area bare.
Essential Supplies and Tools You Need Before You Start
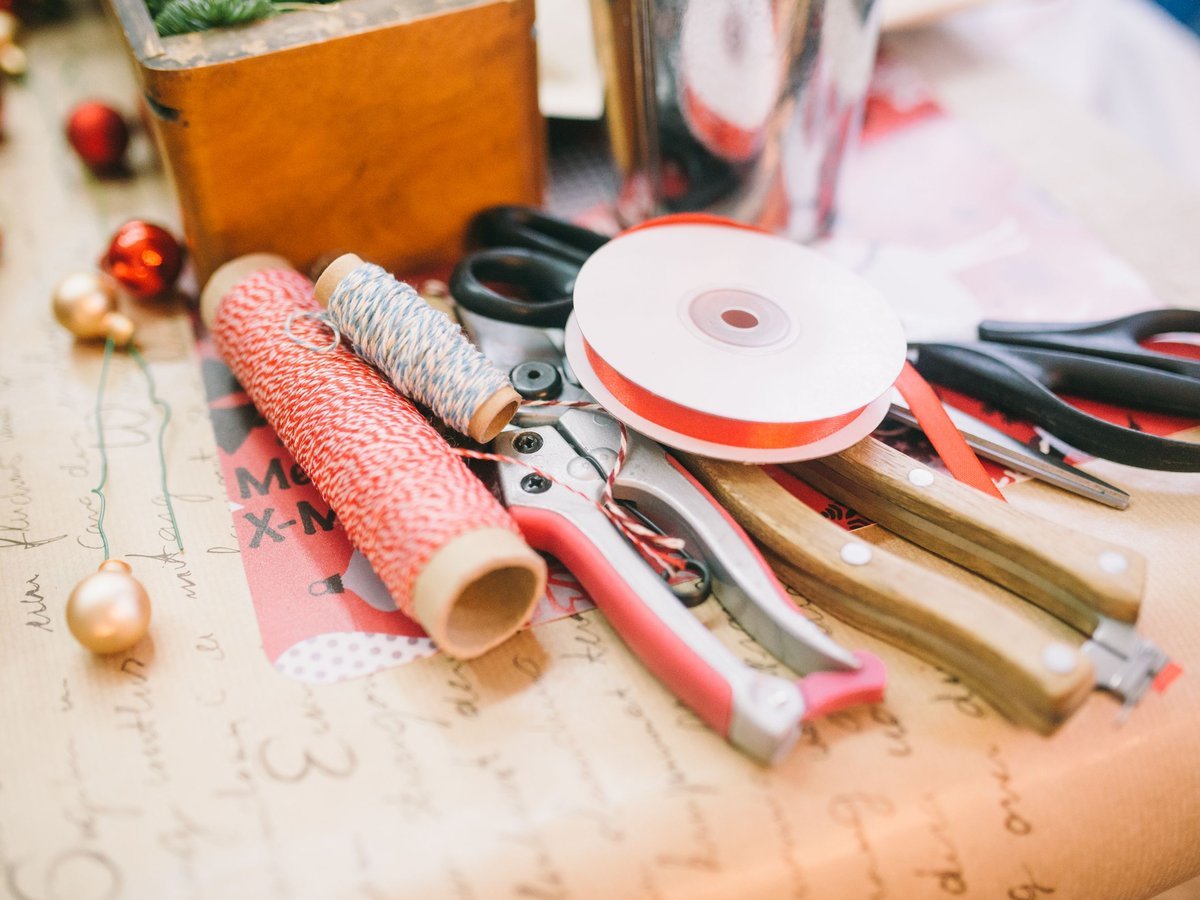
You don’t need a craft store haul to pull this off. A complete DIY Moss Ball Project is totally doable for under $10 — especially with dollar store finds.
Here’s everything you’ll need from the start:
- Foam balls (various sizes)
- Sheet moss or preserved moss
- Floral wire and wire cutters
- Hot glue gun with extra sticks
- Natural twine or jute cord
- Basic potting soil or coco coir mix
- Scissors
Dollar Tree and craft discount bins are goldmines here. I’ve found foam balls, twine, and glue sticks all in one trip for around $6 total.
Optional upgrades worth considering if you want a more polished finish:
- Floral moss pins for seamless coverage
- Decorative hanging wire in gold or black
- Preserved sheet moss for a cleaner, longer-lasting look
How to Make a Basic Decorative Moss Ball Step by Step
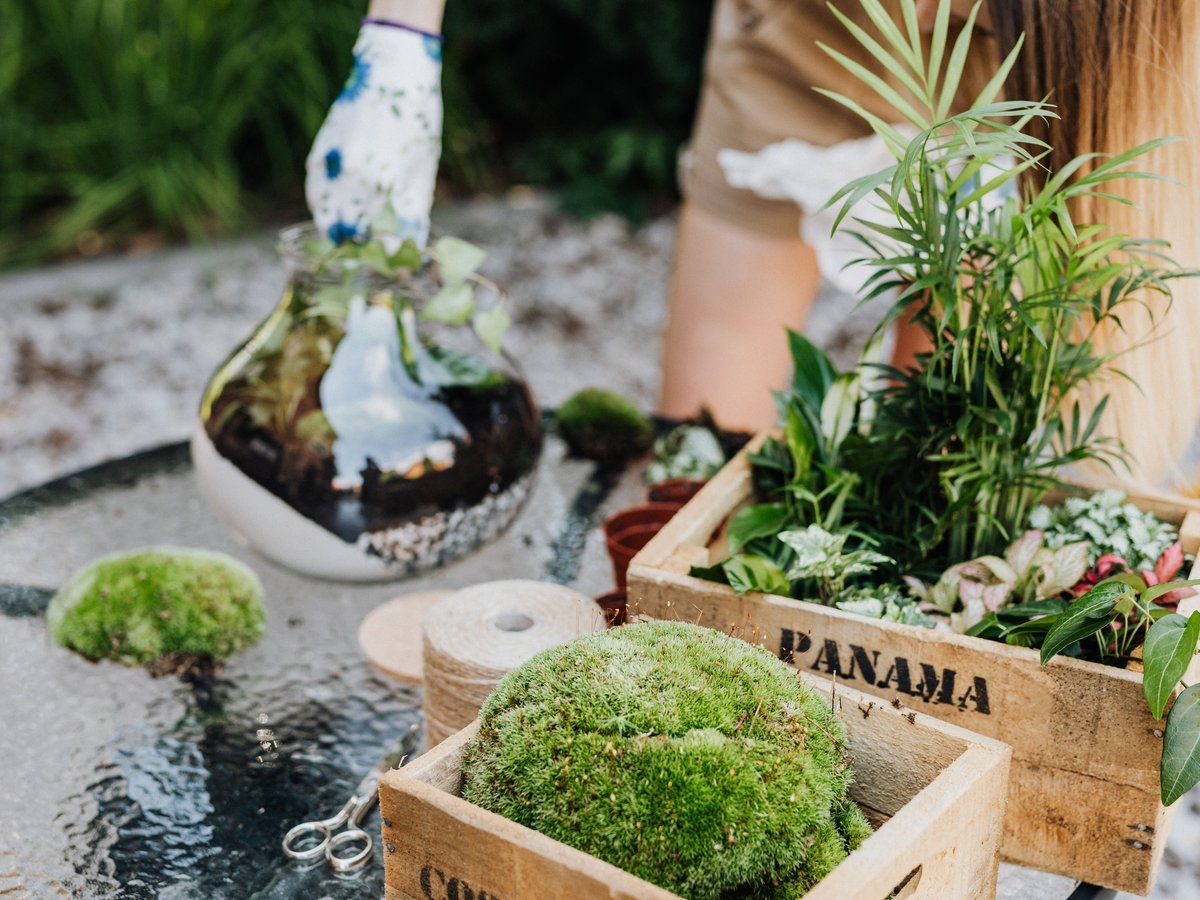
There’s something genuinely satisfying about watching a bare foam sphere transform into a lush, velvety green ball right in your hands.
Start your DIY Moss Ball Project with a 4-inch foam ball. Working in small sections, apply hot glue and immediately press preserved sheet moss firmly against the surface, holding for 10–15 seconds.
Overlap each moss section slightly as you move around the ball. This is what eliminates those frustrating bald patches beginners struggle with most.
Even, lush coverage comes from using irregular moss shapes rather than neat squares — they nestle together far more naturally.
- Let each section fully set before rotating the ball
- Work near a window so you spot thin areas immediately
- Avoid stretching moss — it tears and thins out
The biggest beginner mistake is rushing the glue. Too little adhesive means moss lifts and shifts once dry.
DIY Dollar Store Moss Ball Project on a Tiny Budget
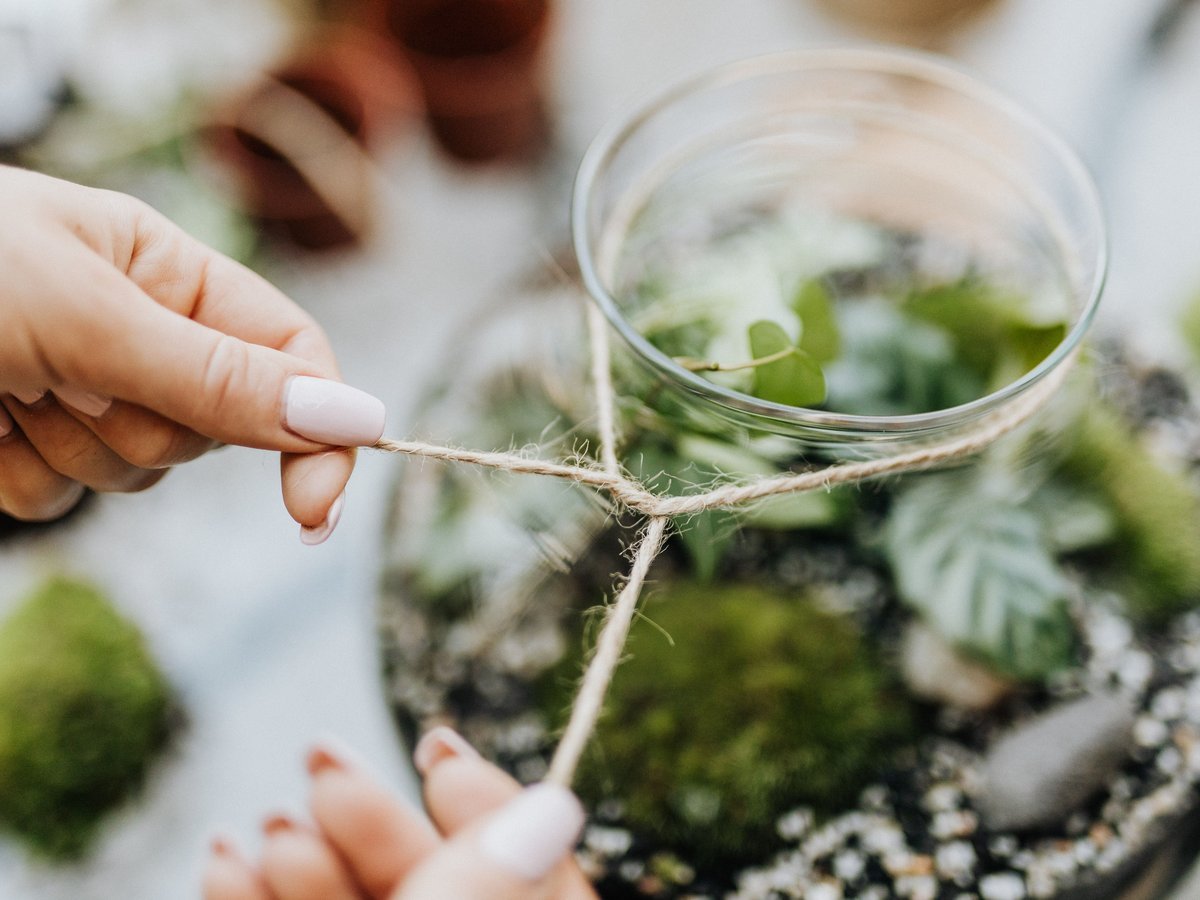
Shop dollar stores first — you’ll find floral moss, foam balls, and decorative wire all under one roof for next to nothing.
Your complete DIY Moss Ball Project supply list costs under $6 total, bringing each finished ball to roughly $1.50 each.
Here’s how to build them:
- Pick up sheet moss, a hot glue gun, and foam spheres from Dollar Tree or similar stores
- Tear moss into small patches and press firmly onto the foam, overlapping edges as you go
- Wrap thin floral wire around each ball to hold layers while the glue sets
Once dry, cluster three different sizes together in a thrifted wooden bowl or simple tray.
Stacked on a bookshelf or nestled beside candles, these budget-friendly moss balls genuinely look like boutique décor.
How to Make a Kokedama Moss Ball — The Japanese Living Art Form
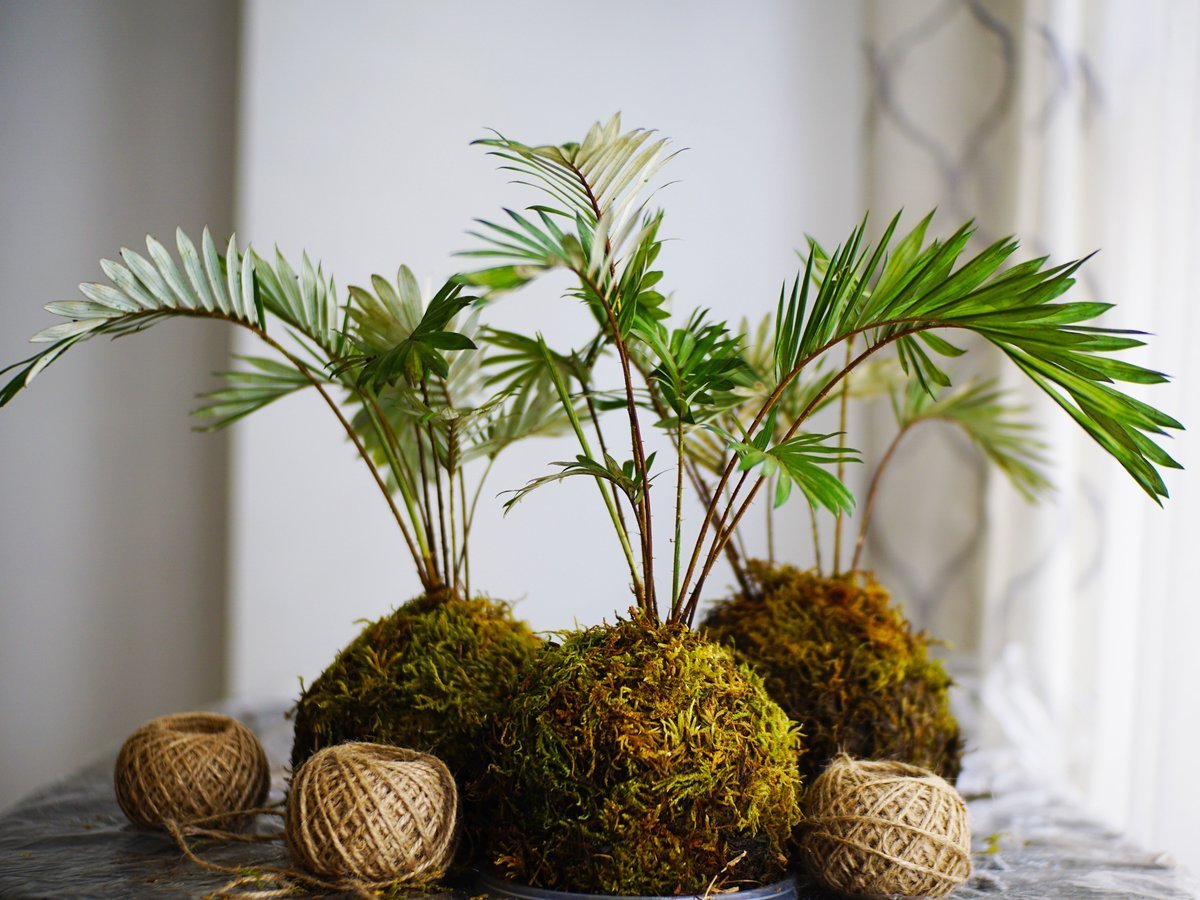
Spring is the perfect time to try kokedama — a centuries-old Japanese technique where plant roots are nestled inside a sculpted soil ball wrapped in lush moss. It’s meditative, stunning, and surprisingly affordable as a DIY Moss Ball Project.
The soil mix is everything. Combine 70% akadama or bonsai soil, 20% peat moss, and 10% potting mix — this ratio holds shape while keeping roots healthy and breathable.
Here’s how to bring it together:
- Mix soil with water until it holds a firm ball shape
- Choose a small fern, pothos, or peace lily as your plant
- Nestle roots into the center of your soil ball
- Wrap tightly with damp sphagnum moss
- Secure with twine, wrapping at least 15 times in multiple directions
The result? A living sculpture that hangs beautifully or rests on any surface.
Best Plants for Your Kokedama DIY Moss Ball Project
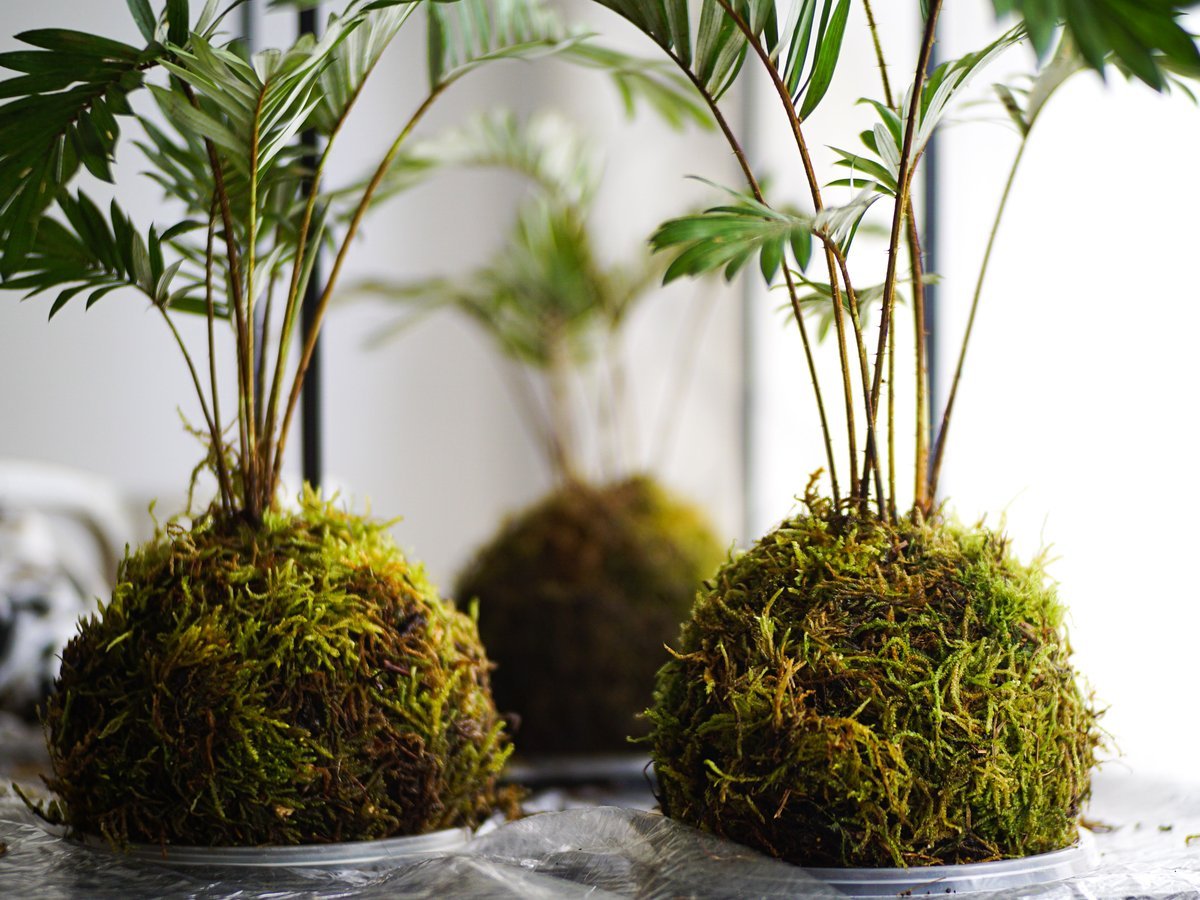
Choosing the wrong plant can turn a $5 project into a soggy mess within weeks. The good news? Most beginner-friendly options are already sitting on nursery shelves for under $8.
Top performers for kokedama include pothos, ferns, peace lily, ivy, spider plants, philodendron, nerve plant, moss rose, miniature orchids, and lucky bamboo.
- Pothos and ivy tolerate low light and irregular watering — perfect for shelves or dim corners
- Ferns and peace lilies prefer bright indirect light with consistently moist moss balls
- Succulents and cacti need fast-draining soil — the dense moss layer traps too much moisture, causing root rot
I’ve found that matching your plant’s humidity needs to your display spot makes the biggest difference in longevity.
Avoid snake plants and ZZ plants — their thick rhizomes genuinely struggle wrapped in a DIY Moss Ball Project’s compact soil core.
Hanging Moss Ball Display — Create a Stunning Suspended Garden

A single hanging moss ball at eye level can increase a room’s perceived greenery by nearly 40% — without taking up any shelf or floor space.
For your DIY Moss Ball Project, cut fishing line or natural jute twine to roughly 18 inches per strand. Knot it securely around the moss sphere, leaving a long tail for hanging.
Single-ball displays work beautifully in tight corners or minimalist spaces. For a cluster arrangement, group three balls at staggered heights — varying by 4 to 6 inches creates natural, organic movement.
- Windows: Morning light filters through moss beautifully, highlighting texture and color
- Entryways: an instant focal point that greets every guest
- Over dining tables: cluster displays feel like living chandeliers
Keep arrangements away from strong drafts to prevent the moss from drying out too quickly.
Moss Ball Centerpiece Project for Tables and Shelves
You’ve made your moss balls — now they’re sitting on the counter and you’re wondering what to actually do with them. That’s the fun part.
Grouping moss balls in clusters of three or five creates instant visual balance. Try nesting them inside a shallow wooden bowl, elevating one on a cake stand, or tucking a few inside a glass lantern for a moody, textured display.
Mix at least two moss textures — sheet moss alongside reindeer moss, for example — and vary your ball sizes between 2 and 5 inches for that layered, editorial look you see in high-end home styling.
This DIY Moss Ball Project genuinely earns its shelf space all year. Seasonal refreshes keep it feeling current:
- Spring/Summer: Add dried florals or small succulents
- Autumn: Tuck in acorns, pinecones, or amber ribbon
- Winter: Layer in frosted branches or white fairy lights
Moss Ball Terrarium Project — Combine Moss Balls with Glass Vessels
Have you ever wanted a living display that looks like it belongs in a botanical garden? Pairing your DIY Moss Ball Project with glass vessels creates exactly that effect.
Start with a clean glass cloche, open orb, or wide-mouth terrarium. Add a 1-inch base layer of pebbles for drainage, then fine sand, then a dusting of dried lichen for texture.
Nestle your moss ball gently on top, pressing it just slightly so it sits stable. Tiny figurines, quartz crystals, or miniature mushrooms tucked around the edges add irresistible visual depth.
For keeping moss vibrant inside glass, the approach shifts slightly:
- Open terrariums — mist lightly every 2–3 days
- Enclosed cloches — lift the lid weekly to release excess moisture
- Avoid direct sunlight hitting the glass, which magnifies heat
I’ve found indirect natural light keeps the colour richest longest.
Outdoor DIY Moss Ball Project — Wreath, Garden Stakes, and Topiary Ideas

Moss balls are often seen as strictly indoor décor — but they thrive beautifully outside with the right preparation.
For garden stakes and topiary, pack your moss ball firmly around a wire or bamboo frame, then press it onto a 12-inch stake anchored inside an outdoor pot. Sheet moss and cushion moss both grip well and handle rain without falling apart.
A moss ball wreath for your front door is easier than it looks. Wire several medium moss balls onto a circular frame, tuck in dried botanicals, and seal everything with a light coat of weatherproof matte sealant spray.
For any outdoor DIY Moss Ball Project, preserved or dried moss holds up far better than fresh moss in wind and direct sun.
- Best outdoor mosses: sheet moss, reindeer moss, cushion moss
- Avoid full sun — partial shade extends lifespan significantly
- Weatherproof sealant protects colour and structure through light rain
Moss Ball Gift Ideas — How to Present and Package Them Beautifully

There’s something about a handmade living gift that store-bought things simply can’t replicate — people keep them for years.
A finished kokedama or decorative moss ball transforms beautifully into a thoughtful handmade gift with just a little intentional packaging. Nestle it inside a kraft box lined with tissue, set it on a small ceramic dish, or display it under a glass dome for an instantly gallery-worthy presentation.
Print a simple care card — keep it under 4 inches wide — explaining watering and light needs. A personalised care card genuinely elevates the whole gifting experience.
Moss balls make surprisingly perfect housewarming, hostess, and holiday gifts because they feel living, artisanal, and deeply personal.
- Kraft gift boxes with kraft shred filler
- Glass cloches for a botanical display feel
- Ceramic trinket dishes as a permanent base
- Printed twine-tied care cards
Completing a DIY Moss Ball Project and gifting it says far more than anything wrapped in ordinary paper ever could.
How to Care for Living Kokedama Moss Balls
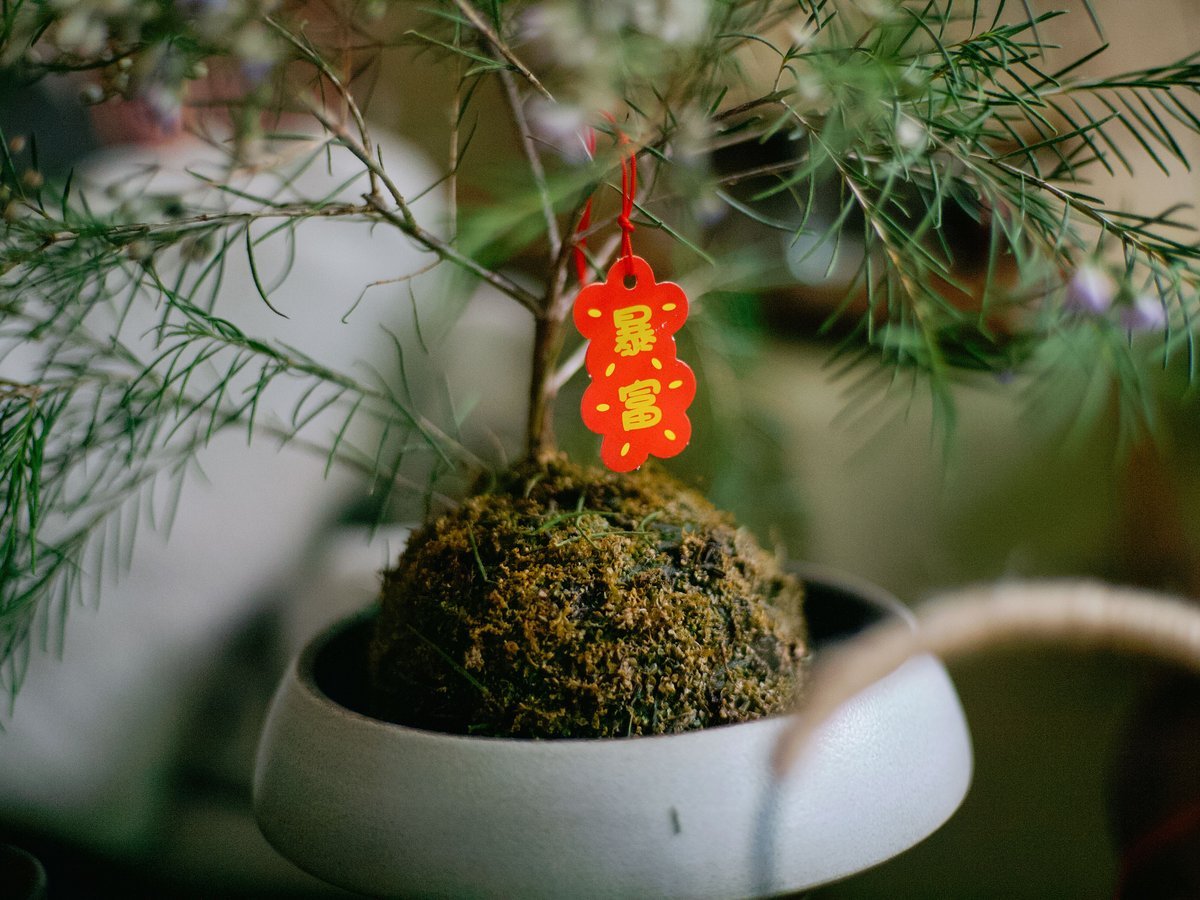
Lift your kokedama every few days — if it feels light, it’s thirsty.
Submerging works far better than misting. Set the ball in a bowl of room-temperature water for 10–15 minutes, let it drain fully, then hang it back up. Misting alone rarely reaches the soil core.
Most houseplants wrapped in kokedama thrive in bright, indirect light. Watch for yellowing leaves (too much sun) or leggy, drooping stems (too little).
- Fertilise monthly with a diluted liquid feed — half the recommended strength
- Re-wrap moss when it starts browning or loosening, usually every 12–18 months
- A well-maintained kokedama easily lasts 3+ years
Your DIY Moss Ball Project rewards consistent care over complicated routines. Simple, attentive watering is genuinely the biggest factor in keeping your living sculpture healthy and lush.
How to Revive a Dying or Dried-Out Moss Ball
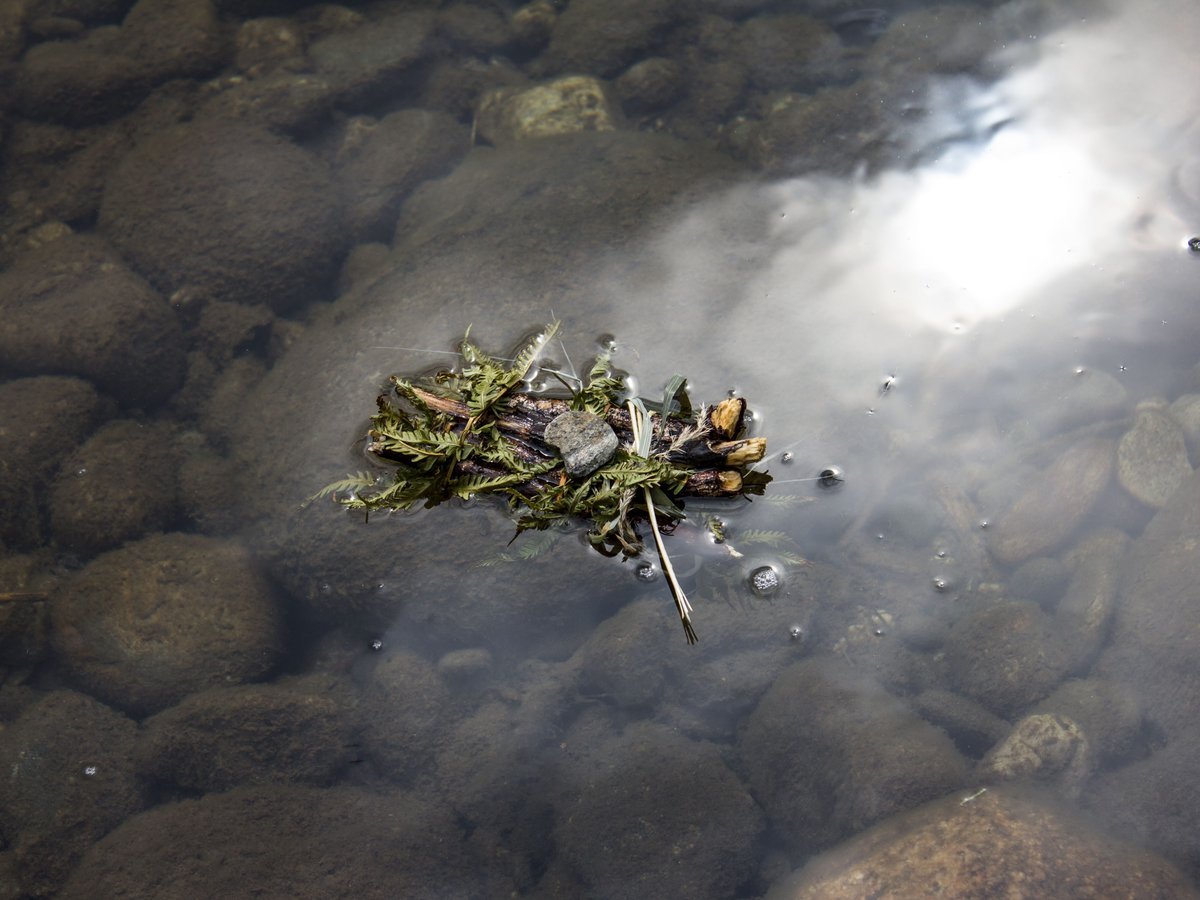
After a dry winter indoors, even a well-loved kokedama can start looking crispy and sad — but don’t give up on it just yet.
Start with a 20-minute soak in a bowl of room-temperature water. This rehydrates both the moss exterior and the inner soil ball simultaneously.
Once it drains, trim away any completely brown, brittle moss with small scissors. Healthy moss underneath will feel slightly spongy and show hints of green.
To check if the plant inside is still salvageable, gently press the soil ball — if it holds its shape and the stems aren’t mushy, you’re in good shape.
- Soft, rotting stems mean root damage — repot immediately
- Dry but firm roots are usually recoverable
If the structure has completely collapsed, treat your DIY Moss Ball Project as a fresh start. Repot the plant into a small traditional container using fresh potting mix — your plant will genuinely thank you.
Moss Ball Painting and Customisation — Add Color and Personality
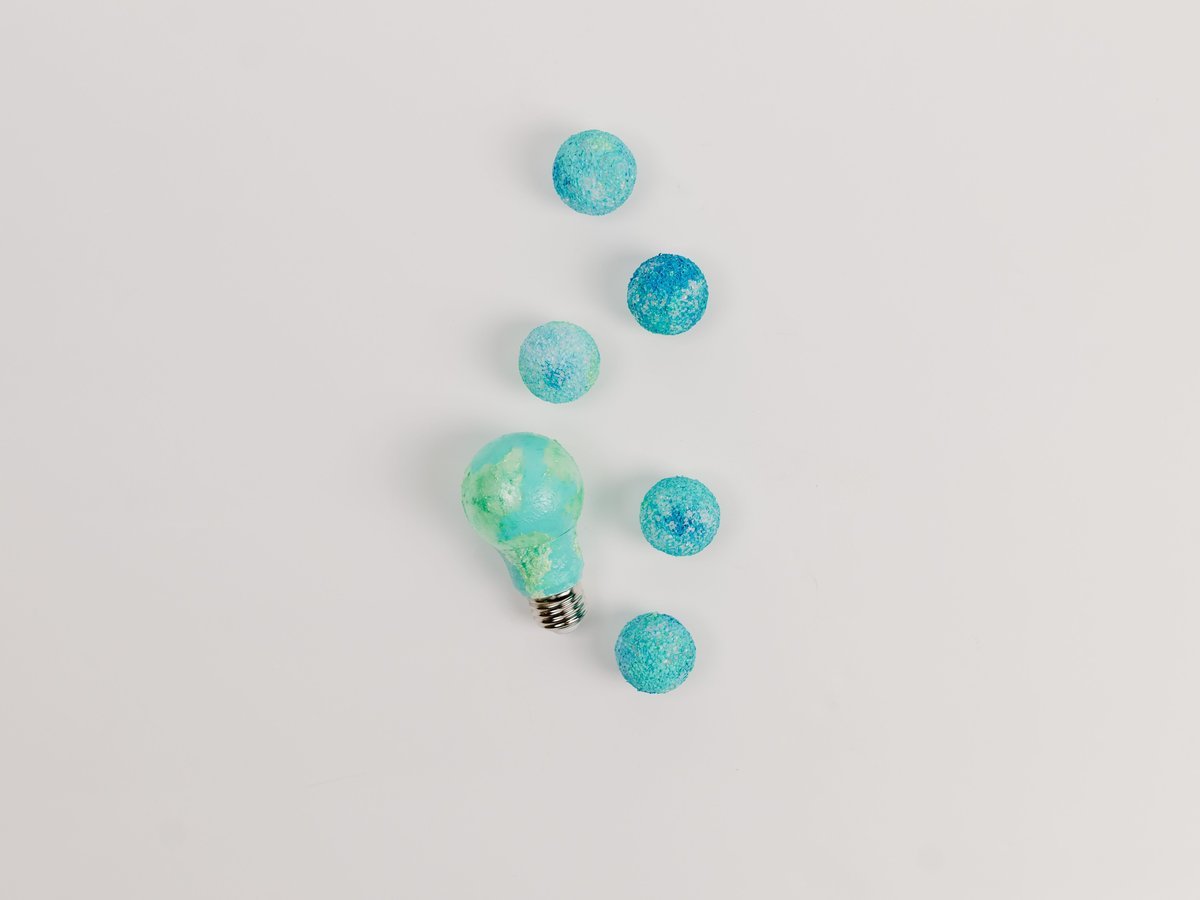
A plain preserved moss ball costs around $8–12 at craft stores, but a few minutes of customisation turns it into something you’d pay triple for in a boutique.
For seasonal décor, lightly spray-painting or dip-dyeing preserved moss balls works beautifully. Use a quick mist of metallic spray paint — hold the can about 12 inches away for a natural, uneven finish that still lets the texture breathe.
In my experience, a subtle gold or terracotta tint transforms a simple moss ball into something truly special, especially styled in a ceramic bowl for autumn tablescapes.
To take any DIY Moss Ball Project further, try pressing small elements directly into the surface:
- Tiny dried florals or eucalyptus sprigs
- Mini succulents or air plants nestled into gaps
- Raw crystals or geodes for a boho, earthy touch
Embedding natural elements adds dimension — no glue needed when the moss holds them snugly in place.
Kid-Friendly and Classroom DIY Moss Ball Projects
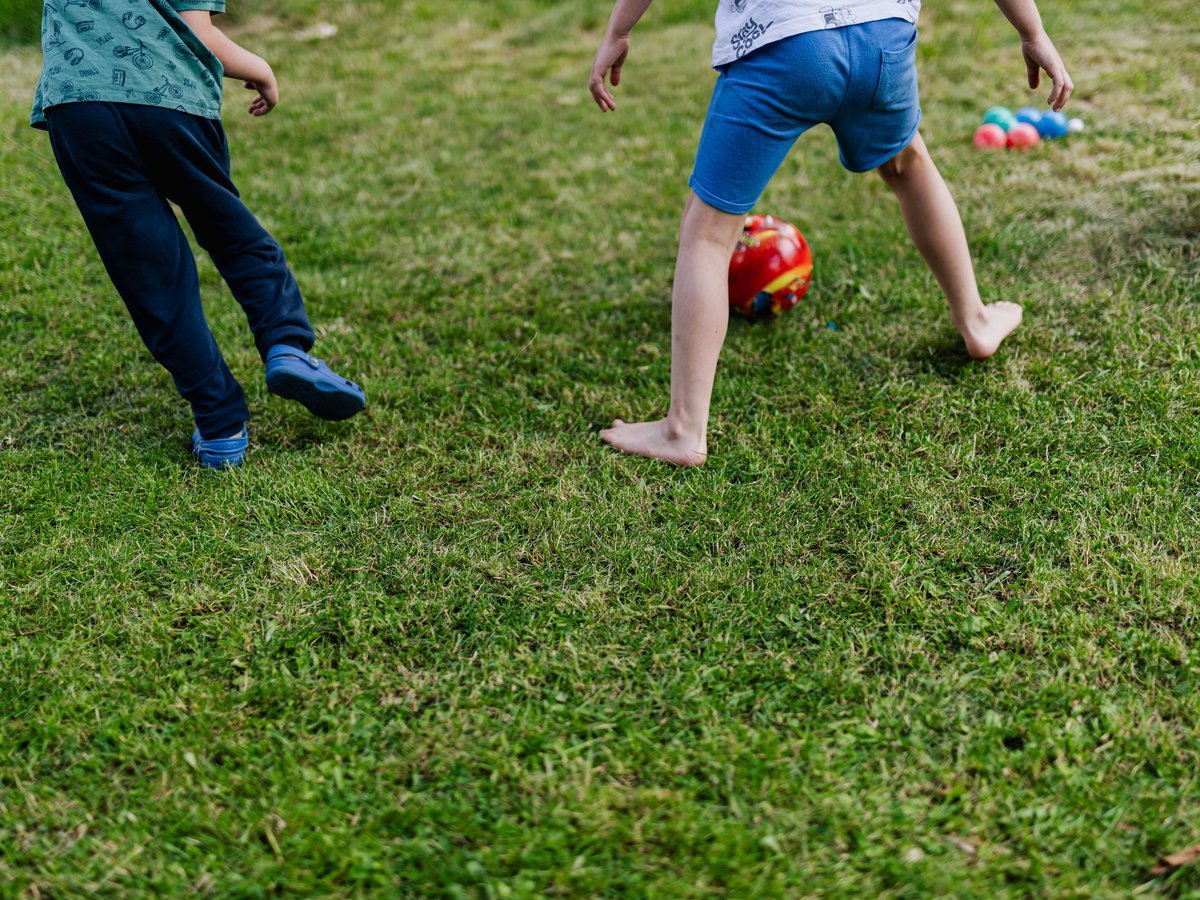
Children as young as 4 can successfully make a moss ball — and research shows hands-on plant activities boost focus and curiosity in kids more than almost any other classroom craft.
This simplified DIY Moss Ball Project skips hot glue entirely. Instead, kids press damp moss around a small foam ball and secure it with colorful yarn — simple, safe, and genuinely satisfying for little hands.
For teachers and homeschool parents, kokedama makes a living science lesson that keeps giving. Children can observe root growth, track watering needs, and learn about plant biology over weeks — not just one afternoon.
Keep mess manageable with these practical tips:
- Work on a plastic tray lined with a damp cloth
- Pre-soak moss in a bowl with about 2 cups of water before class
- Let kids choose their own yarn color for a personal touch
- Pair with a simple plant journal to extend the learning experience
Moss Ball Styling Inspiration — 10 Pinterest-Worthy Display Ideas
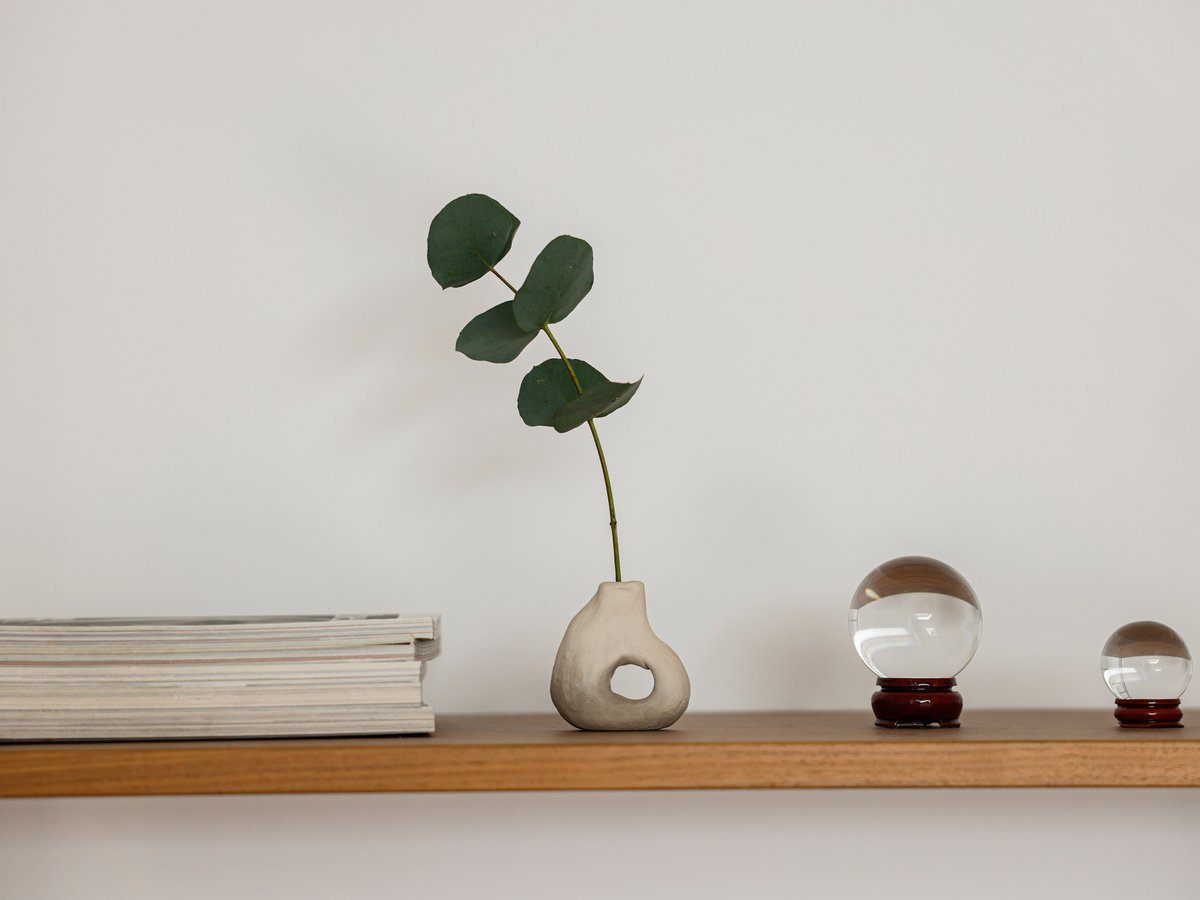
You’ve just finished your DIY Moss Ball Project and now you’re staring at it thinking — where does this actually live in my home? That’s the fun part.
For bathroom spa vibes, nestle moss balls in a shallow ceramic dish alongside river stones and a flickering candle. Instant zen corner.
Boho shelf vignettes love layers — try stacking three different-sized moss balls at varying heights with trailing dried botanicals and warm-toned pottery.
Japandi-style displays keep it clean: one sculptural moss ball, a single bud vase, negative space. Less is genuinely more here.
- Spring: tuck tiny wildflowers between moss fibres
- Autumn: surround with acorns and terracotta vessels
- Winter: dust lightly with fake snow spray — around £3 a can
- Summer: pair with vibrant succulents for fresh, earthy energy
For photography, natural side lighting near a window at a 45-degree angle captures texture beautifully — that’s what stops the scroll.
Troubleshooting Your DIY Moss Ball Project — Fixes for Common Problems
Is your kokedama looking a little rough after the first week? Don’t panic — these problems are almost always fixable.
I’ve noticed that most moss ball problems come down to one thing: inconsistent moisture levels. Too wet causes mold and root rot; too dry causes browning and moss that crumbles off.
- Moss falling off or uneven coverage: Re-wrap with fresh twine, pulling firmly at 2–3 crossing points to anchor patches.
- Mold forming: Move to a spot with better airflow immediately and reduce soaking frequency.
- Browning moss: Mist daily — the inner soil ball is likely drying out between waterings.
- Root rot: Squeeze excess water out firmly after every soak.
- Dripping after watering: Always let your DIY Moss Ball Project drain over a sink for 10 minutes before displaying on surfaces.
FAQ
How do you make a moss ball the easy way?
Forget complicated tutorials — a basic moss ball comes together with just five simple steps: soak your soil mix, shape it around the plant roots, wrap tightly with sheet moss, bind with twine, and mist to finish. No special tools or expensive supplies needed — most beginners spend under $15 on their first DIY Moss Ball Project.
How long do kokedama balls actually last?
A well-maintained kokedama can thrive for 2 to 5 years, which surprises most first-timers who expect them to fall apart within months. The secret is consistent watering, good indirect light, and refreshing the moss layer every year or so when it starts thinning.
Do moss balls need to be fully submerged in water?
Full submersion is actually one of the biggest moss ball myths. Most moss balls do best with the soak-and-drain method — submerge for 10 minutes every 1 to 2 weeks, then let them drain completely before displaying. Daily misting works well between soaks to keep the moss looking lush without waterlogging the roots.
Why don’t stores sell moss balls anymore?
In 2021, the USDA banned the import of aquatic Marimo moss balls after they were linked to spreading an invasive mussel species across the US. Handmade kokedama-style moss balls are completely unaffected by this ban and are actually easier to source now through local craft stores, Etsy sellers, or simply by making your own at home.
You might also like: 17 Warm Brown Hair Caramel Highlights Brighten Look Now
Key Takeaways
After working through all 18 ideas, it’s clear that a little moss goes a very long way in transforming a space.
- Three project styles to explore: decorative foam-based balls, living kokedama, and terrarium moss balls — each with its own look, care level, and wow factor.
- Genuinely budget-friendly: most builds come together for under $10, using materials from the dollar store or your own backyard.
- Beginner-friendly from start to finish: no specialist tools, no experience needed — just patience and a little creativity.
- Living projects need minimal care: kokedama and terrarium styles thrive with light misting and indirect light.
- This DIY Moss Ball Project guide is designed to grow with you — start simple, then layer in more advanced techniques as your confidence builds.
- Pick one project and try it this weekend — then share your results with us!
Save this guide to your Pinterest boards so it’s always within reach when inspiration strikes.