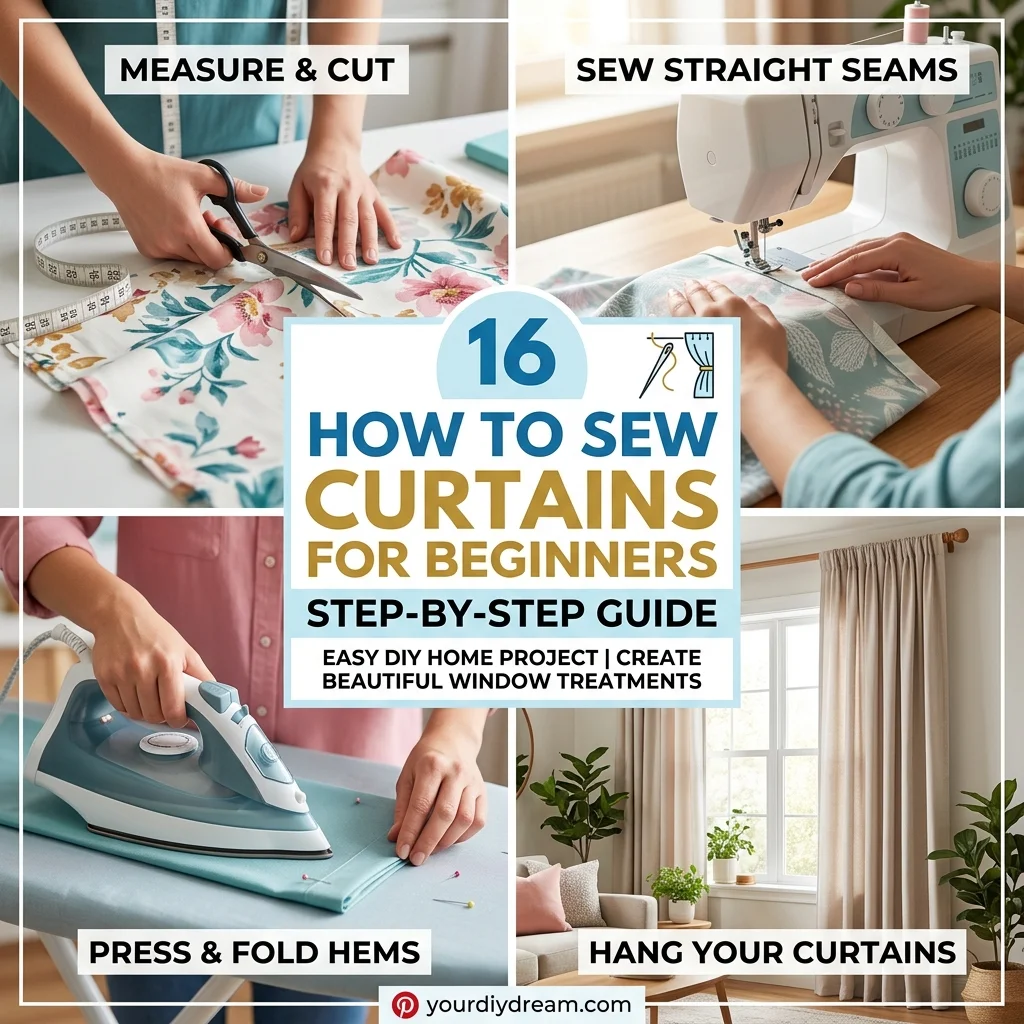
16 How to Sew Curtains for Beginners Step by Step Guide
Introduction
Ready to turn simple fabric into beautiful curtains that actually fit your windows?
Learning how to sew curtains for beginners step by step can be much easier than it first appears.
This guide walks you through the process from choosing beginner-friendly fabric and taking accurate measurements to cutting, hemming, creating headers, installing hardware, and styling the finished panels. You’ll also learn practical ways to avoid common mistakes that can make homemade curtains look uneven or difficult to use. I’ve noticed that careful measuring and pressing make the biggest difference when starting a curtain project. With the right preparation, even a first-time sewer can create window treatments that feel polished, practical, and completely personal.
Plan Your Measurements
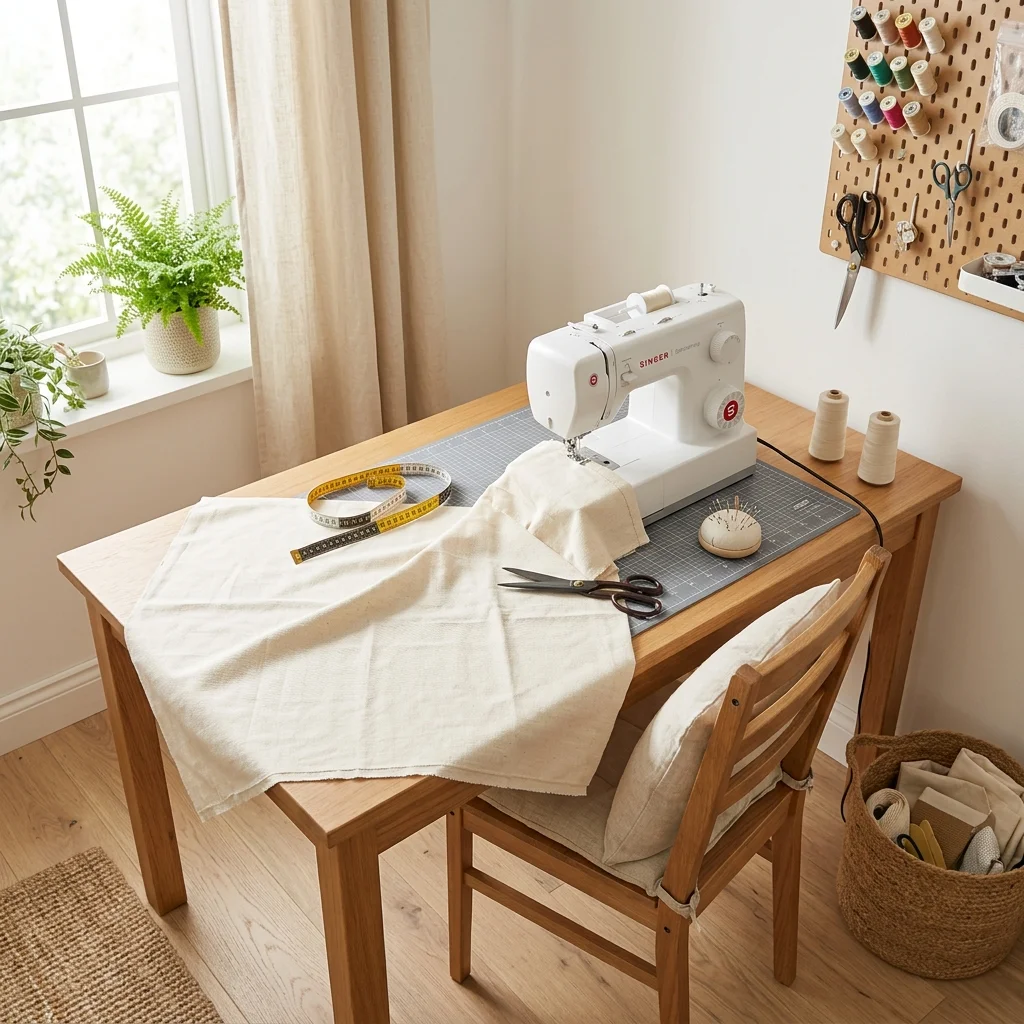
Start with the right measurements, and the whole project becomes much easier. Before cutting any fabric, measure the finished window area, decide how full you want the panels, and add extra length for hems and a top casing or header. A simple cotton or linen blend is forgiving for first projects and gives a soft, polished finish. I’ve noticed beginners often rush this stage, then discover their curtains look too short or skimpy. Taking a few minutes to plan proportions helps the finished panels hang neatly, cover the glass well, and frame the room beautifully without wasting fabric.
A well-planned curtain instantly makes a room feel more finished and intentional. Start by measuring from the curtain rod to your preferred finished length, then account for hems before cutting. For width, allow enough fabric for comfortable fullness rather than making a flat panel that looks stretched across the window. If you want a softer, gathered appearance, use more fabric and divide it into balanced panels. This approach also makes sewing simpler because each piece can be handled separately. When the measurements are clear, pressing, hemming, and assembling the curtains becomes far less stressful for a beginner.
Choose Beginner Fabric
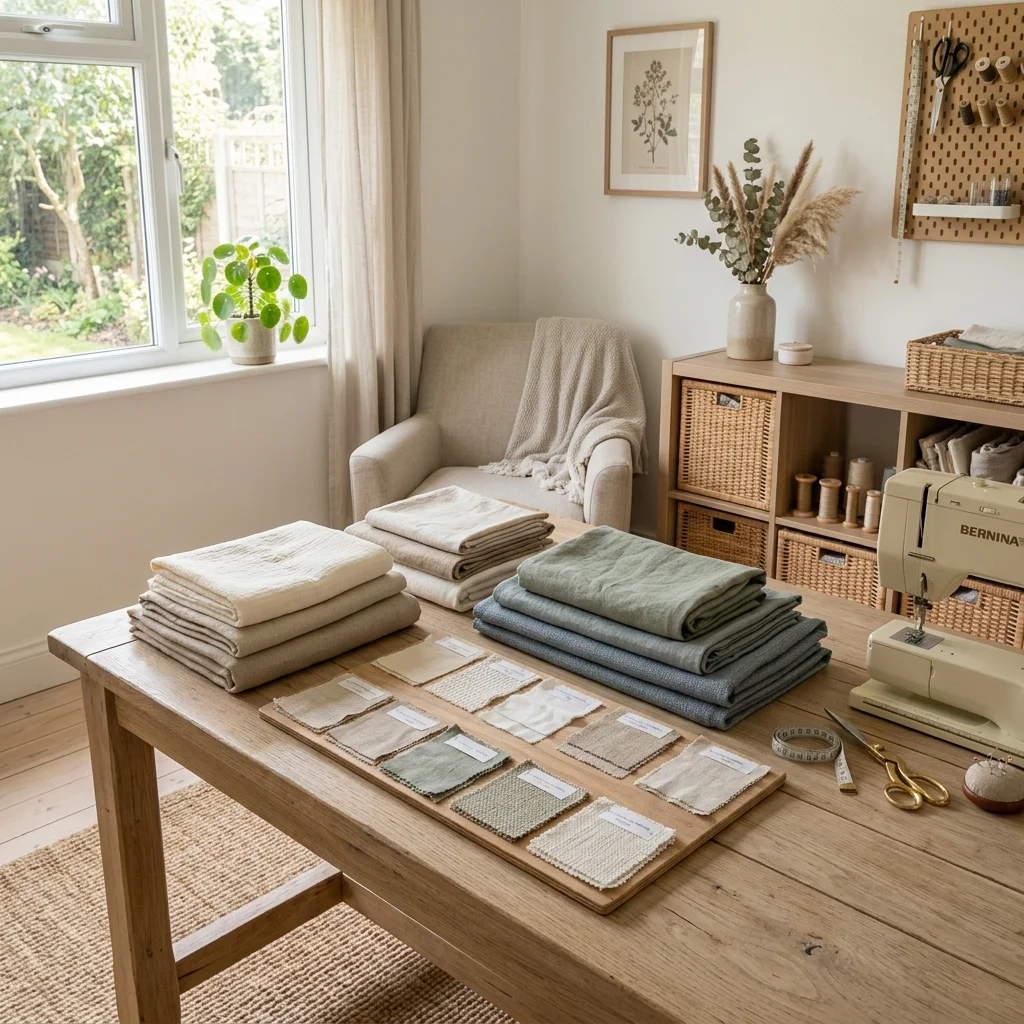
Choose fabric that feels easy to control, and sewing becomes far more enjoyable. Lightweight cotton, cotton-linen blends, and medium-weight decorator fabrics are usually manageable choices for beginners because they press well and are easier to guide under a sewing machine. Look for a pattern and color that complement your walls, furniture, and flooring rather than competing with them. I’ve found that simple solids are especially forgiving because small alignment imperfections are less noticeable. Before cutting, wash and dry washable fabric according to its care instructions to reduce surprises from later shrinkage.
A beautiful fabric choice can change the entire character of your window. Warm neutrals create a calm, layered look, while muted greens, blues, or terracotta shades can add personality without overwhelming the room. Consider texture too: linen-inspired weaves feel relaxed, while smoother fabrics look more tailored. Hold your fabric near the actual window at different times of day to see how natural light affects its color and weight. This small test can prevent an expensive mistake. It also helps you picture how the finished panels will coordinate with rugs, cushions, wood tones, and other decorative details.
Prepare Your Workspace
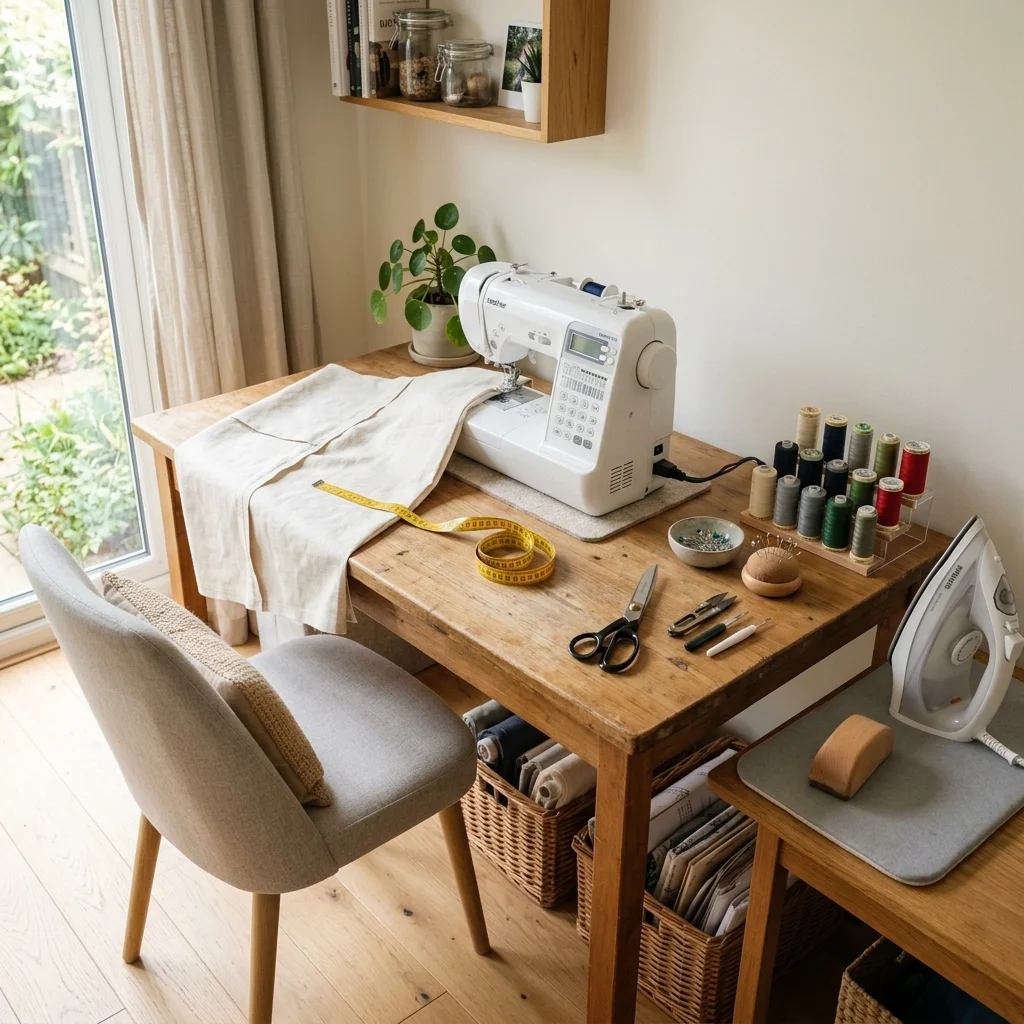
Set up a comfortable sewing area before you begin, because good preparation makes every seam easier. You’ll want a flat surface for measuring and cutting, a reliable sewing machine, matching thread, fabric scissors, pins or clips, a measuring tape, an iron, and a sturdy ironing surface. Keep the fabric supported instead of letting a long panel pull against the machine. I’ve seen simple projects become frustrating when fabric drags across a cramped table or the cutting surface is too small. A tidy setup improves accuracy, reduces handling mistakes, and makes the whole process feel much more manageable.
Create a small pressing station beside your sewing machine, and your curtains will look noticeably more polished. Pressing hems before stitching helps folds stay straight and gives seams a crisp, professional appearance. Use a clear ruler or measuring guide when marking repeated sections so both panels remain consistent. Keep pins, clips, and thread within easy reach, but leave enough open space to spread the fabric flat. This organization is especially helpful with large curtain pieces that can become awkward quickly. A few minutes spent arranging your workspace can save repeated measuring, correcting, and unpicking later.
Cut Fabric Carefully
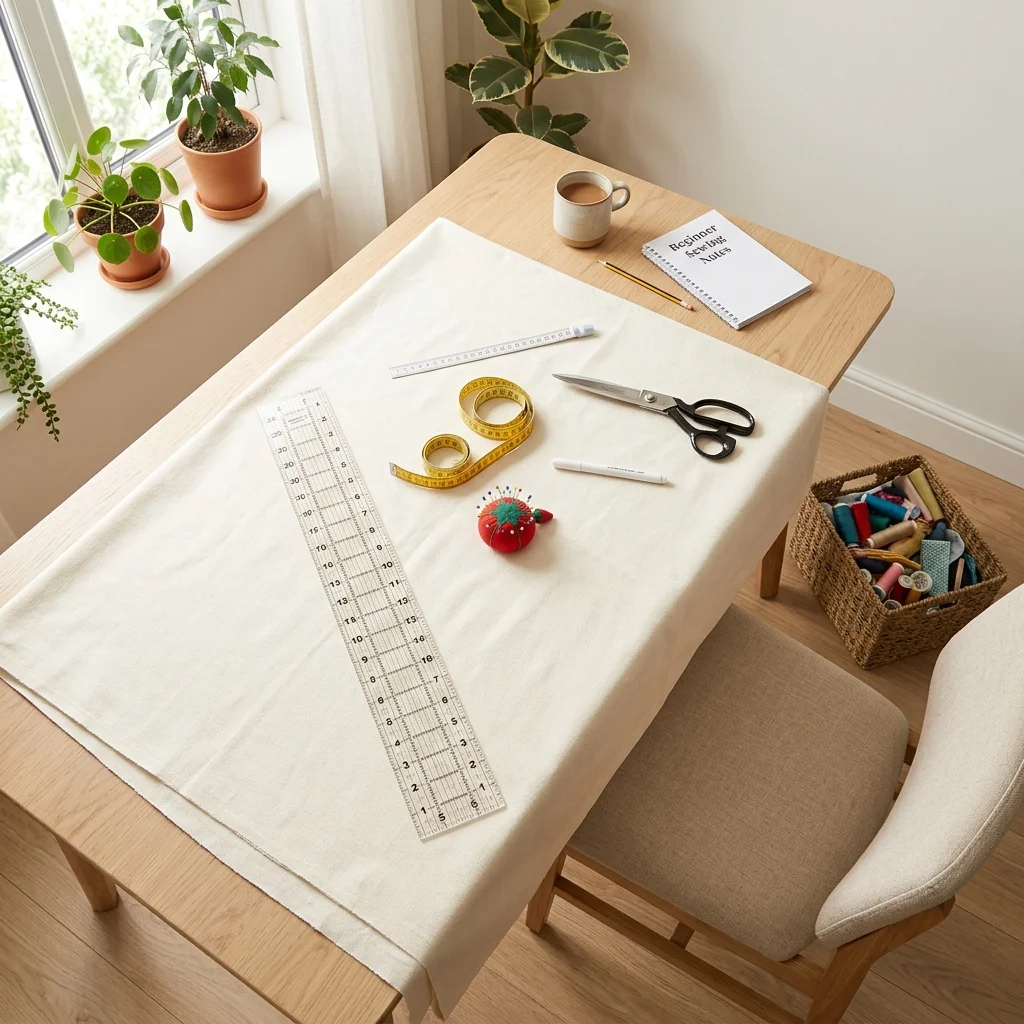
Cutting accurately is where your future curtain shape begins, so slow down here. Lay the fabric flat and smooth away wrinkles before measuring. Mark your finished panel dimensions, including the allowances needed for side and bottom hems and the chosen top finish. A long ruler makes straight lines much easier to maintain. I’ve noticed that beginners often focus on cutting quickly, but careful marking actually saves time because uneven edges create problems during hemming. Keep checking your measurements as you work, especially when preparing two matching panels that need to hang at exactly the same length.
A clean cut gives the finished curtains a much more balanced appearance. If the fabric has a visible pattern, pay close attention to how the design runs across each panel so the motifs line up naturally. For plain fabric, concentrate on maintaining straight edges and consistent dimensions. Cut slowly with sharp fabric scissors, supporting the material so it does not shift while you work. If the fabric is very wide, fold it carefully and check that the layers remain aligned. This simple preparation helps prevent crooked hems, uneven side edges, and panels that look noticeably different once they are hanging.
Sew Clean Side Hems
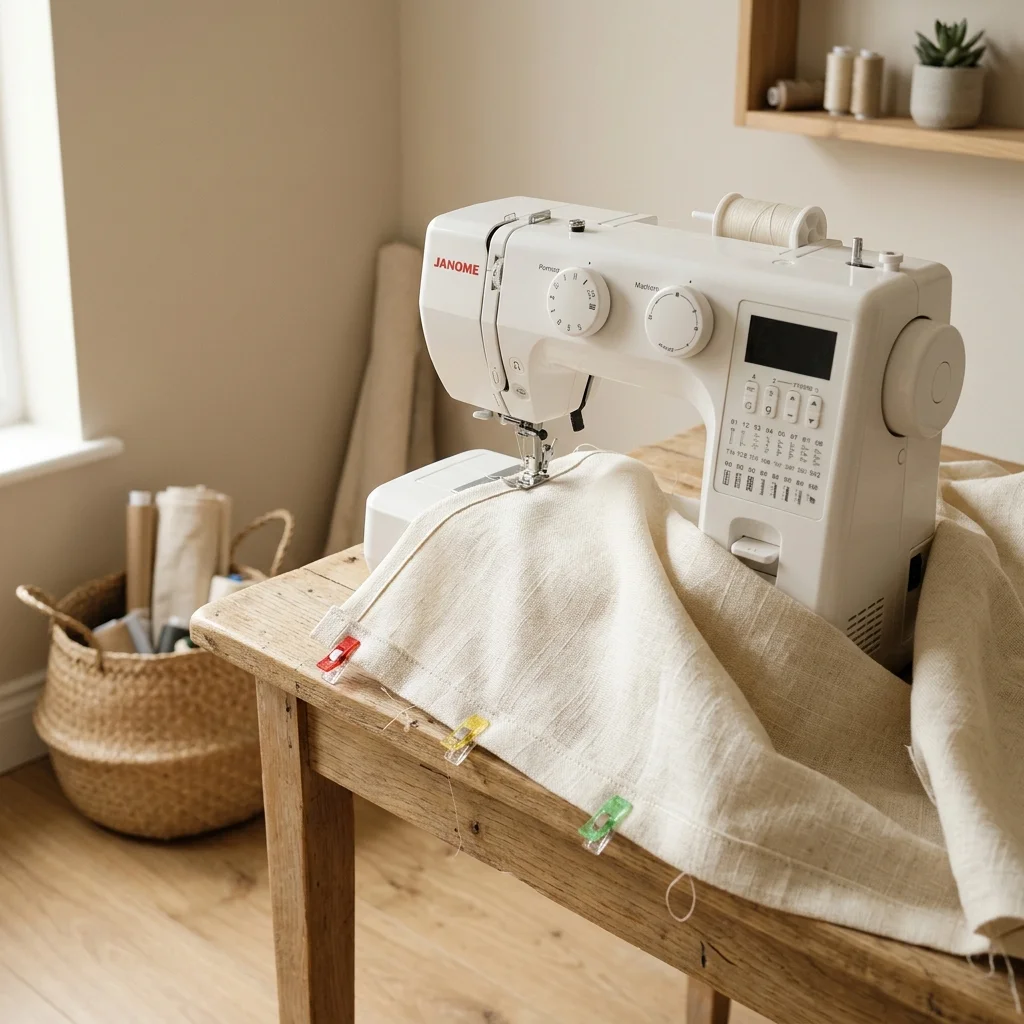
Neat side hems give homemade curtains a surprisingly professional finish. Fold each long edge according to your planned hem allowance, press the fold firmly, and stitch close to the inner edge of the fold. For lightweight fabric, a narrow double-fold hem creates a clean edge without adding unnecessary bulk. Work slowly and guide the fabric rather than pulling it through the machine. In my experience, pressing before sewing makes one of the biggest visual differences in beginner projects. Even simple stitching looks polished when the fold is straight, flat, and consistent from the top of the curtain to the bottom.
Long seams can feel intimidating, but they become easier when you treat them as a series of small, controlled movements. Keep the fabric supported on the table or another nearby surface so its weight does not pull against the needle. Check your seam width occasionally instead of assuming it remains perfectly aligned. If the fabric starts shifting, stop, reposition it, and continue. This prevents wavy edges and uneven stitching. Once both side hems are complete, the curtain panels immediately begin to look finished, while the reinforced edges also help the fabric withstand regular opening, closing, and washing.
Finish Bottom Hems
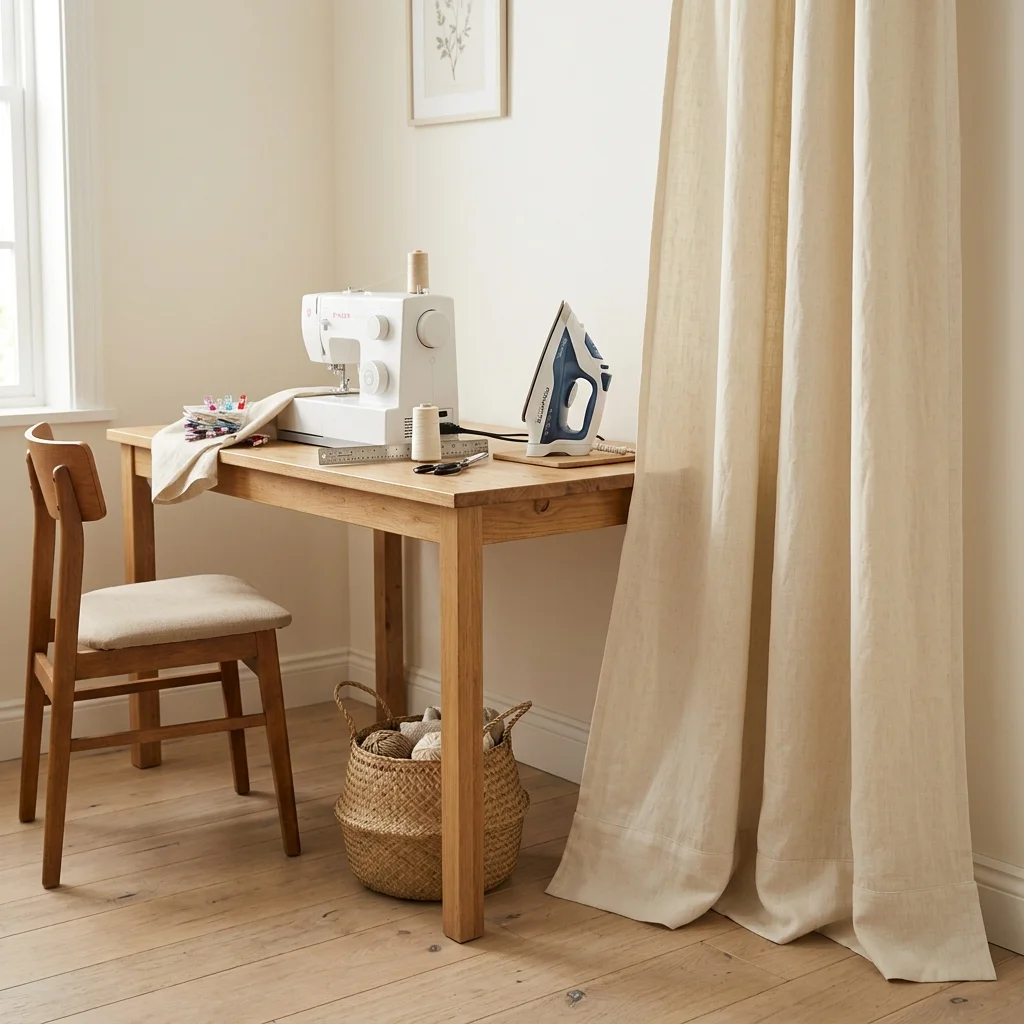
A carefully finished bottom hem helps curtains hang with graceful weight and structure. Measure the desired finished length again before folding the bottom edge, especially if the panels are intended to skim the floor. A wider double-fold hem can work beautifully on medium-weight fabrics because it adds stability without looking bulky. Press the folds firmly, then stitch steadily across the panel. I’ve found that checking the curtain length while the fabric is positioned near the window is worthwhile. A difference of even a small amount can affect whether the panels float neatly, touch the floor, or create an unwanted puddling effect.
The bottom edge also gives you an opportunity to refine the overall style. A crisp, structured hem suits tailored interiors, while a softer fabric with a relaxed finish works well in casual bedrooms and living spaces. If your curtains will be opened frequently, reinforce the stitching at the beginning and end of the seam. Keep your stitches straight and avoid stretching the fabric as you sew. Once pressed, the completed hem should create a smooth visual line across the entire panel. This final edge improves both appearance and durability, making your handmade curtains more practical for everyday use.
Create Rod Pockets
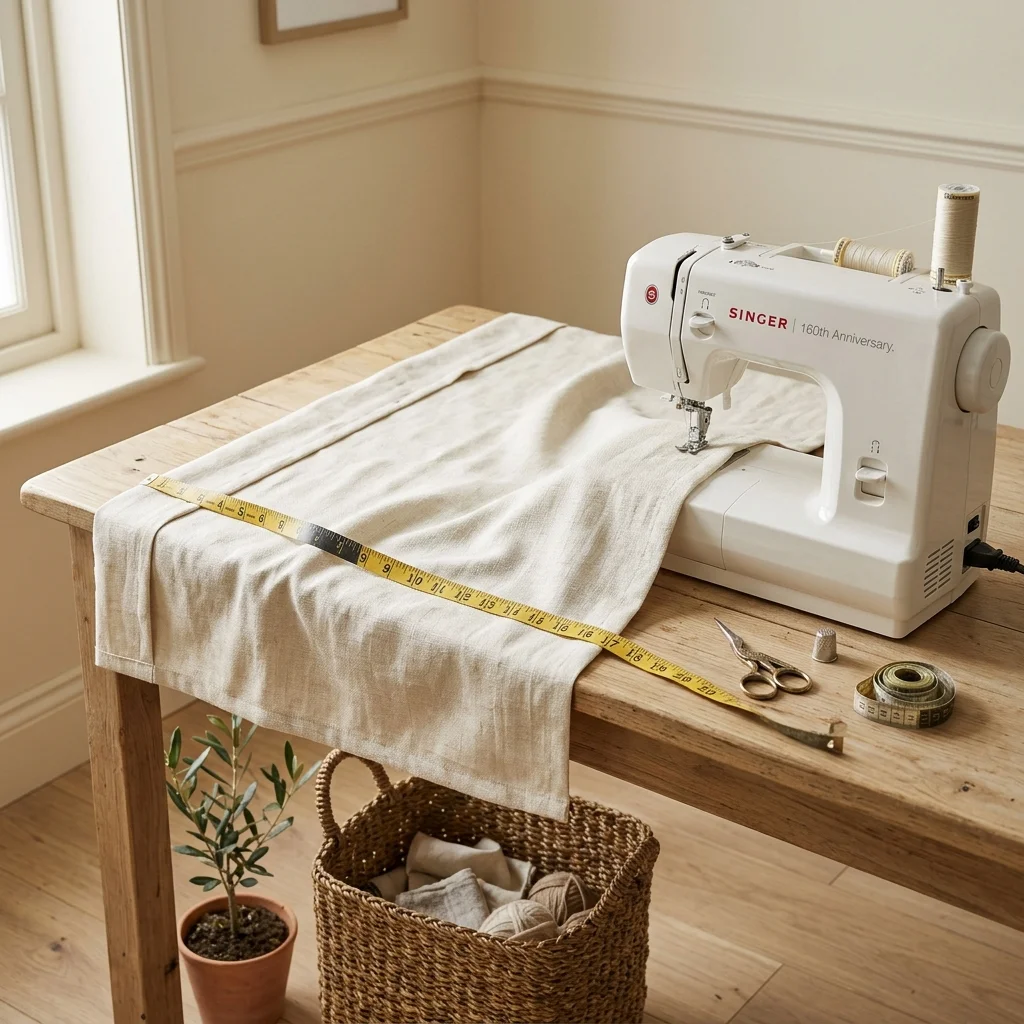
A simple rod pocket creates a clean, classic finish without complicated hardware. Fold the top edge according to the pocket depth you need, then press the fold so the fabric stays in position while sewing. Before stitching, slide your curtain rod through the planned opening or compare the measurement carefully to make sure it will fit comfortably. I’ve noticed that making the pocket slightly easier to thread saves frustration later, especially when curtains are removed for washing. Stitch a straight line across the lower edge, reinforcing the beginning and end for better durability.
A well-proportioned rod pocket also affects how the curtain gathers and hangs. If the opening is too tight, the fabric becomes difficult to slide, while an oversized pocket can create unnecessary looseness at the top. Keep the pocket height consistent on every panel so the curtains align when installed together. For a softer, casual room, gathered fabric around the rod creates gentle folds and visual movement. This finish works particularly well with lightweight cotton and linen-style materials. Once the pocket is pressed and stitched, the top edge should look tidy while still allowing the panel to move smoothly.
Add Curtain Headers
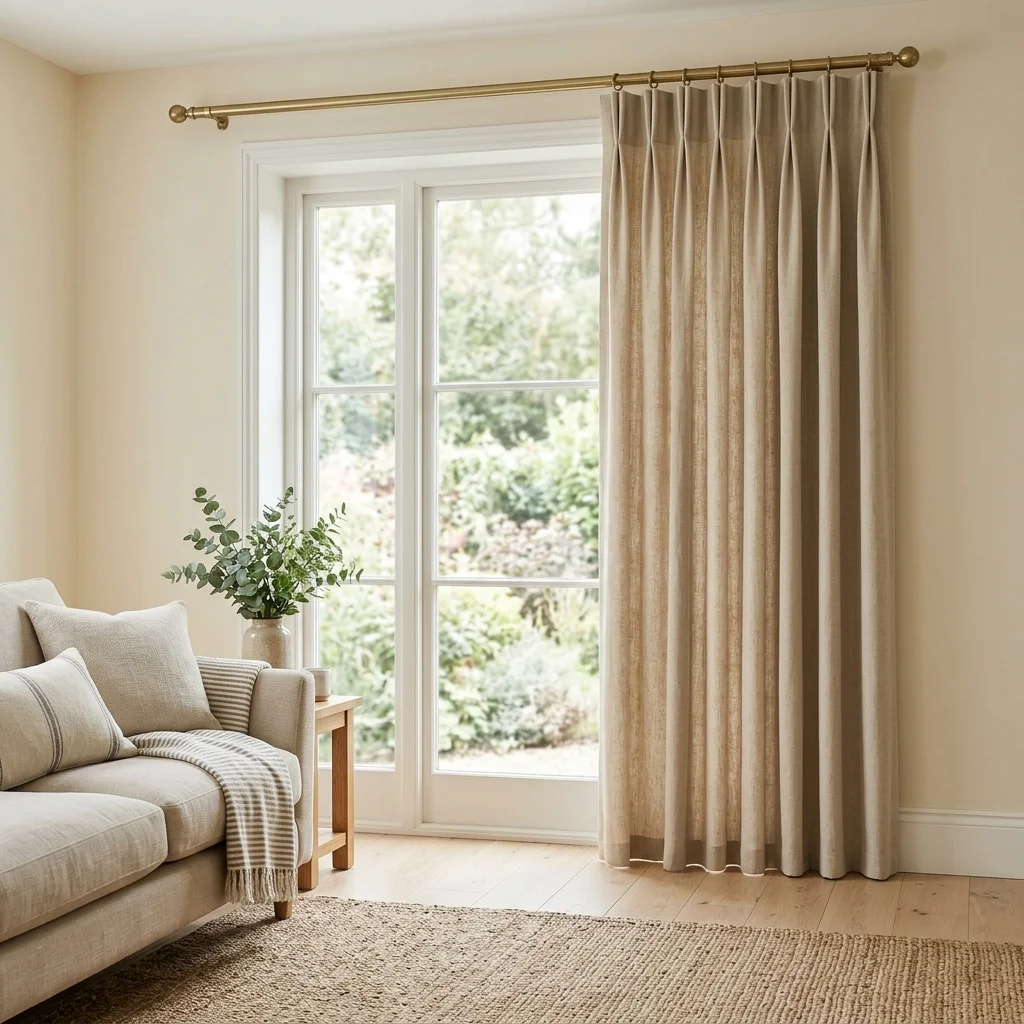
A structured curtain header can make handmade panels look much more tailored and intentional. Depending on your chosen hardware, you can create a simple casing, add tabs, or prepare the fabric for rings and clips. For heavier materials, lightweight interfacing can give the upper section extra stability. Measure carefully so both panels have matching header heights. In my experience, consistency matters more than complicated construction here. A beautifully sewn curtain can still look uneven if one panel sits higher than the other. Taking time to align the top edges helps the finished window treatment look professionally planned.
The header also changes the way fabric falls below the rod. A simple casing gives a relaxed appearance, while rings or clips allow the fabric to move easily and create longer, cleaner vertical folds. Think about how often you will open the curtains before choosing your finish. Frequent movement calls for a practical attachment method that slides smoothly and distributes weight evenly. Keep the hardware proportional to the curtain fabric and room scale. A balanced header prevents the top from looking heavy and helps the entire treatment frame the window without distracting from furniture, artwork, or other decorative details.
Press Every Seam
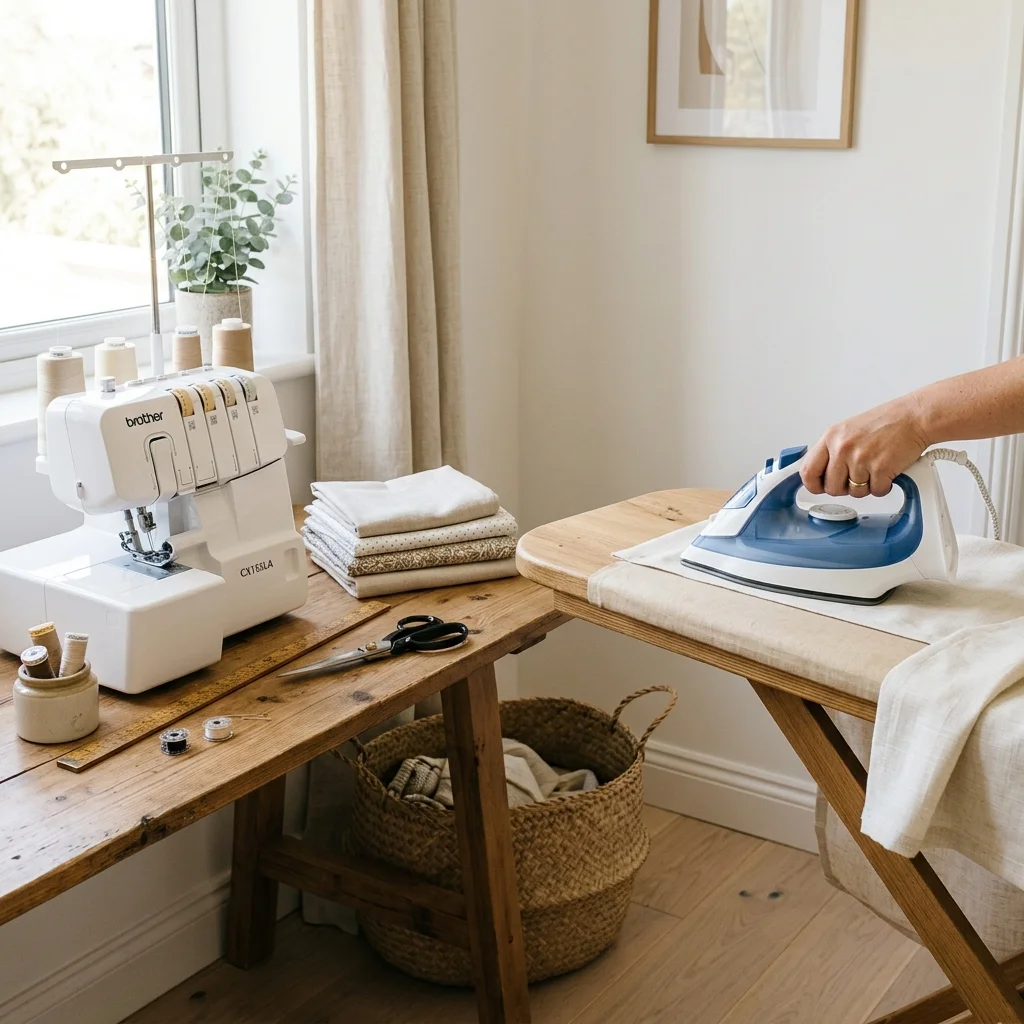
Pressing may seem like a small step, but it can transform the appearance of handmade curtains. Before sewing, press fabric to remove creases that could affect measurements and cutting lines. After each major seam, press the finished area again to flatten stitching and encourage the fabric to hold its intended shape. I’ve seen even basic beginner curtains look dramatically more polished after careful pressing. Follow the fabric care instructions and test the iron temperature on an inconspicuous area first. A little patience with this stage creates cleaner hems, sharper folds, and a much more finished overall appearance.
Think of pressing as part of construction rather than something saved for the very end. When a seam is pressed immediately, it becomes easier to continue sewing accurately because the fabric naturally settles into place. For long curtain panels, work in manageable sections rather than trying to control the entire piece at once. Keep the iron moving when appropriate for delicate fabrics and avoid creating accidental shine on sensitive materials. Once the curtains are complete, give the entire panel one final press. That finishing pass helps remove handling wrinkles and encourages the fabric to fall smoothly when hung.
Install Curtain Hardware

Install the hardware carefully, because even beautifully sewn curtains can look awkward when the rod is poorly positioned. Measure the window and mark bracket locations evenly before drilling. Extending the rod beyond the frame allows the panels to move away from the glass, letting in more light when they are open. Mounting the rod slightly higher can also make the window feel taller. I’ve noticed this simple adjustment often creates a bigger visual improvement than changing the curtain fabric itself. Always choose anchors and brackets suitable for your wall type and the combined weight of the finished panels.
Hardware should support the curtains while quietly complementing the room. Brushed brass adds warmth, matte black creates stronger contrast, and silver-toned finishes can feel crisp and contemporary. Keep the rod straight and check both bracket heights before tightening everything. If the window is wide, use a center support where necessary without interfering with curtain movement. Once installed, test the panels several times to make sure they open smoothly and remain balanced. Proper hardware improves everyday usability while giving the entire window treatment a more intentional, finished appearance.
Hang Even Panels
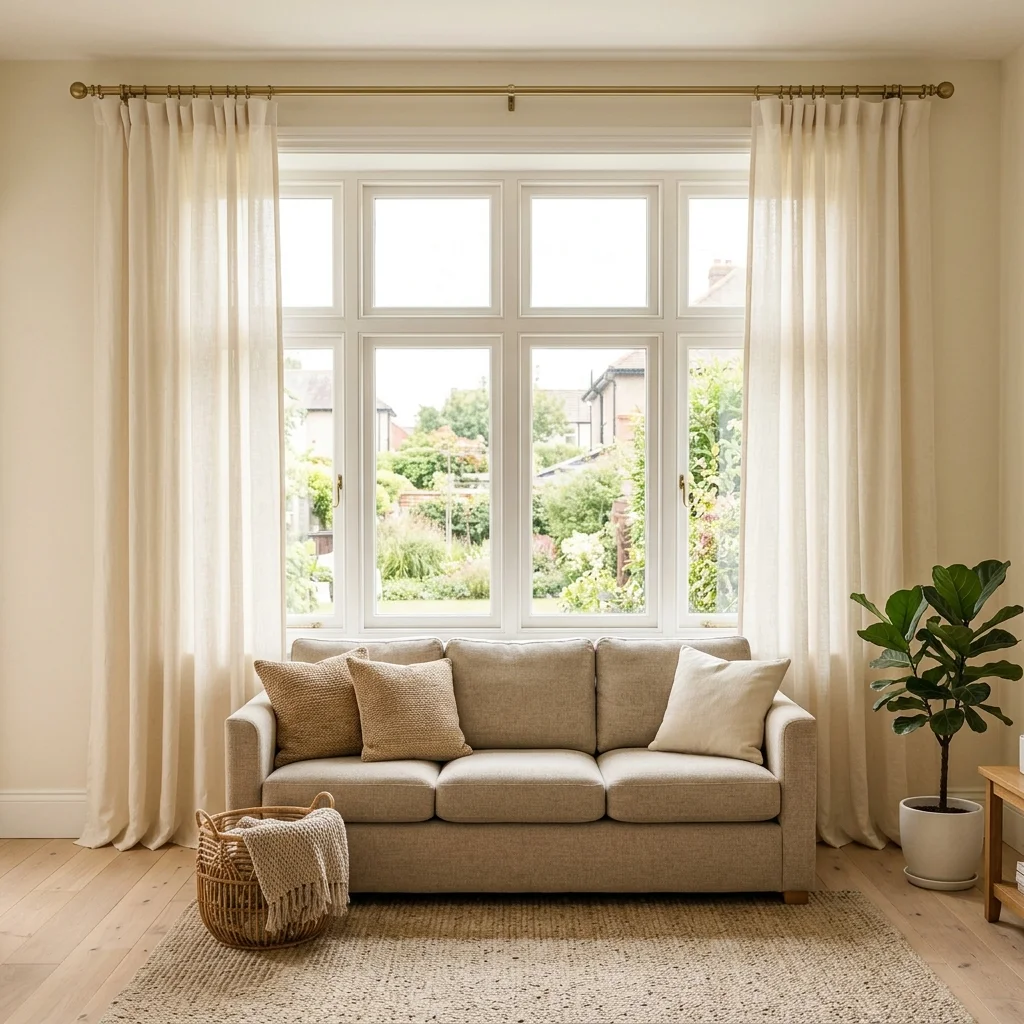
Hang both panels and give yourself a moment to adjust their position before judging the finished result. Handmade curtains can contain small differences that become noticeable once they are suspended vertically. Check that the bottom edges align and that the fabric falls evenly on both sides of the window. Gently distribute the folds rather than pulling them into rigid shapes. I’ve found that curtains often look better after hanging for a day because the fabric begins to relax. This settling period helps reveal whether any final pressing or small adjustments are needed.
Even panels create symmetry, which can make a room feel calmer and more organized. Stand several feet away from the window and view the curtains from different angles instead of inspecting only the seams up close. Look for uneven gaps, twisting fabric, or folds that appear heavier on one side. If the panels are slightly different, adjust their placement before considering alterations. Natural fabrics especially benefit from gentle shaping rather than excessive manipulation. Once the folds settle, the curtains should frame the window without blocking unnecessary light or competing with the surrounding furniture and decor.
Style The Window

Style the finished window with restraint, and the handmade curtains can become a natural focal point. Repeat one or two colors from the fabric elsewhere in the room through cushions, rugs, artwork, or small accessories. This creates connection without making everything look overly matched. I’ve noticed that natural textures such as woven baskets, wood, linen, and soft upholstery work particularly well with simple sewn curtains. Keep furniture positioned so the panels can open freely. The goal is to make the window feel integrated into the room rather than surrounded by decorations competing for attention.
A thoughtful window arrangement can change how spacious and comfortable a room feels. Keep heavier furniture away from the curtain opening when possible, allowing the fabric to move freely and the window to remain visually accessible. If the curtains are patterned, choose simpler accessories nearby so the room does not become visually busy. With plain fabric, texture can provide interest without introducing strong patterns. Add greenery, a small lamp, or a simple vase if the area needs warmth. Once the main elements are balanced, step back and remove anything that feels unnecessary—the finished look should feel calm, practical, and effortless.
Add Simple Lining
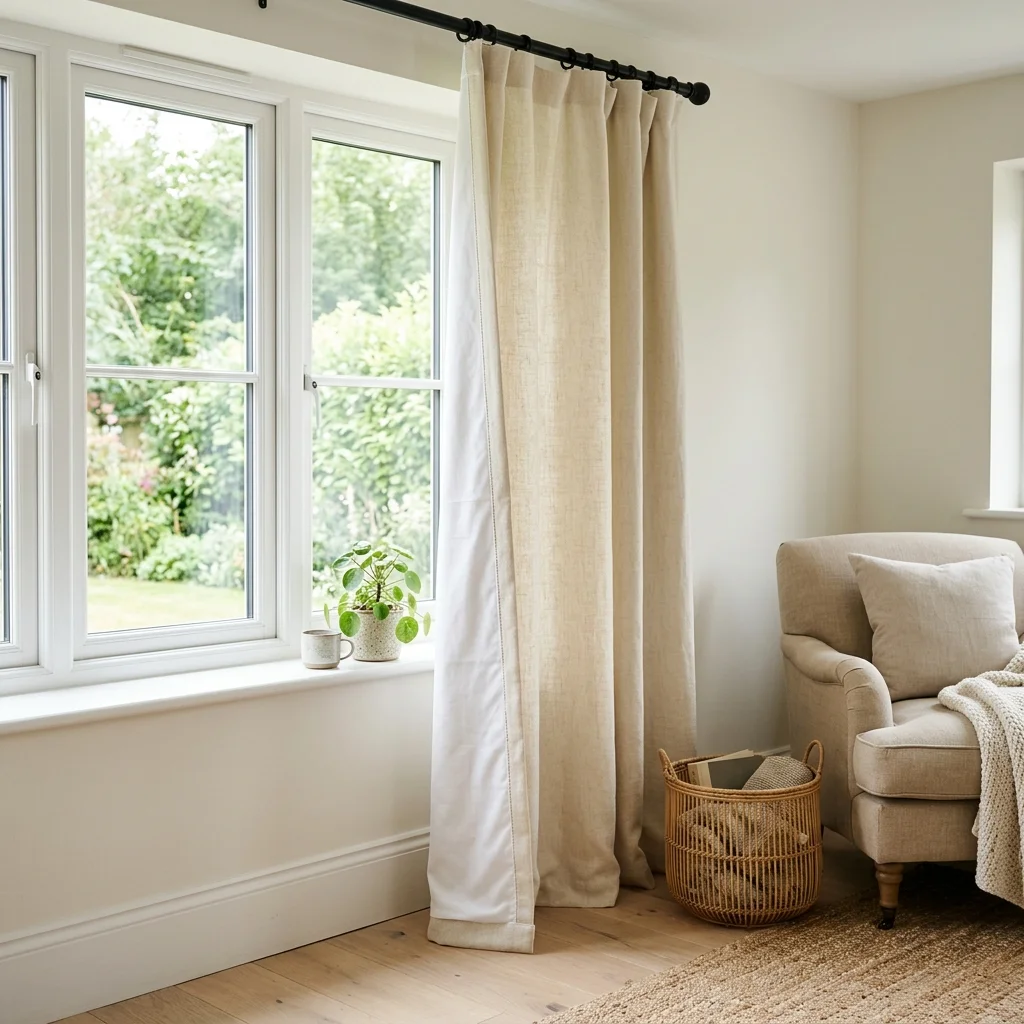
Add lining when you want extra privacy, improved light control, or a fuller-looking curtain. A simple cotton lining can also help protect decorative fabric from strong sunlight and create a more substantial drape. Keep the lining slightly shorter than the outer fabric so it does not peek below the finished curtain. I’ve noticed that lining can make lightweight materials feel much more substantial once they are hanging. Attach the layers carefully and avoid stretching either fabric during construction. When both layers remain smooth and evenly positioned, the finished panel hangs with greater structure and a cleaner silhouette.
Lining is especially useful for bedrooms, street-facing windows, and spaces where afternoon sunlight feels harsh. If complete darkness is not necessary, a lightweight lining can soften incoming light while preserving an airy atmosphere. For a more formal appearance, choose a lining with enough body to encourage deeper vertical folds. Make sure the combined weight remains appropriate for your rod and mounting hardware. After sewing, inspect the curtain from both sides for ripples or pulling. A well-finished lining should support the outer fabric quietly, improving function without becoming visible from the room.
Test Curtain Length
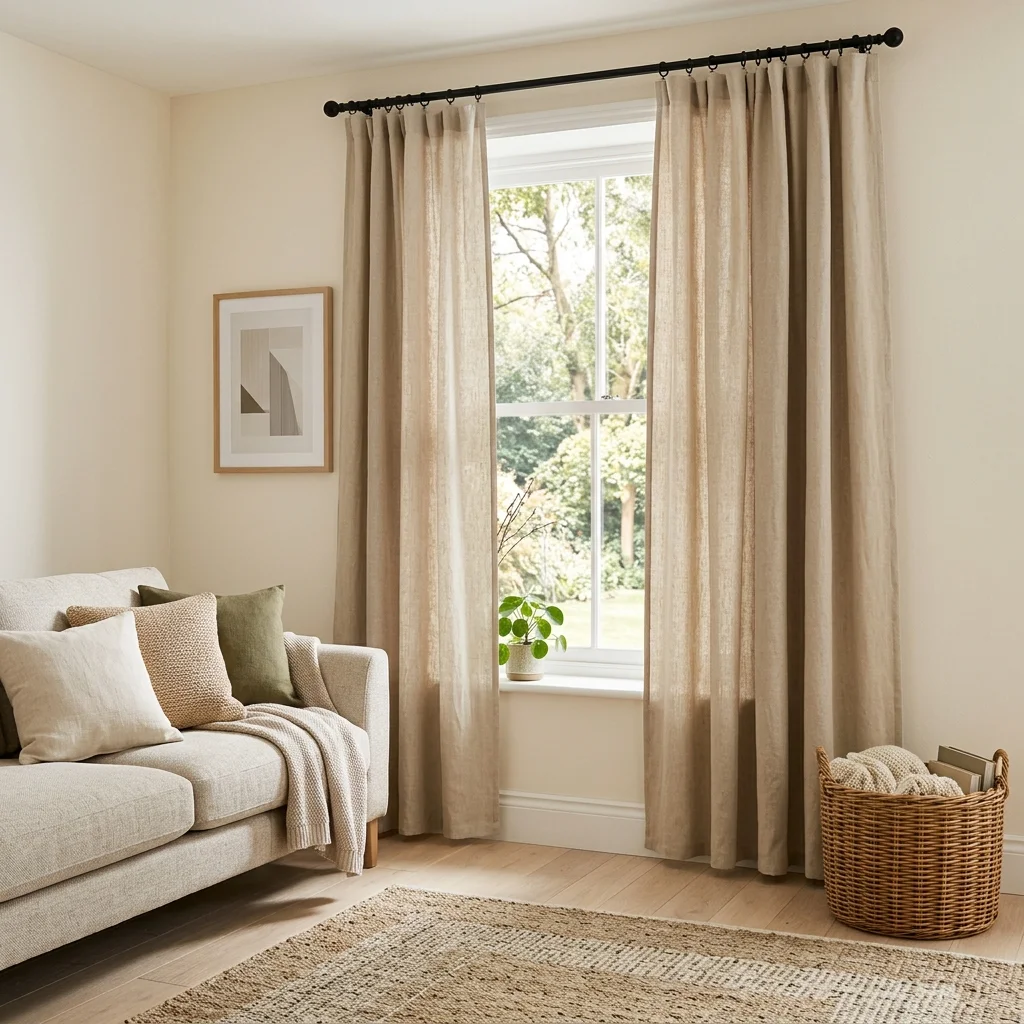
Check the finished length before declaring the project complete, because the way curtains meet the floor has a major visual impact. Hang the panels and inspect them from across the room. A slight floor gap creates a clean, tailored appearance, while fabric that gently grazes the floor feels softer and more relaxed. If the curtains appear uneven, mark the necessary adjustment while they are hanging. In my experience, judging length from a cutting table is much less reliable than seeing the finished fabric vertically. Natural drape, flooring, and window height all influence how the final measurement looks.
Think about everyday use as well as appearance when choosing the final length. Curtains in a busy area may be easier to maintain when they sit just above the floor, while bedroom panels can tolerate a softer, longer finish. Avoid excessive pooling if you want an easy-care option, particularly in homes with pets or high foot traffic. If you have two panels, compare their bottom edges from several viewpoints. Small differences can become obvious when the curtains are closed. A final length check gives you the opportunity to make corrections before the fabric becomes difficult to alter.
Finish With Details

Finish with a few thoughtful details, and your handmade curtains can look remarkably polished. Trim loose threads, inspect the hems, and reinforce any areas that receive frequent handling. If you use tiebacks, choose simple fabric or metal options that complement the rod rather than overpowering the window. I’ve seen small finishing touches make a noticeable difference because they remove the visual signs of an unfinished project. Run your hands gently along each seam to check for loose stitching or uneven folds. These final checks improve durability while giving the curtains a clean, intentional appearance.
The best finishing details are usually the ones that make the curtains easier to live with. Test the panels by opening and closing them several times, checking that the top attachment moves smoothly and the fabric does not catch. Wash or care for the finished curtains according to the fabric instructions, especially if the material was prewashed before sewing. Take a final look at the room during both daylight and evening conditions. A successful curtain project should not only photograph beautifully but also provide privacy, light control, and comfortable everyday use without demanding constant adjustment.
Enjoy Finished Curtains

See the finished curtains in place, and the effort behind every measurement and seam becomes worthwhile. The fabric now frames the window, controls light, and adds texture without requiring a complicated design. Take a few minutes to arrange the folds naturally and check the panels from across the room. I’ve found that handmade curtains often look even better after they have been hanging for several days because the fabric relaxes into its natural drape. Resist the urge to perfect every fold immediately. Small variations can make homemade curtains feel warm, relaxed, and genuinely personal.
A successful first curtain project is about more than achieving perfectly straight stitches. You’ve learned how measurements, fabric choice, pressing, hems, headers, hardware, and final styling work together to create a useful window treatment. If one detail is not perfect, treat it as experience for your next project rather than a failure. The finished curtains should make the room feel more comfortable and complete while reflecting your own choices. Take a photo, enjoy the transformation, and note what you would change next time. Those small observations make future sewing projects easier, faster, and more confident.
Conclusion
Creating your own curtains is a rewarding way to refresh a room without relying on complicated techniques. This guide to how to sew curtains for beginners step by step gives you a practical foundation for measuring, cutting, sewing, pressing, hanging, and styling your panels with confidence. Remember that small imperfections are part of learning, and every project teaches you something useful for the next one. Save this guide on Pinterest so you can return to the steps whenever you’re ready to sew. Try your favorite ideas, make them your own, and share this article with someone who loves a beautiful DIY home project. Happy sewing!
Read More : 15 Fun Things to Crochet When You’re Bored at Home