16 Easy Bowl Pottery Painting Ideas For Beginners
Introduction
You can create professional looking dinnerware in under two hours with these 16 Easy Bowl Pottery Painting Ideas for Beginners. Exploring this craft is a relaxing way to personalize your home, even if you have never touched a paintbrush before. Whether you visit a local pottery studio or paint at home, the process starts with choosing the right surface and pigment.
Understanding your materials is the first step to success. If you want a functional, food-safe finish, you must use underglaze on bisqueware, which then requires a professional kiln firing to set the colors. In contrast, acrylic paint is perfect for decorative pieces that will only hold dry items, but it is not safe for eating or drinking. Most beginners start with a standard 6 inch ceramic bowl because the curved surface provides a manageable area for experimenting with simple patterns. Let these ideas guide your next creative project.
Polka Dot Patterns
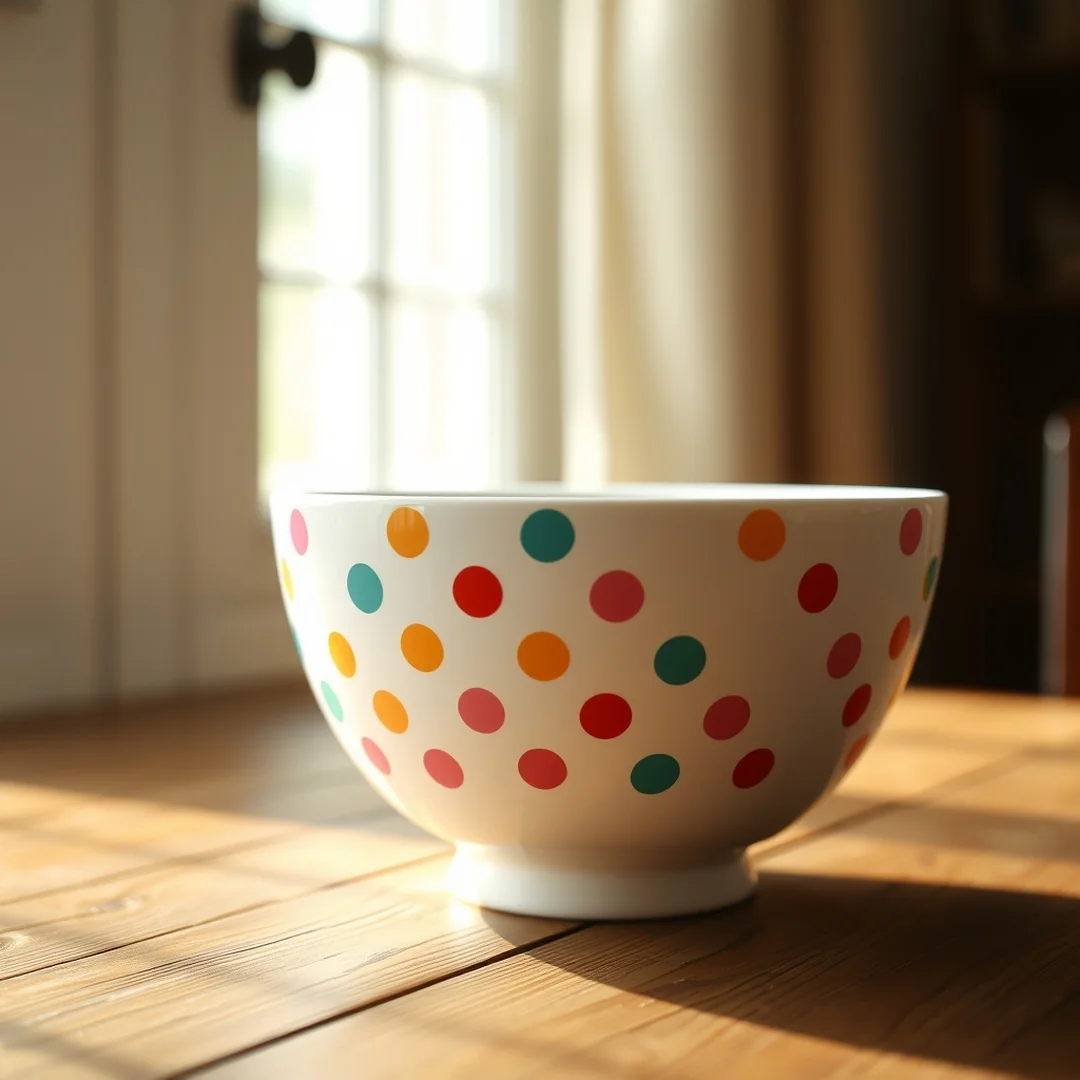
You want your ceramic bowl to look like it came from a professional shop, but your hand shakes when you hold a brush. Polka dots are the perfect solution for your list of 16 Easy Bowl Pottery Painting Ideas for Beginners because they look great even if your artistic skills are still developing. Instead of using a brush, grab a round sponge tool. These tools come in various sizes, but a 1/2 inch sponge is usually the most versatile for a standard cereal bowl.
Dip the sponge lightly into your chosen underglaze and tap off the excess on a paper towel before touching the surface. Press the sponge straight down onto the bisqueware and lift it immediately to avoid smearing the edges. The secret to a clean look is spacing dots at least one inch apart. If you cluster them too closely, the pattern can look messy once the piece goes through the kiln. Consistent pressure is the key to uniform circles. If you make a mistake, simply wipe the wet glaze away with a damp cloth and try again.
Simple Striped Bowls
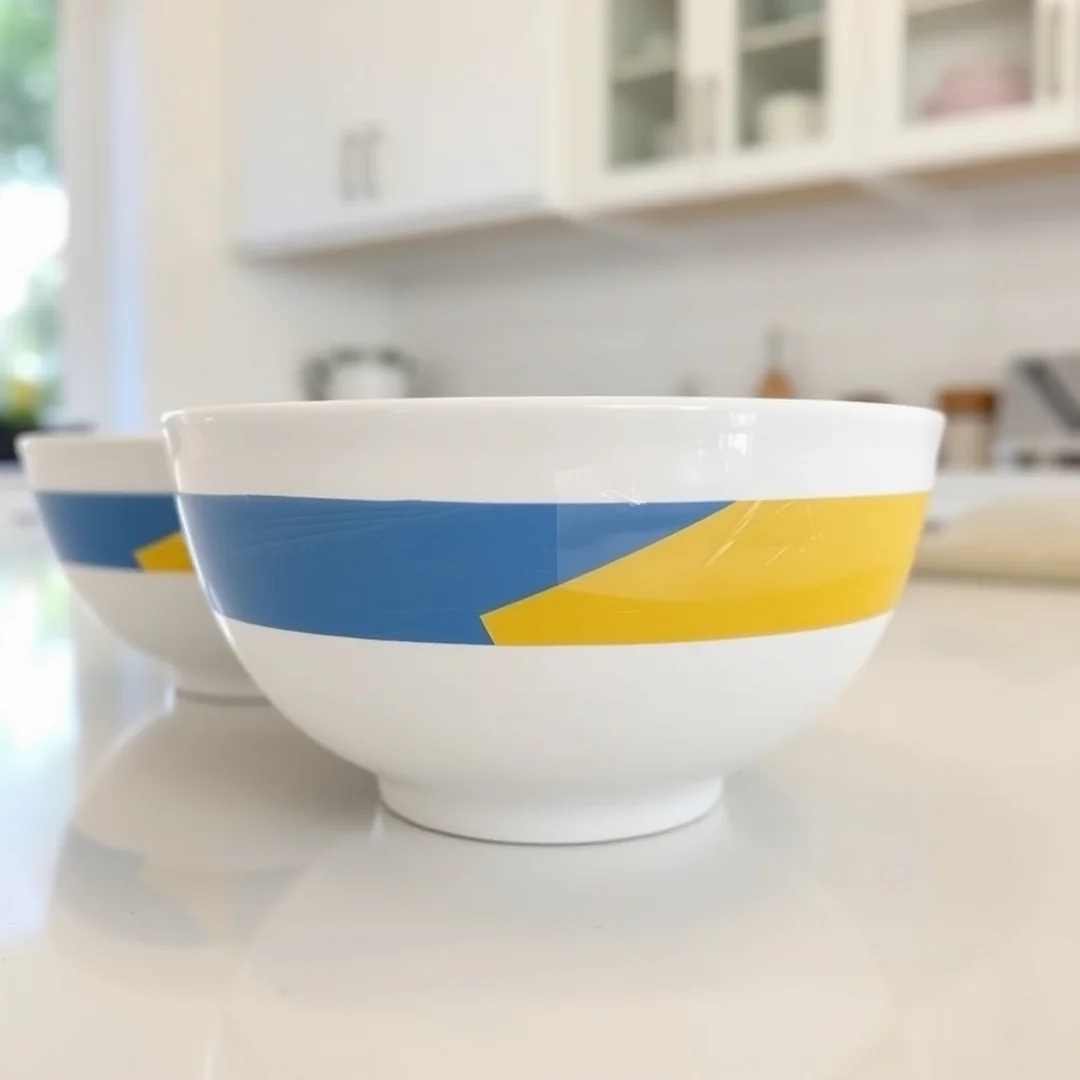
Do you want to create clean geometric patterns on your ceramic bowl without needing a steady hand? Using masking tape is the most effective way to achieve perfectly crisp lines when you are exploring 16 Easy Bowl Pottery Painting Ideas for Beginners. Simply press thin strips of low-tack tape onto your bisqueware to section off your design before you start painting.
Once your tape is secure, applying colors in thin layers is vital to avoid bleeding under the edges. Use a soft brush to dab your underglaze between the tape lines rather than dragging it across. If you load your brush with too much pigment, the moisture can seep under the adhesive. A light touch is much better than one thick, gloppy coat. I recommend waiting about 15 minutes for the first layer to dry before adding a second. You will need roughly 3 layers of color for a solid, opaque finish that looks great after the kiln firing process. Carefully peel the tape off while the glaze is still slightly damp to keep your edges sharp.
Painted Fruit Designs
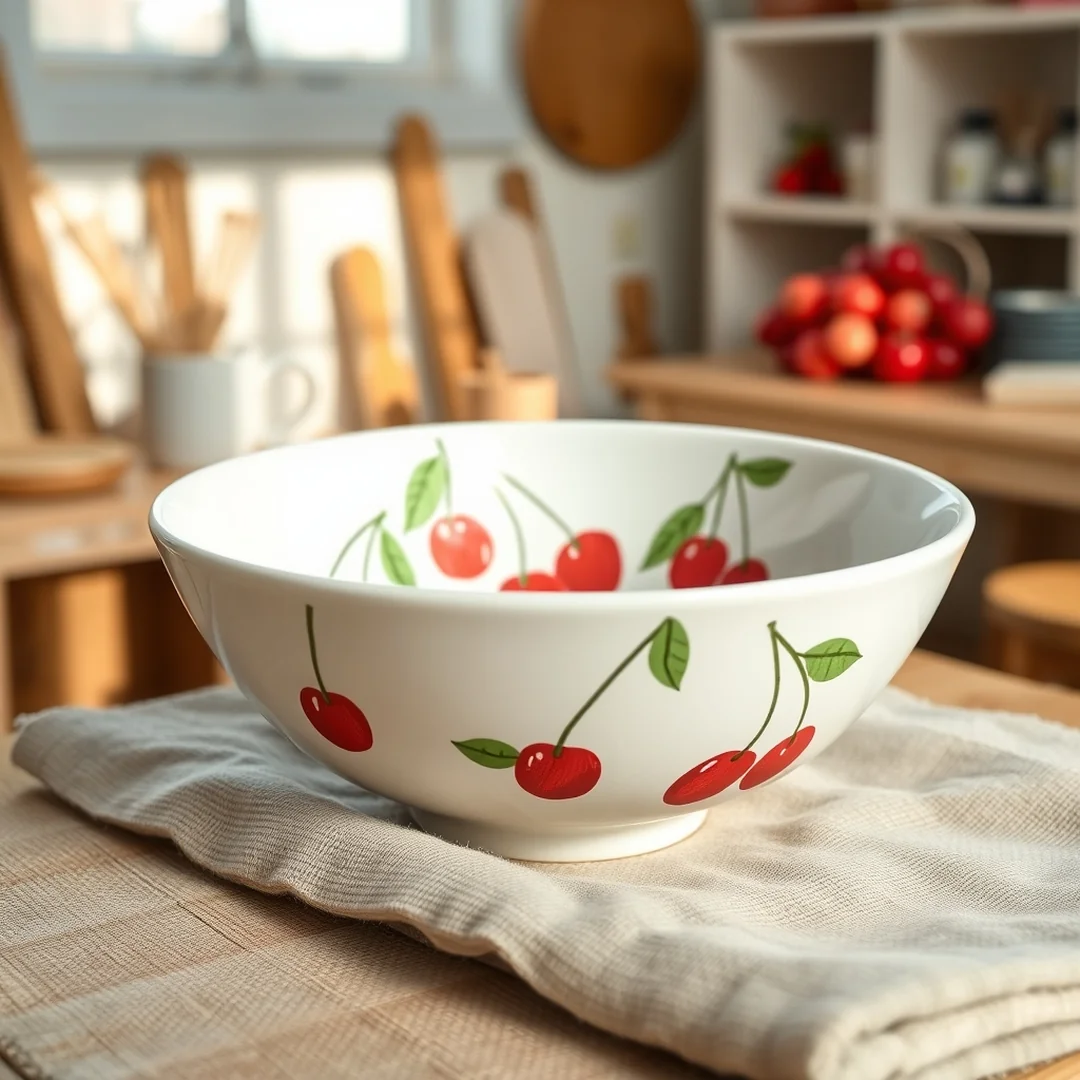
You might think you need fine art skills to decorate your ceramic bowl, but simple shapes are often the most charming. Starting with fruit patterns is one of my favorite 16 Easy Bowl Pottery Painting Ideas for Beginners because the shapes are naturally forgiving. You do not need to be a painter to get a great result.
Focus on basic shapes like lemons or cherries to build your confidence. I suggest using a round sponge brush to dab your base colors onto the bisqueware. This technique creates a soft, organic texture that looks intentional rather than messy. Once your fruit shapes are dry, use a thin liner brush to add green leaves for contrast. A few sharp, angled strokes for the leaves make the round fruit pop against the white clay. If you are decorating a piece for actual dining, always use food-safe underglaze before the final kiln firing to keep your work functional. For a set of four bowls, plan to spend about 45 minutes on the painting stage to ensure consistent detail across each piece.
Minimalist Geometric Shapes
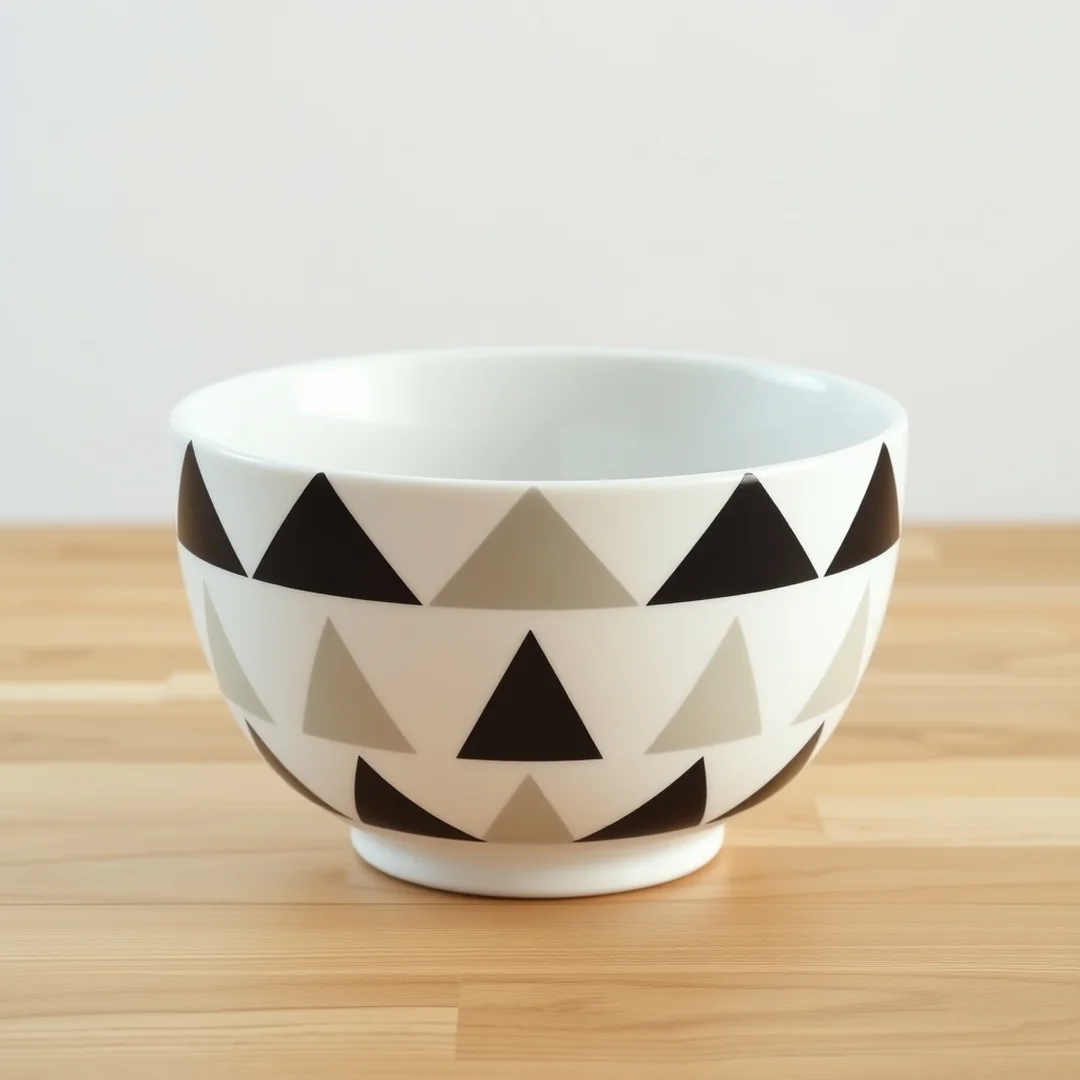
I find that starting with straight lines on a curved surface is the best way to practice steady brush control. When you want to try one of the 16 Easy Bowl Pottery Painting Ideas for Beginners, triangles offer a clean look that hides minor imperfections easily. To get sharp edges on your ceramic bowl, apply strips of thin masking tape before you begin painting. This technique creates crisp boundaries that make your DIY painted clay bowls look professionally made.
Stick to a simple color palette to maintain a modern aesthetic. I suggest picking just two contrasting colors, such as navy blue and crisp white, to keep the design from feeling too busy. You can use a small sponge or a flat brush to fill in your shapes with underglaze. Make sure to press the tape down firmly along all edges to prevent any paint from bleeding underneath. After you remove the tape, let the piece dry for about 2 hours before you apply a clear pottery glaze for a food-safe finish. This approach helps you master basic simple pottery painting patterns for bowls without feeling overwhelmed.
Solid Color Blocking
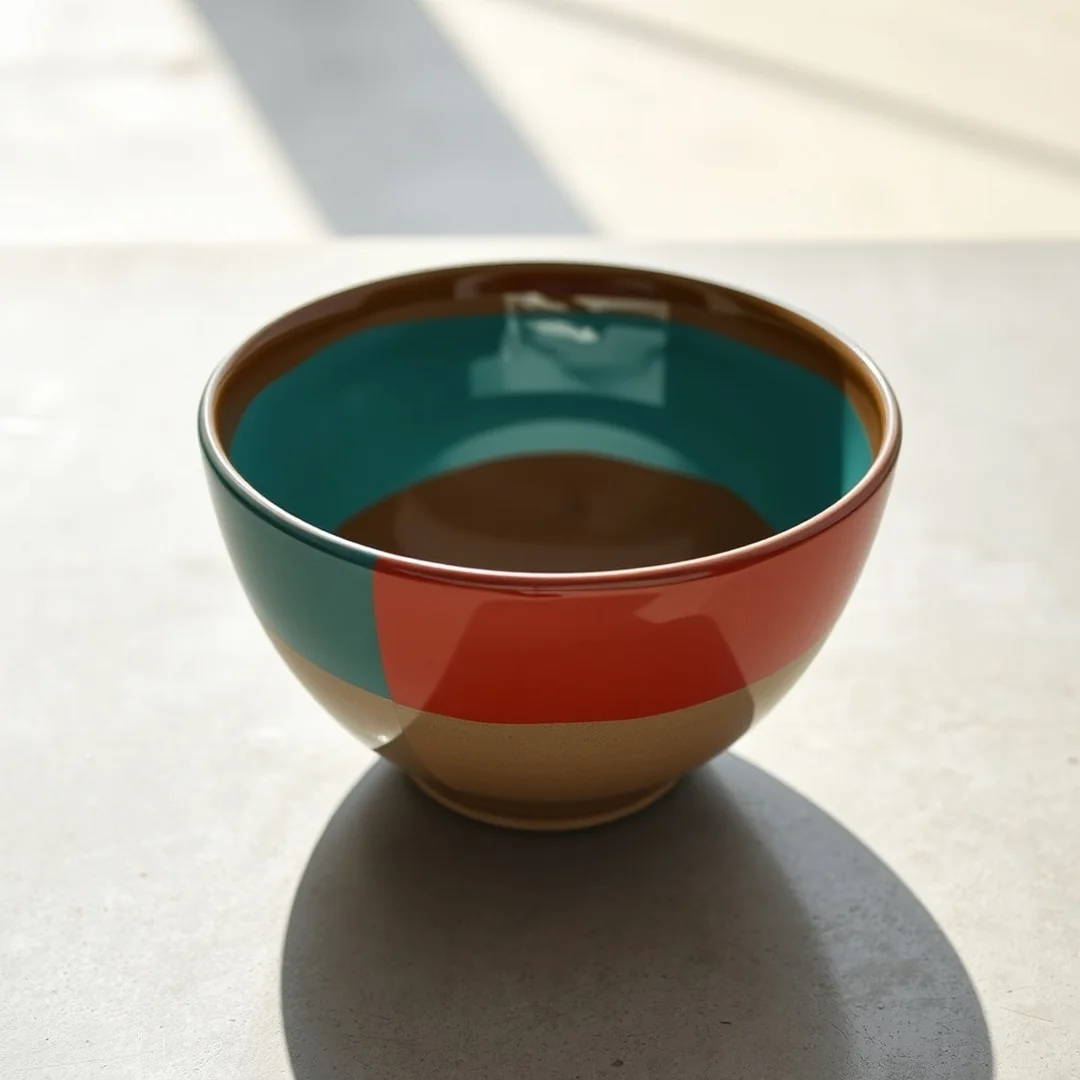
Use a flat synthetic brush to apply your base layers because it holds more pigment and leaves fewer visible streaks than a round one. This is one of the most effective ways to include solid blocks in your 16 Easy Bowl Pottery Painting Ideas for Beginners. Start by painting the entire interior of your ceramic bowl first. Let that dry for at least 15 minutes before flipping it over to paint the exterior. This prevents you from smearing your hard work while you rotate the piece.
To get perfectly smooth coverage, apply three thin coats of underglaze rather than one thick layer. Thick paint often bubbles or peels during the kiln firing process. Use a 1-inch wide brush to maintain consistent pressure across the curved walls of the bowl. If you notice any pooling paint, gently pick it up with a damp sponge before it sets. This simple technique creates a clean, professional finish that makes your DIY painted clay bowls look like store-bought items. Always double check that your chosen pigment is marked food-safe if you plan to eat out of your finished bowl.
Dotted Rim Details
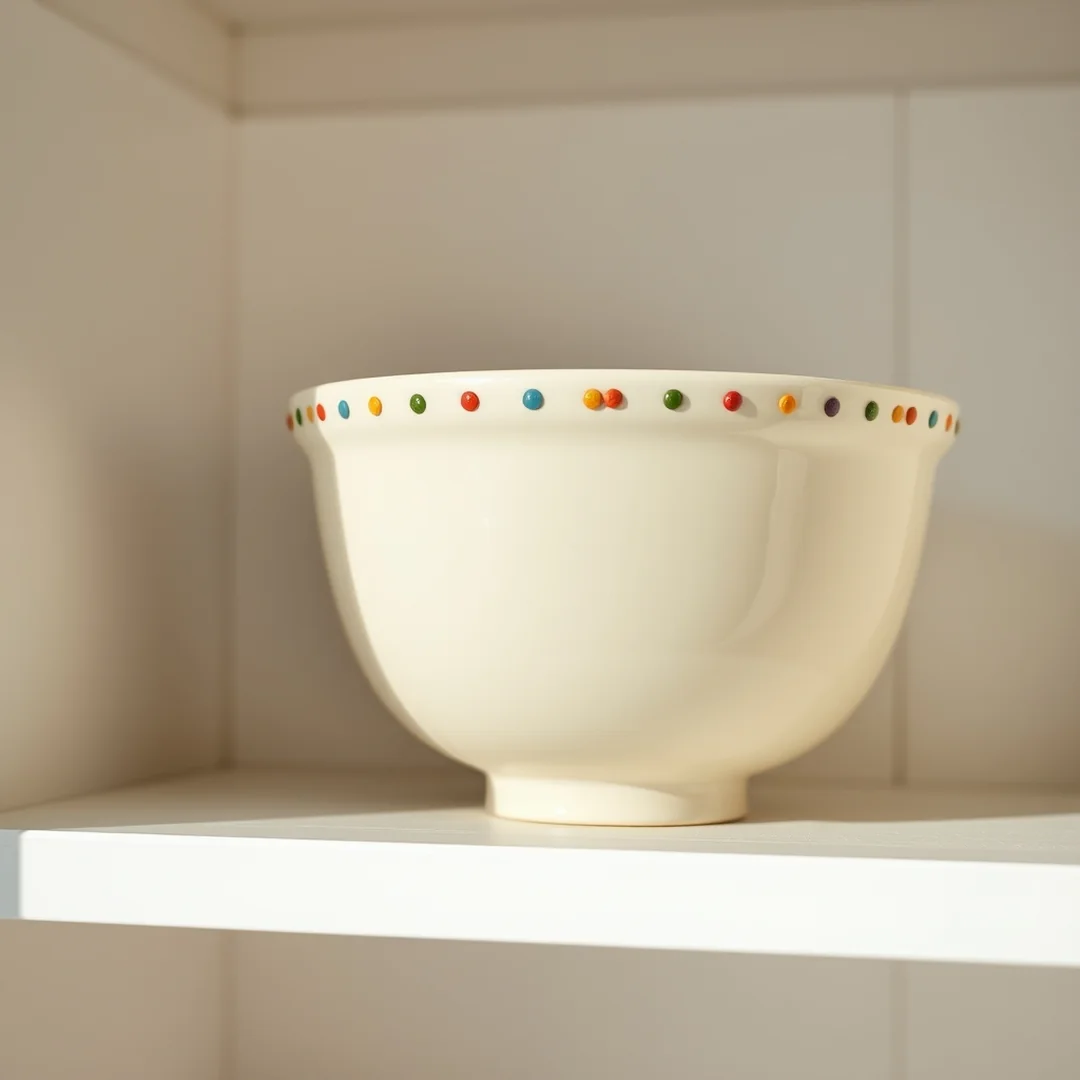
Applying dots along the edge of your ceramic bowl is a perfect way to celebrate the transition into spring, as the pattern mimics small flower buds or morning dew. This approach is one of the most accessible options among 16 Easy Bowl Pottery Painting Ideas for Beginners because it requires very little steady hand control. You can use specialized dotting tools or simply the back of a standard paintbrush to create uniform circles.
The secret to keeping this design looking intentional is varying dot sizes around the circumference. Start by placing larger dots at one-inch intervals around the rim. Once those are dry, fill the gaps with much smaller dots to create a rhythmic, sophisticated look. If you are working on bisqueware in a professional pottery studio, use a high-quality underglaze to ensure the design stays crisp after the kiln firing process. For a display-only piece at home, acrylic paint works just as well. Always keep a damp sponge nearby to wipe away stray marks immediately, as errors are easiest to fix before the pigment sets into the porous surface of your clay.
Abstract Brush Strokes
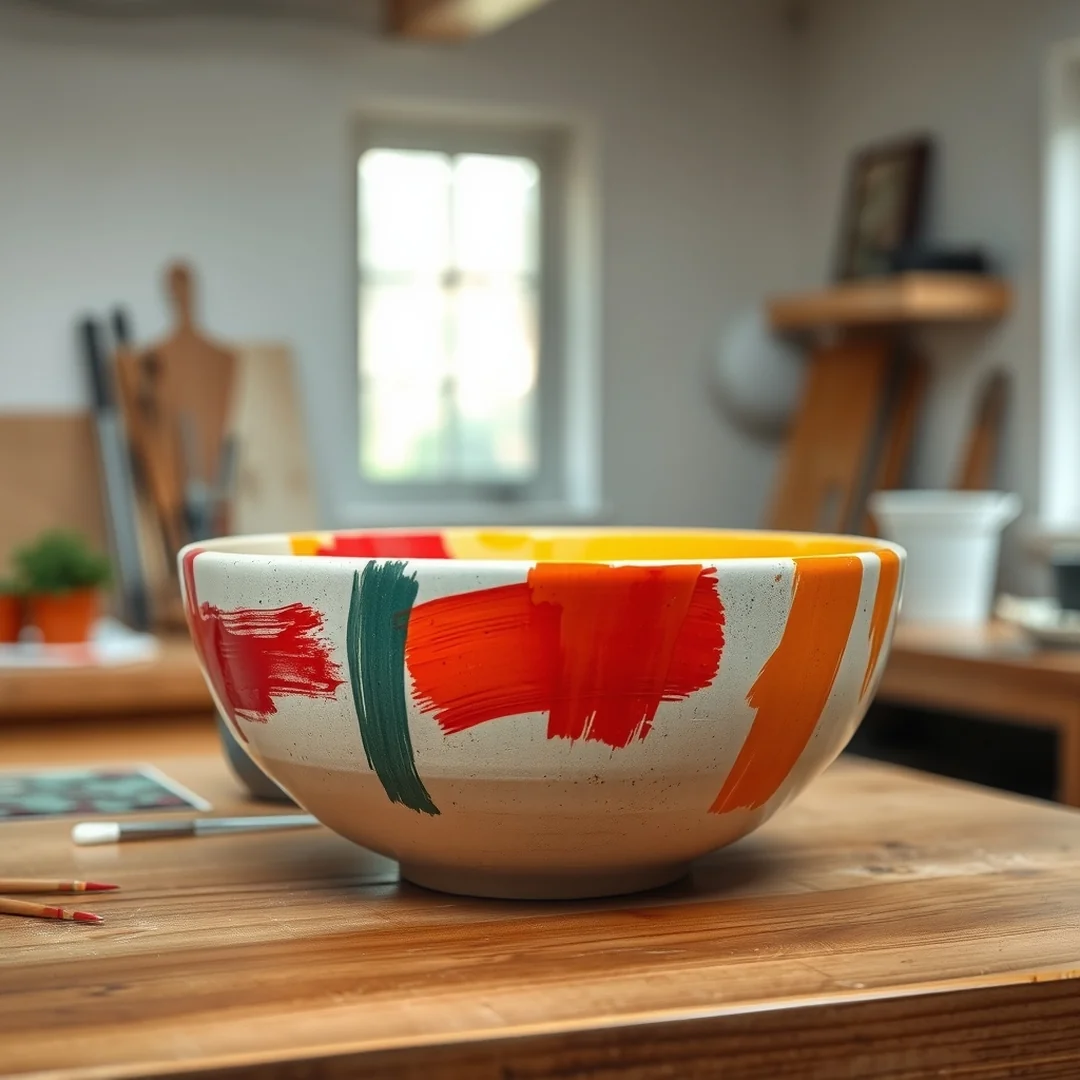
You can create professional art for about $5 per bowl at a local pottery studio, which is much cheaper than buying a $40 designer piece. Abstract marks are one of my favorite 16 Easy Bowl Pottery Painting Ideas for Beginners because they rely on freedom rather than technical skill. You don’t need a steady hand to make these beginner ceramic bowl painting designs look intentional.
Start by picking three colors of underglaze that coordinate well on your bisqueware. Use a flat brush to apply short, overlapping lines across the surface. I like to rotate the bowl as I paint to keep the movement consistent. The goal is embracing the organic look of messy art by letting the colors bleed slightly where they touch. If you want more dimension, wait for the first layer to dry before adding a second set of strokes in a darker shade. This layering colors technique adds instant depth that hides minor mistakes. Just remember that if you plan to eat from these, you must use food-safe glaze and have the piece fired in a kiln to seal the design permanently.
Floral Motif Bowls
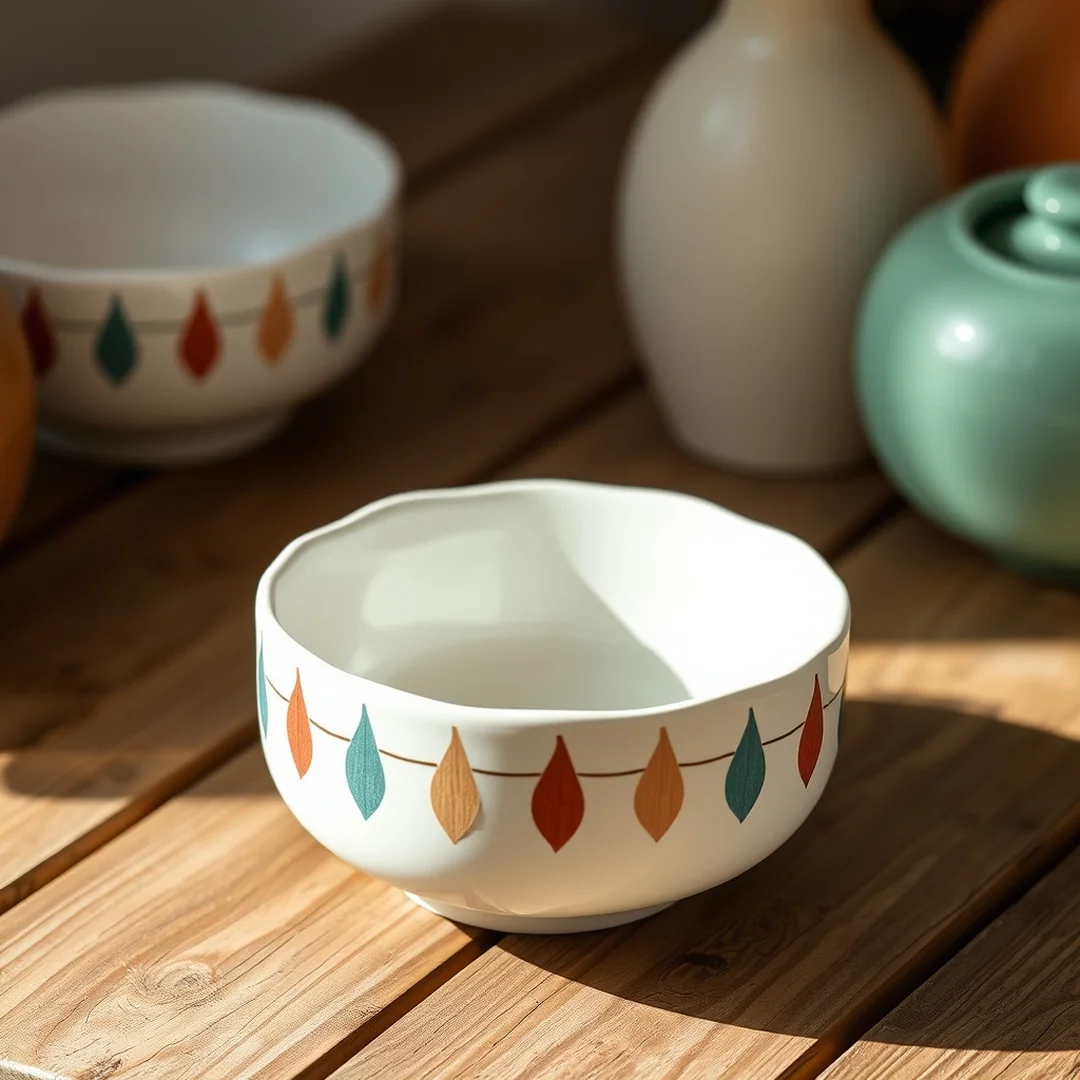
You can cover a 6-inch ceramic bowl in flowers using only three basic brush strokes. This approach is one of my favorite 16 Easy Bowl Pottery Painting Ideas for Beginners because it hides shaky lines perfectly. Start by painting simple teardrop shapes around the rim to form petals. Use a small round brush to press the bristles down and lift quickly, which creates a natural petal taper. Don’t worry about perfect symmetry since real flowers look better when they are slightly uneven.
Once your petals dry, use a metal dotting tool to fill center spaces with contrasting dots. I prefer using a bright yellow underglaze against deep blue petals for a classic look. If you are decorating a piece of bisqueware meant for food, ensure your paint is labeled as food-safe before it goes into the kiln. If you are using acrylics for a decorative bowl instead, seal your finished work with a clear spray varnish. This project takes about 45 minutes to finish and offers a forgiving way to practice your brush control on curved surfaces.
Checkered Pattern Designs
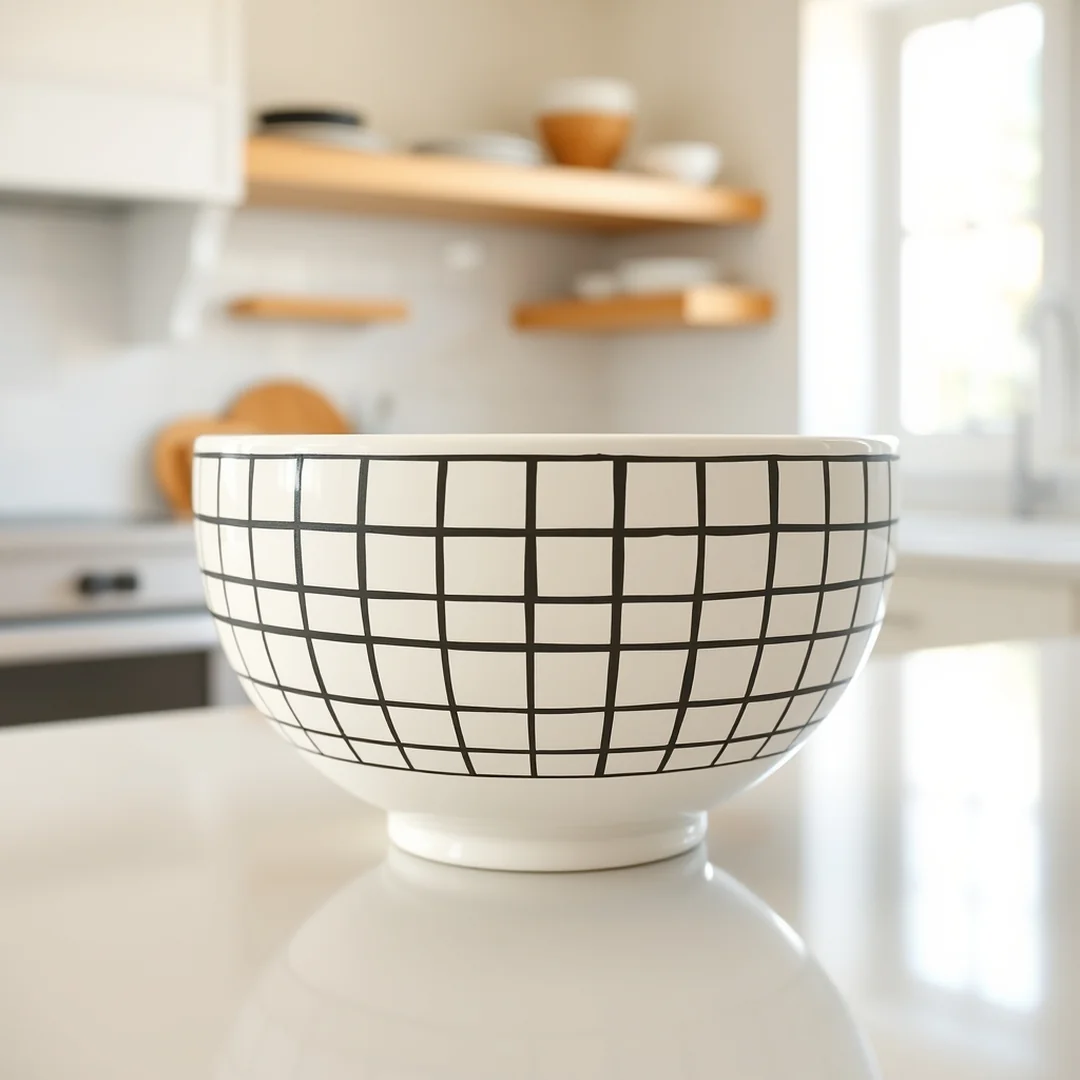
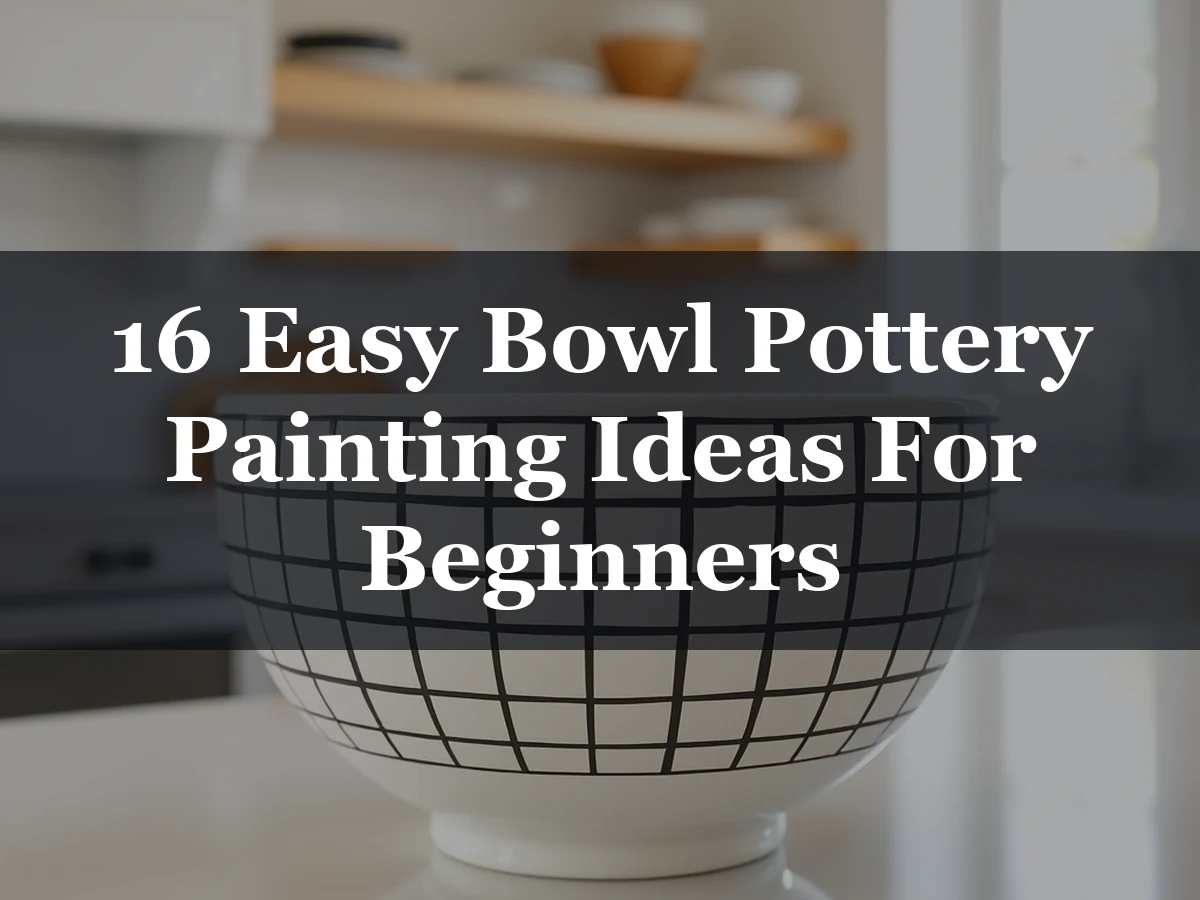
You might worry about shaky hands ruining your design, but a checkered pattern is one of the most forgiving among the 16 Easy Bowl Pottery Painting Ideas for Beginners. To get perfect squares on a curved ceramic bowl, use a thin piece of masking tape to create a grid. Start by marking vertical lines around the bowl, then cross them with horizontal lines to form your squares.
I find that using a soft pencil to lightly map out your grid before applying any underglaze prevents uneven spacing. Once your lines are set, pick two contrasting colors for an alternating color scheme. A classic black and white combo works well, but using a soft sage green and cream often feels more modern for handmade dinnerware. Use a small, flat-tipped brush to fill in every other square. If you make a mistake, wipe it away with a damp sponge before the paint dries. Aim for about 1 inch squares to keep the design consistent across the surface. Once you finish painting, your piece is ready for the kiln to achieve a permanent, food-safe finish.
Starry Night Scenes
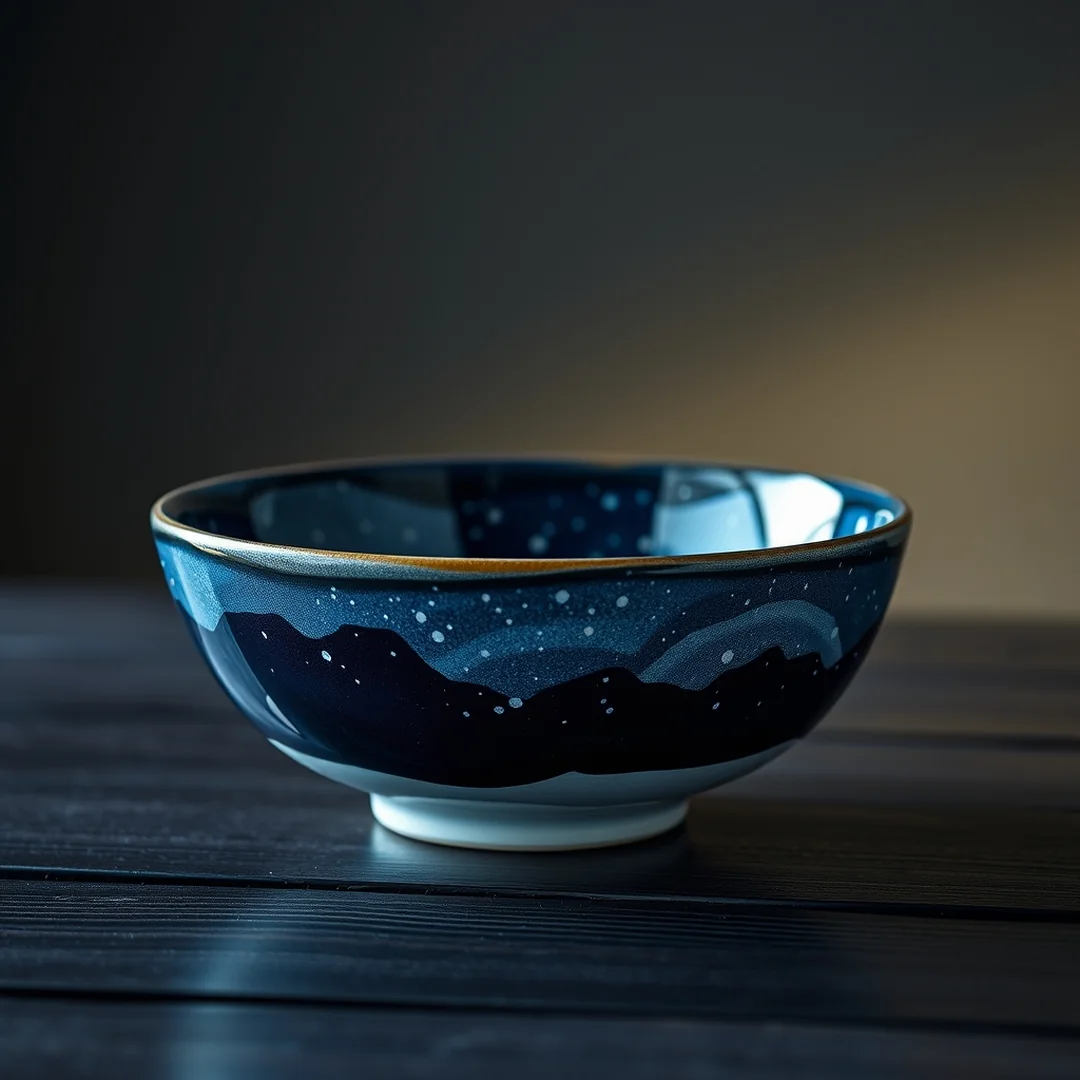
Do you want to turn a simple ceramic bowl into a piece of midnight art? One of the best 16 Easy Bowl Pottery Painting Ideas for Beginners is to create a deep, moody night sky that looks impressive but requires very little skill.
Start by choosing a dark underglaze like navy or midnight blue. Apply three even coats to your bisqueware to ensure the color is solid and streak-free once it leaves the kiln. If you leave thin patches, they will show up as light streaks after the firing process. Once your base is dry, load a stiff-bristled brush with white pigment. Hold the brush about 6 inches above the bowl and gently flick the bristles with your finger to create a fine mist of tiny white stars. This splatter technique adds instant depth and movement to your piece. For larger constellations, use a small dotting tool to place white points in specific clusters. This project takes about 45 minutes to complete, making it a perfect activity for a relaxing afternoon at your local pottery studio.
Wavy Line Art
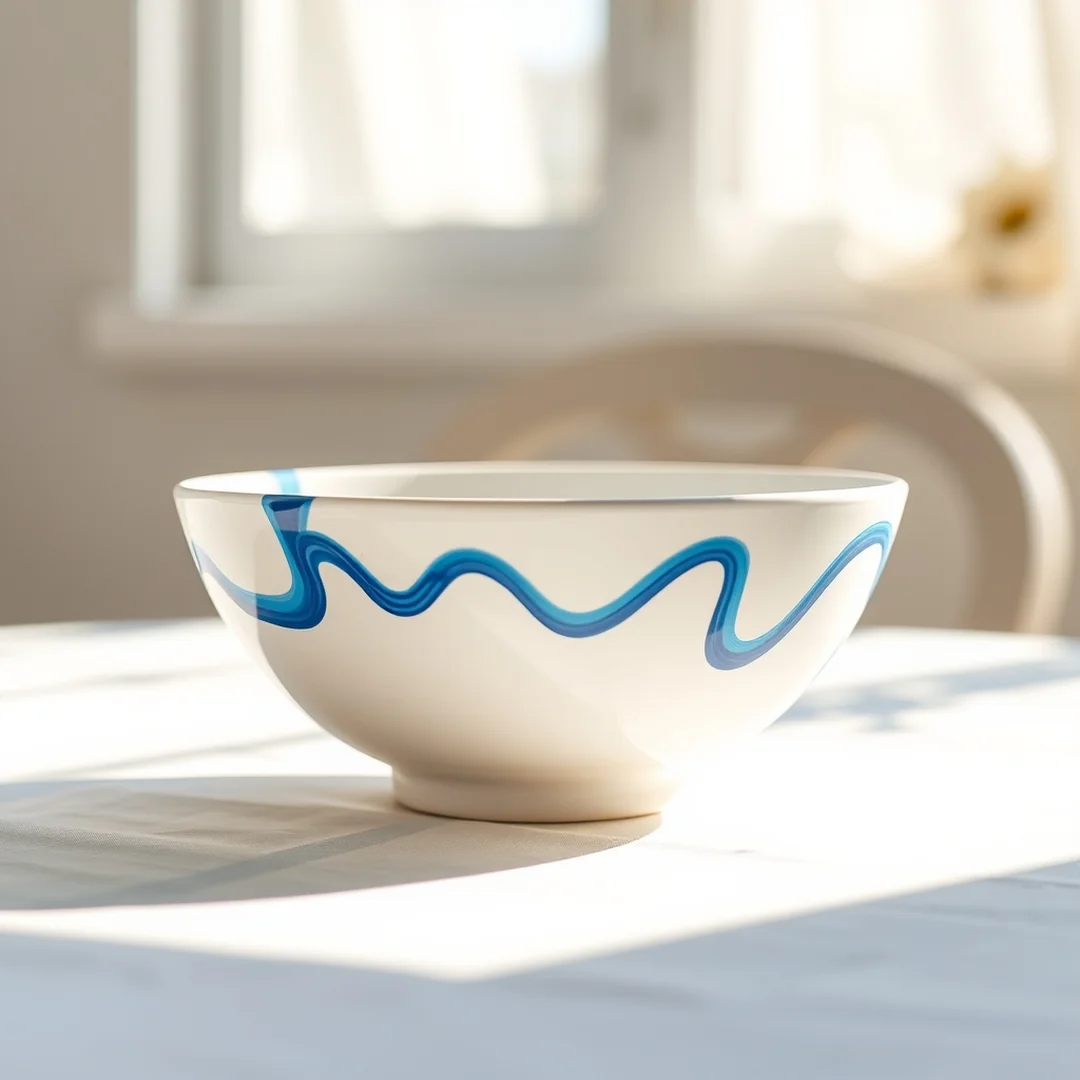
You might think you need a perfectly steady hand to decorate your pottery, but freehand painting actually works best when you embrace a relaxed, organic flow. Rather than chasing rigid precision, let your brush wander naturally across the surface of your ceramic bowl to create movement. This is one of the most effective 16 Easy Bowl Pottery Painting Ideas for Beginners because it hides small wobbles within the style itself.
To keep the design balanced, start by spacing lines evenly around the curve of the piece. I find that using a thin liner brush allows for better control than a thick sponge. Aim for about 0.5 inches of space between each wave to prevent the pattern from looking cluttered once the underglaze is fired in the kiln. If you feel nervous about the spacing, use a soft pencil to lightly mark your intervals on the bisqueware before you commit with paint. These marks will burn off during the firing process, leaving you with a clean, professional finish on your new handmade dinnerware.
Leaf Print Motifs
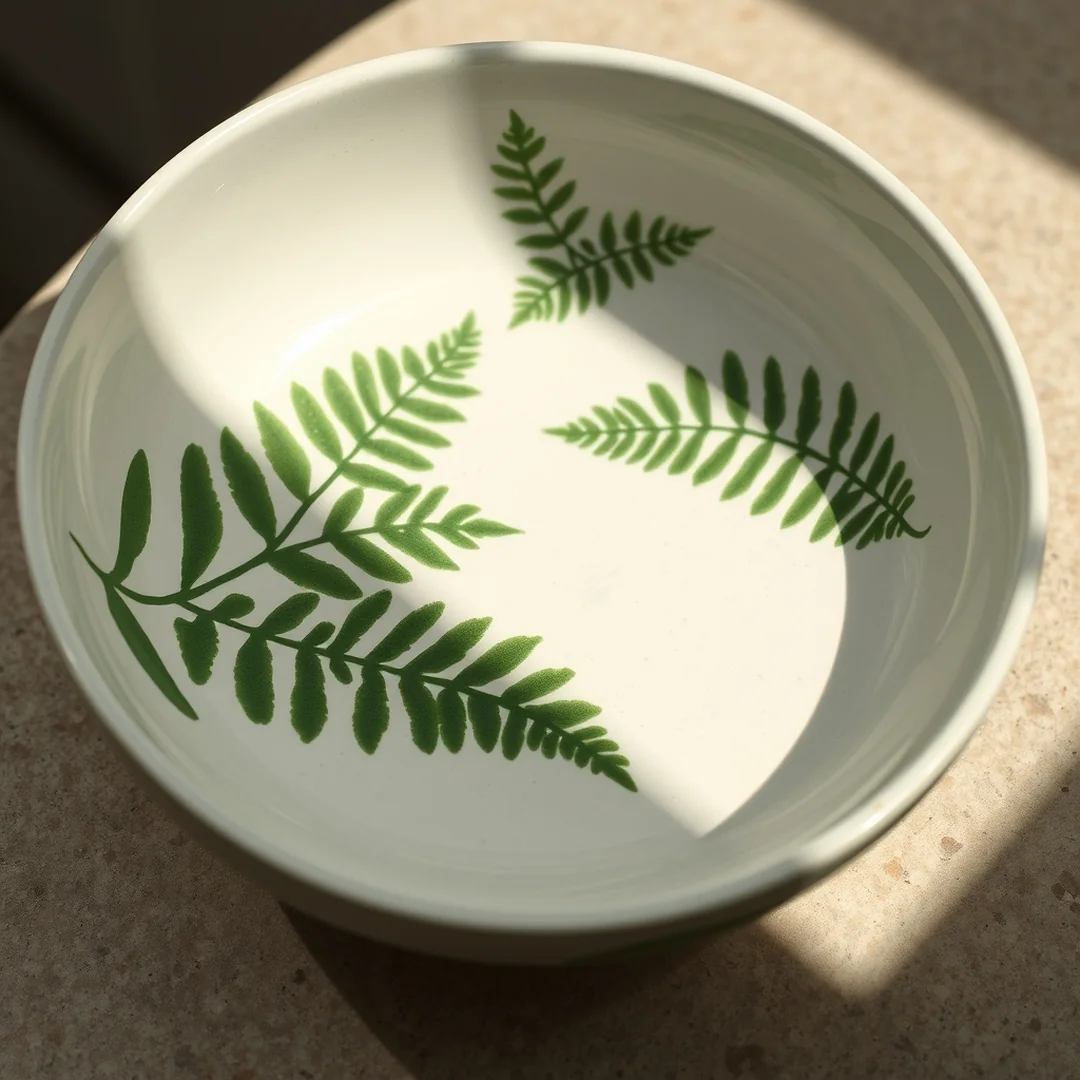
I find that using nature as a guide is the most relaxing way to start your journey with 16 Easy Bowl Pottery Painting Ideas for Beginners. You don’t need expert drawing skills to get beautiful results when you use real leaves as simple stencils on your ceramic bowl.
Pick a leaf with strong veins and a flat surface, like a maple or oak leaf. Place the leaf directly onto the bisqueware and hold it firmly in place with one hand. Take a small sponge or a soft brush and start dabbing paint carefully over the edges. Use a light touch so the pigment doesn’t seep underneath the leaf. This technique creates a crisp silhouette that looks professional even if you have never held a paintbrush before.
For a consistent look, try to space out your impressions by about 2 inches around the rim. If you are using underglaze, remember that the colors will look much brighter after the kiln firing process. If you are just making a display piece for your home, you can use acrylic paint and seal it with a clear varnish. This is one of my favorite simple pottery painting patterns for bowls because every leaf provides a unique shape.
Heart Pattern Ideas
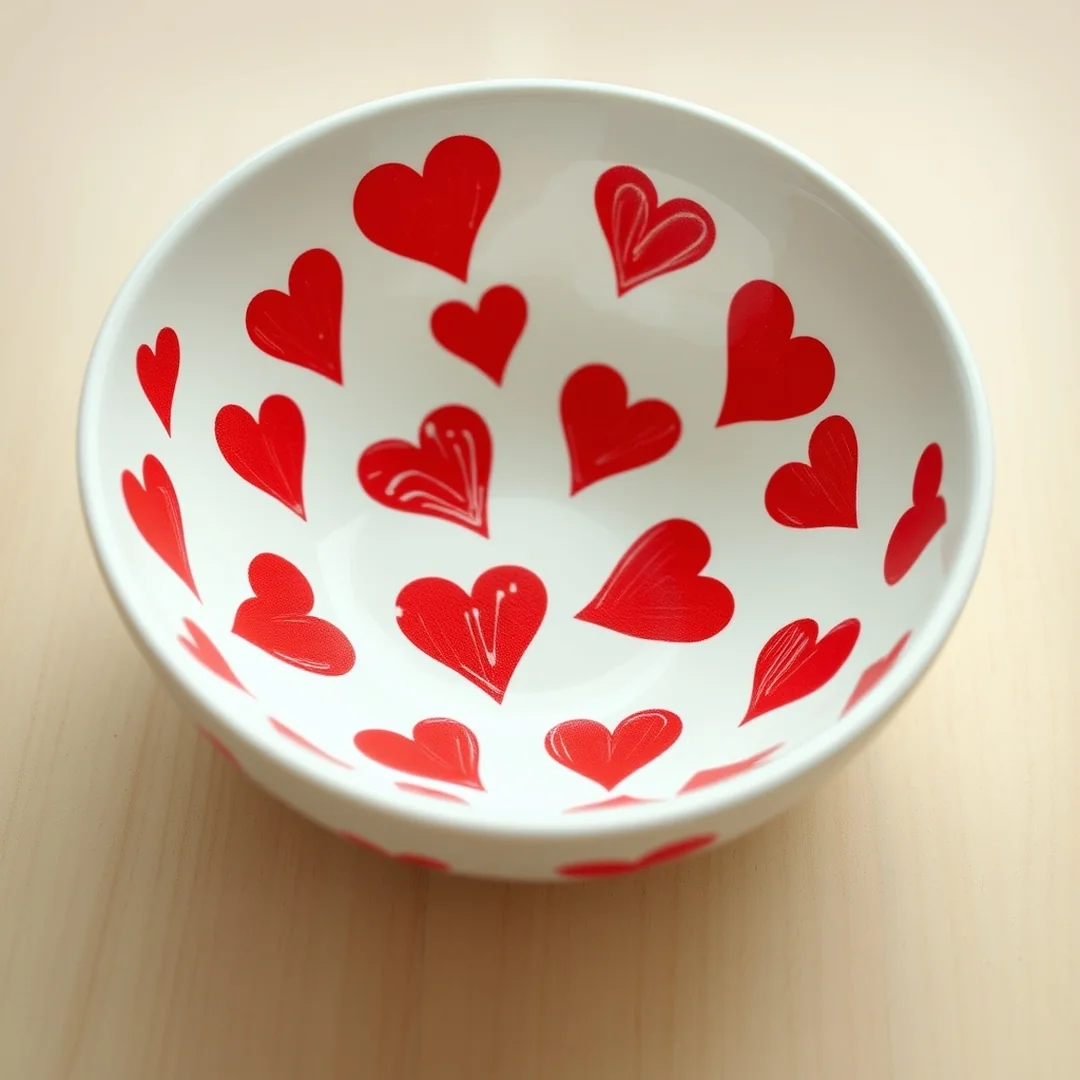
Use a kitchen sponge cut into a triangle or heart shape to get perfectly crisp edges on your ceramic bowl every time. This method is one of my favorite 16 Easy Bowl Pottery Painting Ideas for Beginners because it removes the need for steady brush control. Simply dip the sponge into your chosen underglaze, dab off the excess on a paper towel, and press it firmly onto the bisqueware surface.
Keeping a consistent layout is the secret to making a simple pattern look professional. I recommend starting your first heart 1 inch from the rim and working your way around the center. Use a soft pencil to make light dots as guides before you start stamping. These pencil marks will burn away in the kiln, leaving no trace on your finished piece.
- Cut your sponge into a 0.5-inch heart for a delicate repeat pattern.
- Space each stamp at least 2 inches apart to avoid a crowded look.
- Apply firm, even pressure to ensure the pigment transfers without smudging.
This technique is perfect for creating cute hand-painted bowl inspiration that feels uniform and balanced. Remember to let the underglaze dry for 20 minutes before applying your clear coat.
Textured Sponge Effects
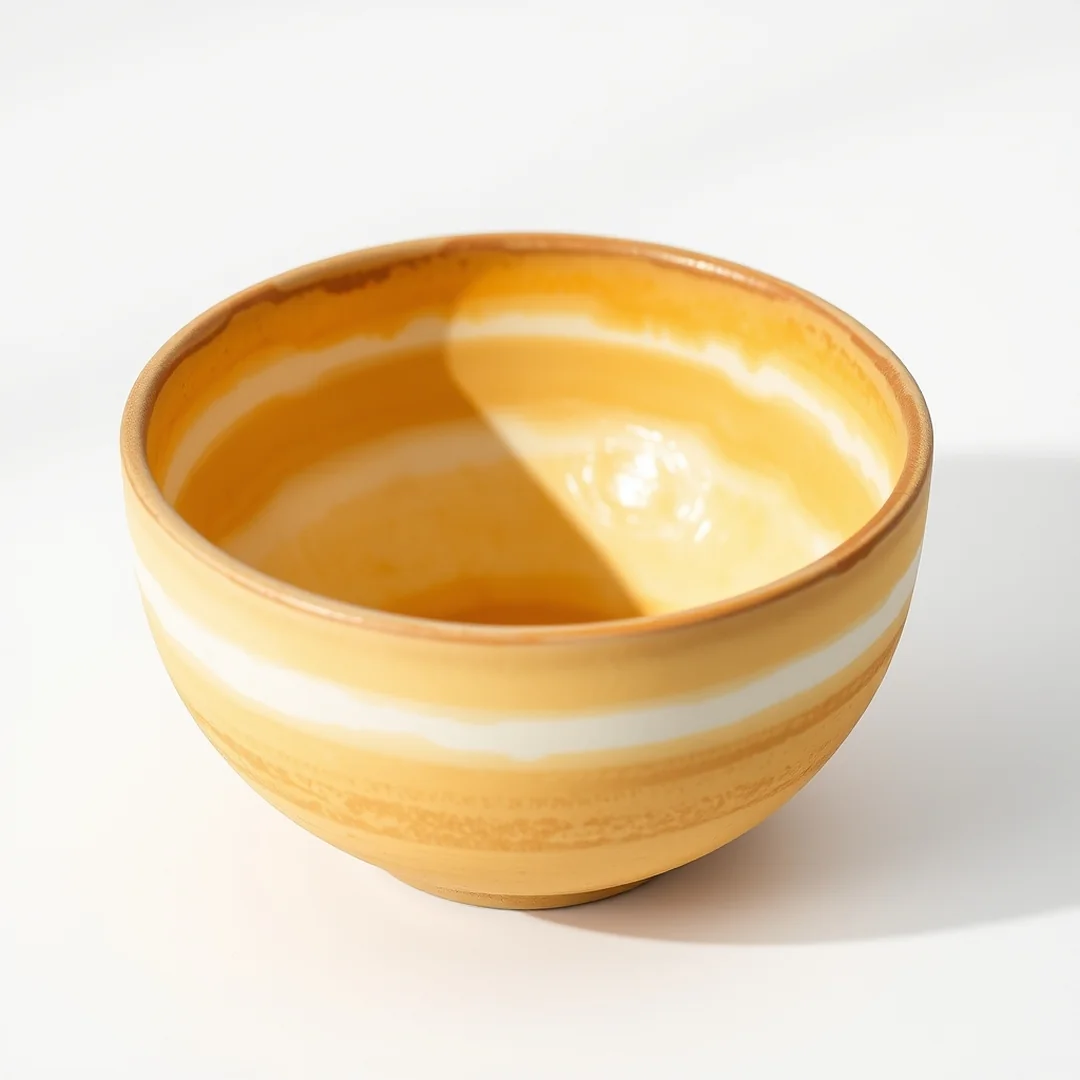
You can create a soft and dreamy look on your ceramic bowl by using a simple sea sponge to dab your colors. This is one of my favorite 16 Easy Bowl Pottery Painting Ideas for Beginners because it hides uneven brushstrokes perfectly. Simply dampen your sponge, dip it lightly into your underglaze, and tap it onto the surface of your bisqueware to build up layers of color.
I find that combining two shades adds great depth and mimics the look of expensive handmade dinnerware. Start with a light base color, then use a darker hue with a smaller sponge to create a speckled or mottled effect. You only need to spend about $4 on a natural sea sponge to achieve this professional finish. If you are planning to eat from your piece, ensure your chosen glazes are food-safe before they head to the kiln for firing. The texture helps mask minor imperfections, making this a relaxing way to practice your color theory. It is a fantastic method for those who want a custom look without needing to master complex brush control or fine line work.
Layered Color Washes
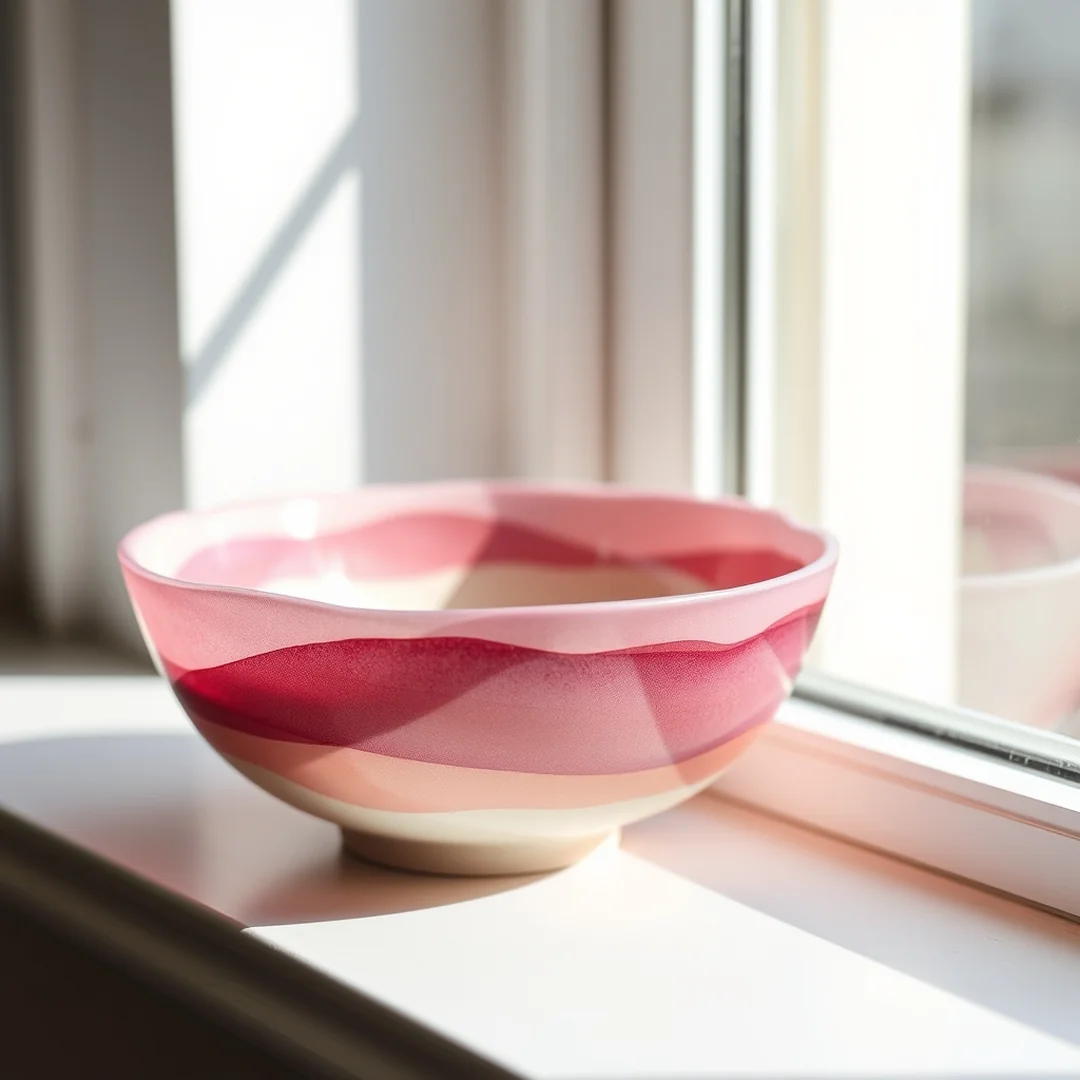
Using watered down pigment is significantly more budget friendly than buying opaque paints, often costing under $5 per jar of concentrated underglaze. This technique is a standout among 16 Easy Bowl Pottery Painting Ideas for Beginners because it creates a soft, translucent look that hides shaky brushwork.
You should start by mixing one part pigment with three parts water on a plastic palette. Use a soft, round brush to apply a thin layer to your bisqueware. Because the wash is so thin, it won’t streak as easily as thick paint. Let the first coat dry for about 10 minutes before you add more.
Building up opacity slowly allows you to control the depth of color on your ceramic bowl. If you want a darker hue at the base that fades toward the rim, just add extra layers to the bottom third of the piece. This gradient effect makes your DIY painted clay bowls look like professional pottery studio work. Always wait for each layer to lose its shine before you add the next one to avoid dragging the previous color across the surface.
Whimsical Animal Silhouettes
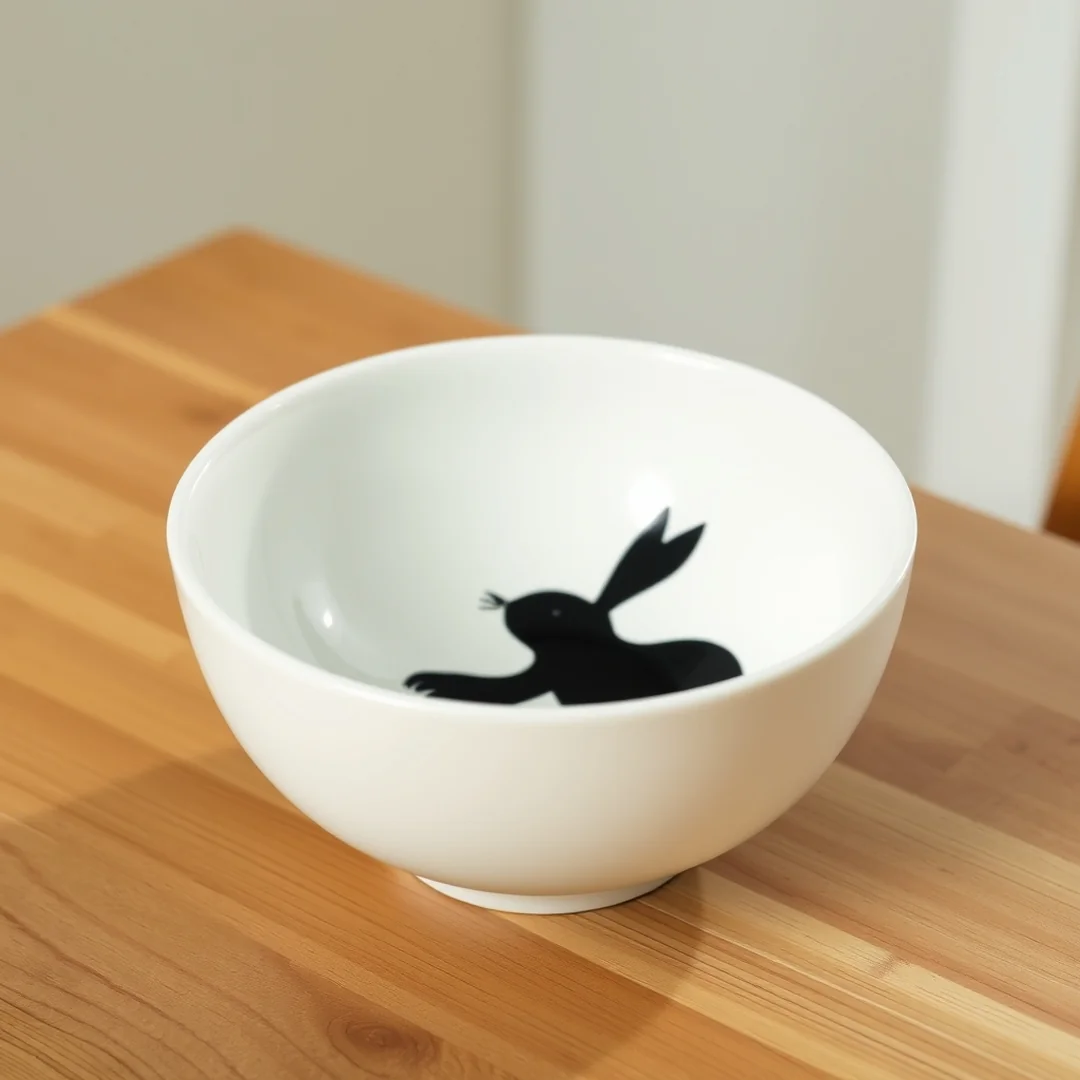
You only need 3 simple steps to create professional-looking animal shapes on your ceramic bowl. Using animal silhouettes is one of my favorite 16 Easy Bowl Pottery Painting Ideas for Beginners because it hides shaky brushwork behind bold, solid colors. Start by cutting a basic animal shape out of painter’s tape to use as a temporary mask on your bisqueware. Press the tape firmly onto the bowl surface to prevent any paint from bleeding underneath the edges.
Once your stencil is secure, dab your underglaze over the area using a dense sea sponge instead of a brush. This technique creates a clean, solid texture that looks intentional and crisp. After the pigment dries for about 10 minutes, peel the tape away slowly to reveal your sharp outline. You can then add tiny details like eyes or whiskers using fine-point dotting tools. If you are making this for daily use, ensure you apply a food-safe clear glaze over the design before the final kiln firing. This keeps your art protected and makes the bowl safe for your morning cereal.
For another perspective, this detailed piece on Easy Bowl Painting Ideas is worth a read.
FAQ
How do I keep my bowl food-safe?
You must use food-safe glazes and ensure your piece is fired in a kiln to the temperature specified by the manufacturer. If you use acrylic paint for your 16 Easy Bowl Pottery Painting Ideas for Beginners, the bowl is strictly for decorative use and should never touch food.
How do I fix smudges?
If you catch a smudge while the underglaze is still damp, gently lift it off with a clean, slightly damp sponge. If the error is dry, wait until it is fully set before carefully scraping the excess off with a needle tool or the tip of a fine brush.
How do I avoid uneven strokes?
Load your brush with enough pigment so it glides over the bisqueware surface without dragging. I suggest applying three thin, even coats of color, allowing each layer to dry completely for about 10 minutes before adding the next one to avoid streaks.
What supplies do I need?
To start these 16 Easy Bowl Pottery Painting Ideas for Beginners, you need a pre-fired ceramic bowl, bottled underglazes, and a set of synthetic brushes. A small pack of masking tape is also essential for creating crisp edges on geometric patterns without needing a super steady hand.
Can I paint if I cannot draw?
Absolutely, as simple pottery painting patterns for bowls rely more on repetitive shapes and dots than complex sketching. Use dotting tools or household items like the end of a pencil to create consistent, professional-looking designs without ever needing to draw a single line.
You might also like: 16 Mindful Crafts To Relax Reset And Slow Down Creative
Key Takeaways
Are you ready to transform a plain ceramic bowl into a personal masterpiece using these 16 Easy Bowl Pottery Painting Ideas for Beginners?
- Kiln firing vs. display only: Use underglaze on bisqueware if you want a food-safe finish that requires a professional kiln, or stick to acrylic paint if your piece is strictly for decorative use.
- Essential starter kit: You only need about $25 to buy a basic set of soft synthetic paintbrushes, a small sponge, and a few high-quality ceramic pigments.
- Professional results: Use masking tape to create crisp geometric lines on curved surfaces, which helps prevent shaky hands from ruining your design.
- Design confidence: Don’t worry about drawing skills because simple dots created with dotting tools look just as intentional as complex patterns.
- Surface preparation: Wipe your ceramic bowl with a damp sponge before you start to remove dust and ensure your paint sticks evenly.
Save this guide to your pottery board on Pinterest to keep these tips handy for your next studio visit.