20 Pottery Painting Ideas For Stunning Designs
Introduction
You only need about 2 hours to transform a plain piece of pottery into a professional work of art. Our list of 20 Pottery Painting Ideas for Stunning Designs provides the inspiration you need to get started with confidence. Before you pick up a brush, you must understand your surface. Most projects start with bisque, which is clay that has been fired once but lacks a glassy coating. This porous material acts like a sponge, soaking up your underglaze quickly to create rich, permanent colors once it returns to the kiln.
Success starts with a clean workspace. Set up your station with a large damp sponge to wipe dust off your piece before you begin. Keep a set of 5 different sized brushes nearby to handle both broad strokes and fine details. With the right preparation, even beginner friendly pottery designs will look like they came from a high-end studio.
Simple Dot Patterns

If you find yourself staring at a blank piece of bisque and feeling unsure where to begin, start with precise dots. Among my 20 Pottery Painting Ideas for Stunning Designs, this method is the most reliable way to achieve a professional look without needing steady brush skills. You should use professional dotting tools to keep every mark the exact same size. These tools come in sets of five or more, usually costing around $8 at a local pottery studio. For the best results on ceramic bowls, mark the center point first and work outward in circular rows to ensure your spacing remains symmetrical. This technique creates a clean, intentional finish that looks great on both functional mugs and decorative plates. The repetition of dots helps you build a rhythmic, balanced pattern that turns a plain surface into an elegant piece of modern art.
Geometric Masking Tape

Do you want to achieve professional, razor-sharp lines on your ceramic plates without needing steady hands? Using masking tape is one of the most effective ways to include this look among your 20 pottery painting ideas for stunning designs. Start by applying thin strips of tape directly onto the clean bisque surface to create triangles, diamonds, or stripes. Press the edges down firmly with a damp sponge to ensure no underglaze bleeds underneath. You can paint over the taped areas with two coats of color, then peel the tape away while the paint is still damp to reveal crisp edges. By layering shapes in different colors, you can build a modern ceramic art pattern that looks complex but remains beginner friendly. A roll of painter’s tape costs about $5 and helps you create perfectly geometric layouts on any flat surface.
Abstract Brush Strokes

Many beginners think you need a steady hand for fine detail, but messy, layered marks actually create the most impact. One of my favorite 20 Pottery Painting Ideas for Stunning Designs involves layering loose, abstract marks to build visual interest on your ceramic plates. You should load your brush with a generous amount of underglaze to keep the pigment wet as you work. By overlapping colors while they are still damp, you create a soft blend that adds depth to the surface. To avoid visible streaks in your final piece, use a soft, wide synthetic brush and apply the color in a single, confident movement. I usually recommend practicing on a scrap piece of bisque first to test your pressure. Using exactly 3 contrasting colors will keep your design from looking muddy before it goes into the kiln.
Floral Stencil Designs
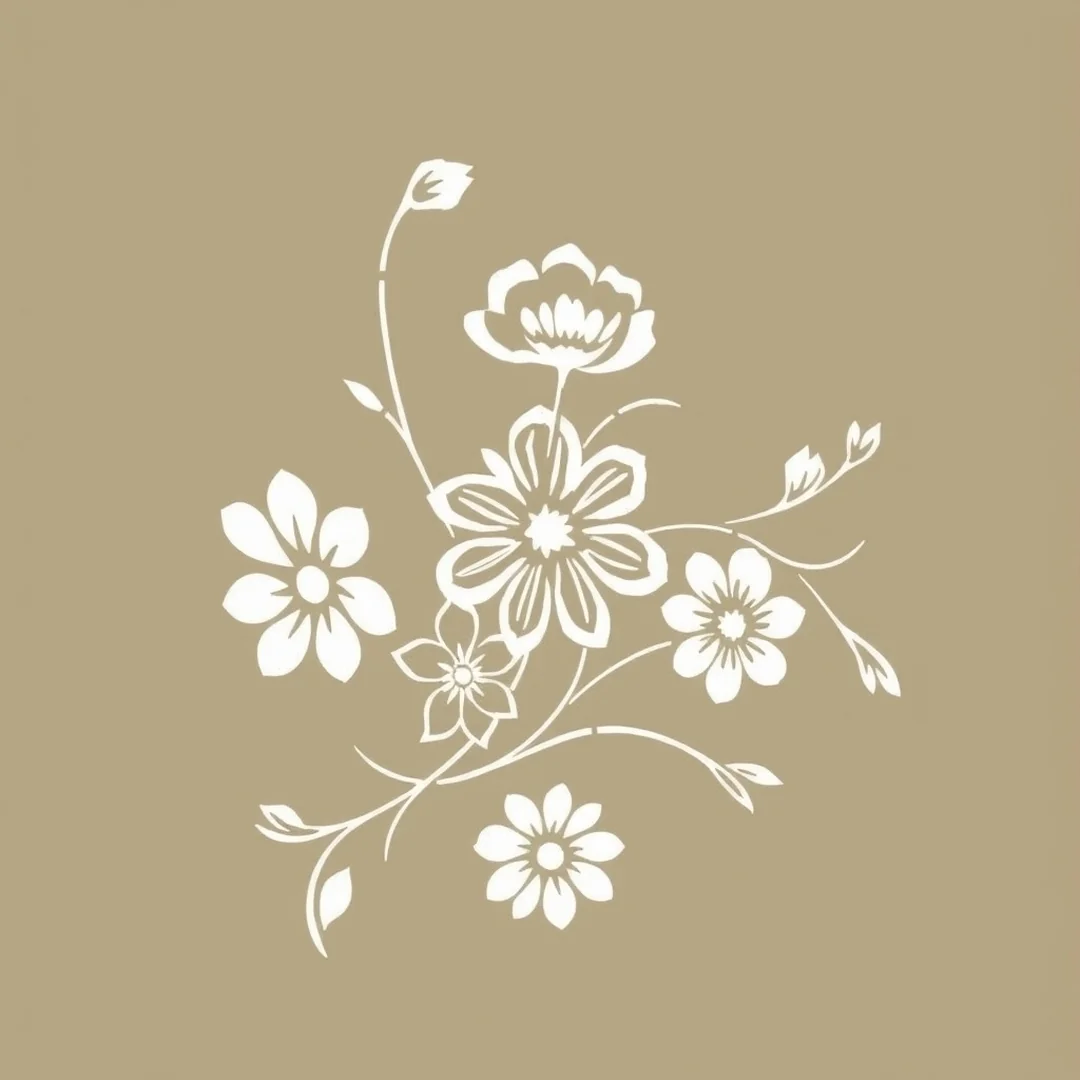
I find that using floral stencils is one of the most reliable ways to achieve professional results when exploring 20 Pottery Painting Ideas for Stunning Designs. To stop paint from bleeding under the edges, press the stencil firmly against the dry bisque and use a sponge to dab your underglaze in light, thin layers rather than dragging a brush. This technique keeps the lines crisp and prevents the pigment from seeping beneath the plastic. Once you remove the stencil, you can add fine details to your petals or leaves using a size 0 round brush. This extra touch gives your ceramic bowls a custom, hand-painted look that feels complete. Always clean your brushes thoroughly after use to keep the bristles soft for your next session. These beginner friendly pottery designs are perfect for anyone wanting a beautiful, consistent pattern on their pieces.
Minimalist Line Art
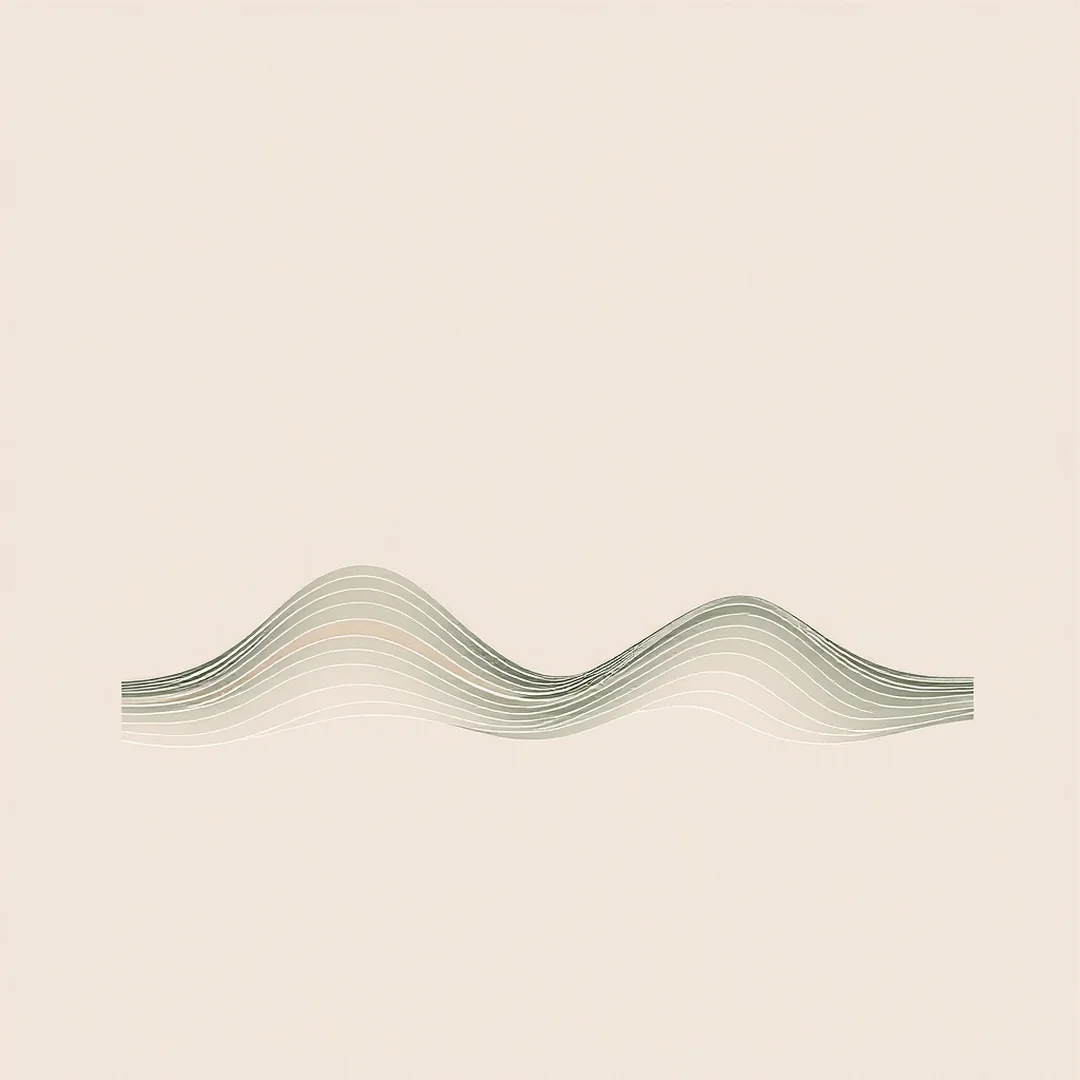
You can achieve minimalist pottery painting by focusing on clean, intentional strokes rather than filling the entire surface. Start by using a size 0 liner brush to maintain fine, consistent lines that stay crisp after the kiln firing process. This method is among my favorite 20 Pottery Painting Ideas for Stunning Designs because it transforms simple ceramic bowls into high-end decor with very little effort.
Maintaining plenty of negative space is essential for impact. By leaving most of the bisque surface bare, your single black or dark blue line stands out as the focal point. This approach is perfect for beginners who want a sophisticated result without needing advanced shading skills. Keep your design centered and avoid cluttering the piece to ensure your final work looks like a professional modern ceramic art technique.
Sponge Dabbing Texture
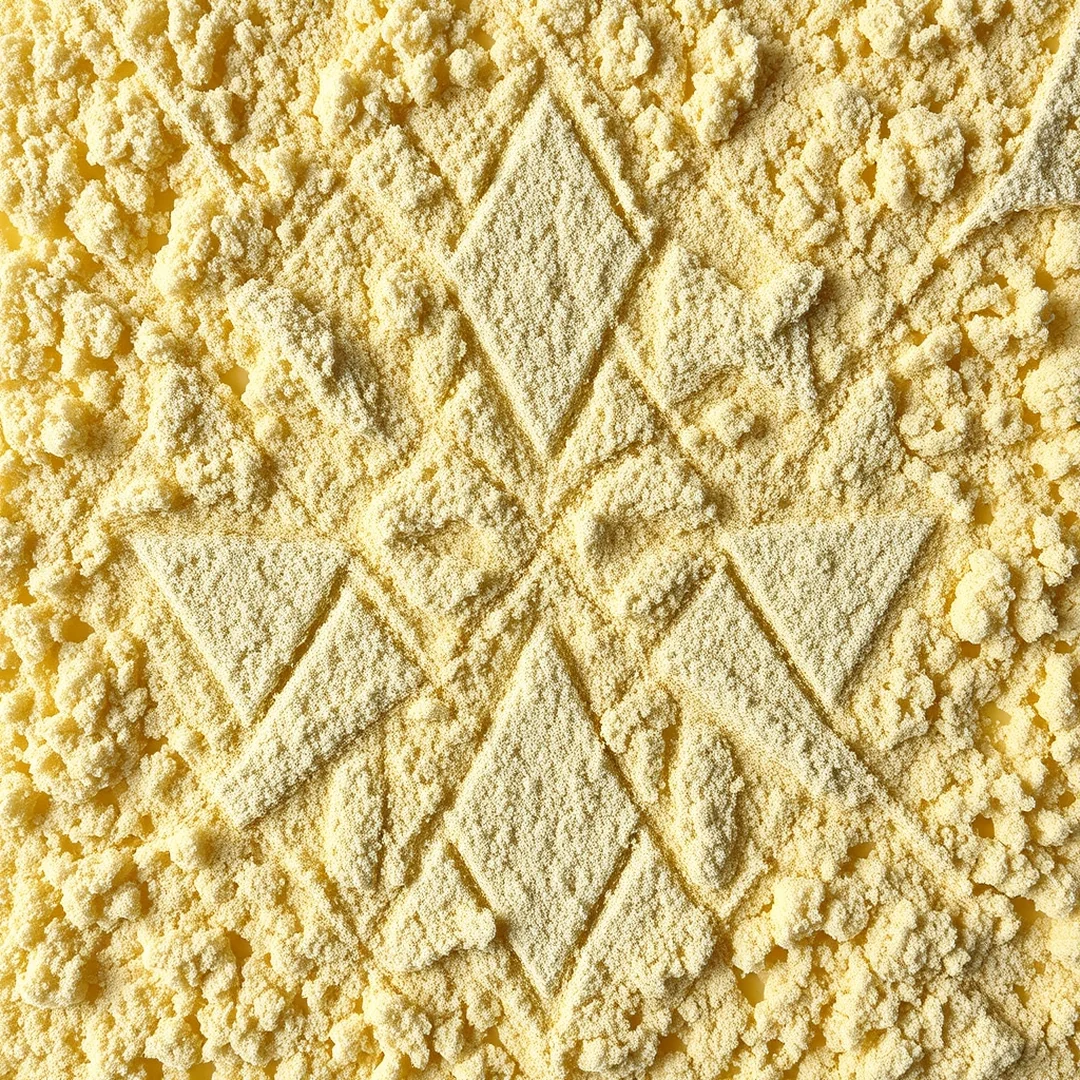
Using a sea sponge is one of my favorite 20 Pottery Painting Ideas for Stunning Designs for achieving soft gradients on your ceramic bowls. This technique works perfectly for seasonal autumn projects where you want a gentle transition between warm oranges and deep reds. Start by dampening a natural sea sponge and wringing it out until it is just slightly moist. Gently dab your underglaze onto the bisque surface in light, tapping motions rather than dragging it across the clay. You will want to build color density in layers, allowing each thin coat to dry for about 3 minutes before adding the next one. This prevents the paint from becoming muddy or runny. Applying four thin layers will give you a professional, solid finish that looks far better than a single thick, streaky coat before it heads to the kiln.
Monochromatic Color Schemes
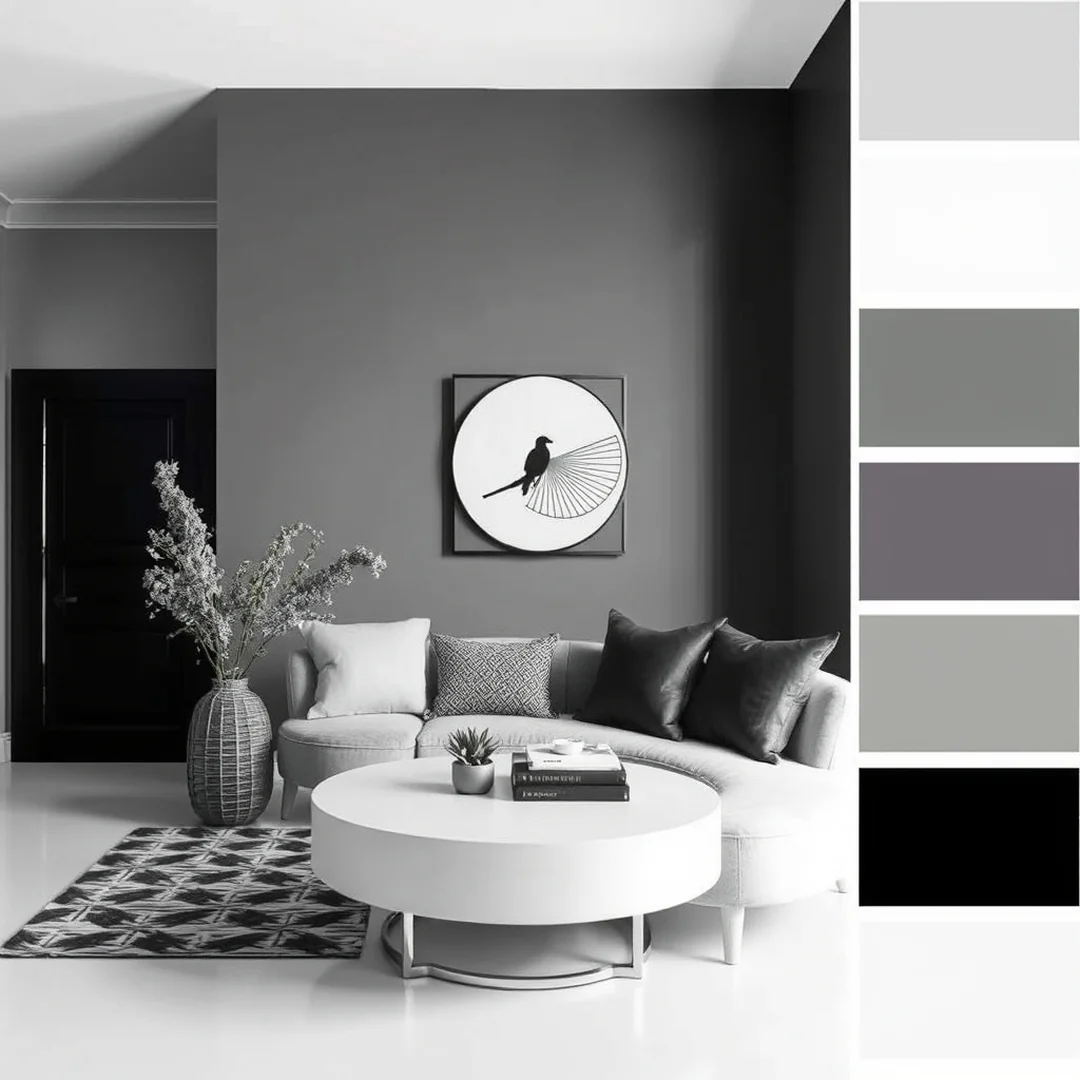
Choosing a single color palette costs significantly less than buying a full set of paints because you only need one base pigment and white for tinting. This approach is a standout among 20 Pottery Painting Ideas for Stunning Designs because it removes the stress of clashing colors. Pick one hue, like deep navy blue, and mix it with white to create five distinct shades. You can apply these to your ceramic bowls using varying amounts of water to change the opacity. This creates a soft, layered look that feels professional even for beginners. Start by painting the darkest shade at the base of your piece and fade to the lightest shade near the rim. Using this minimalist pottery painting technique provides visual interest through depth rather than contrast. You will find that a set of four mugs looks expensive when they share one consistent tone.
Whimsical Animal Silhouettes

You can turn plain ceramic bowls into charming art by focusing on simple animal shapes. When planning your 20 Pottery Painting Ideas for Stunning Designs, remember that silhouettes rely on clean lines rather than complex shading. Start by choosing a piece with a flat surface, like a 6-inch salad plate, because curves often distort simple outlines. Use a pencil to lightly trace your animal shape onto the bisque before you touch any underglaze. This initial sketch prevents mistakes that are hard to fix once the paint hits the porous surface. Keep your design minimalist to ensure the shape remains recognizable after the kiln firing process. Filling the interior with a single bold color creates a high-contrast look that stands out. This remains one of the most effective beginner friendly pottery designs for those who want a professional result without needing advanced drawing skills.
Nature Inspired Leaves
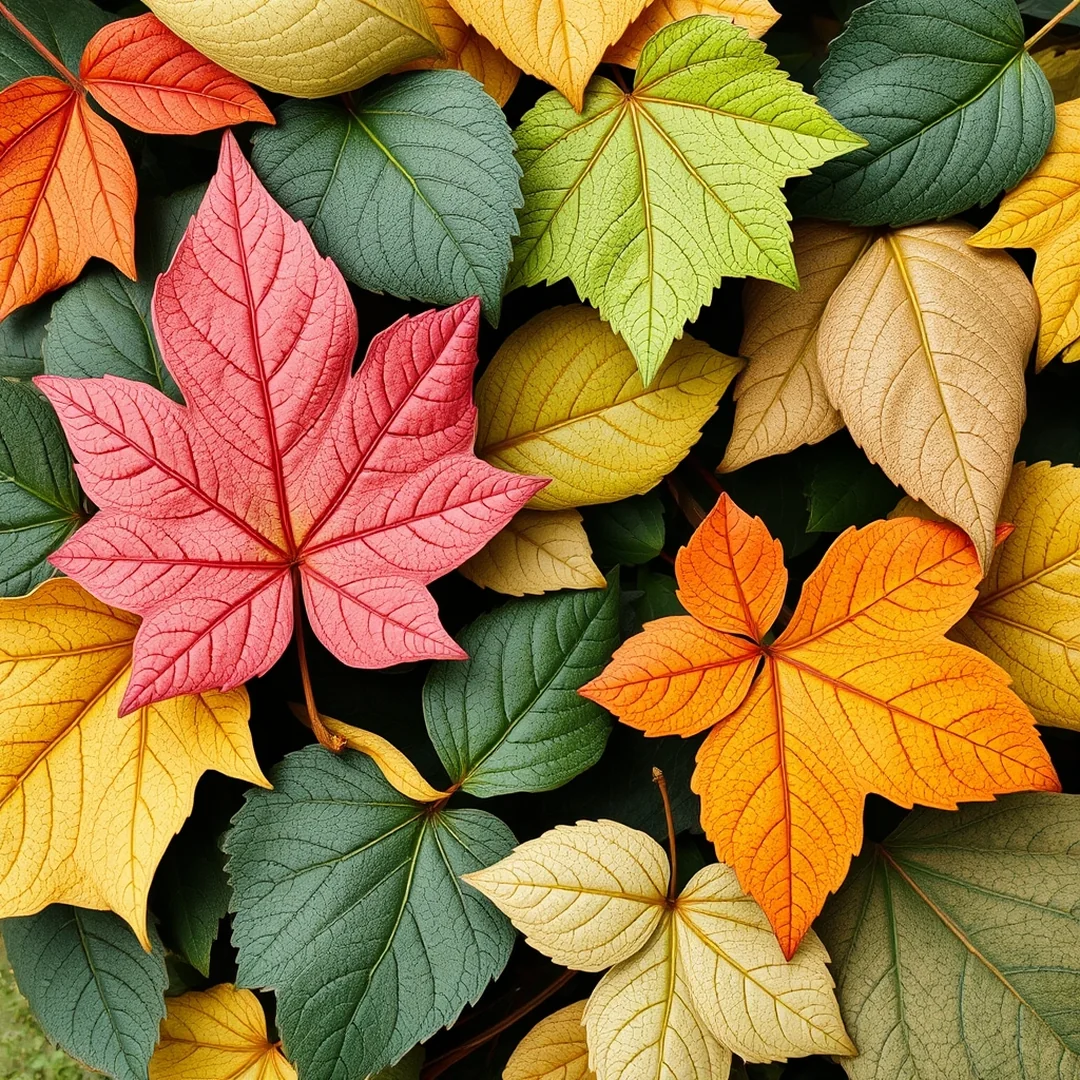
You can bring the forest into your home by painting delicate ferns or broad monstera leaves directly onto your ceramic bowls. This is one of my favorite 20 Pottery Painting Ideas for Stunning Designs because it allows for total creative freedom. Start by sketching your leaf shape lightly with a pencil, as it burns off in the kiln. When you apply your underglaze, use thin brushes to build up layers rather than one thick coat. This prevents the color from bubbling during the firing process.
- Use a soft sponge to dab earthy greens and warm ochre tones for a textured, realistic look.
- Stick to a palette of 3 natural colors to keep your composition feeling cohesive and modern.
- Avoid overworking the paint to ensure a smooth finish on your bisque surface.
A simple set of 4 round brushes is all you need to master these organic, flowing patterns.
Bold Color Blocking

Do you want your handmade pottery to look like a professional art piece? Defining sections with clear borders is one of the most effective ways to achieve a clean, modern aesthetic. To get started, apply strips of masking tape directly onto your raw bisque before you begin painting. This simple technique prevents your underglaze from bleeding and creates sharp, professional lines that are difficult to achieve freehand.
Balancing bright hues on mugs creates visual interest without overwhelming the shape. For a cohesive look, pick three colors from the same family and apply two coats of each for even coverage. If you are exploring 20 Pottery Painting Ideas for Stunning Designs, try limiting your palette to a single 12-ounce mug. Once you peel away the tape, the crisp white lines between the blocks highlight the vibrant colors and make your design pop before it hits the kiln.
Classic Polka Dots

You might think that simple dots are too basic for professional results, but they actually offer a refined look when applied with intention. Among my 20 Pottery Painting Ideas for Stunning Designs, this pattern remains a favorite because it transforms plain ceramic bowls into high-end decor with just a few precise movements. Start by spacing dots at least 1 inch apart to ensure the piece feels balanced rather than cluttered. If you crowd them too closely, the design loses its clean, modern appeal. I suggest varying dot sizes for personality, using a large sponge for the base and a fine-tipped tool for smaller accents. This contrast makes your work look intentional and polished. Using a damp sponge to wipe the bisque clean before you begin helps the underglaze sit perfectly smooth, ensuring a crisp finish after the kiln firing.
Dripping Glaze Effects
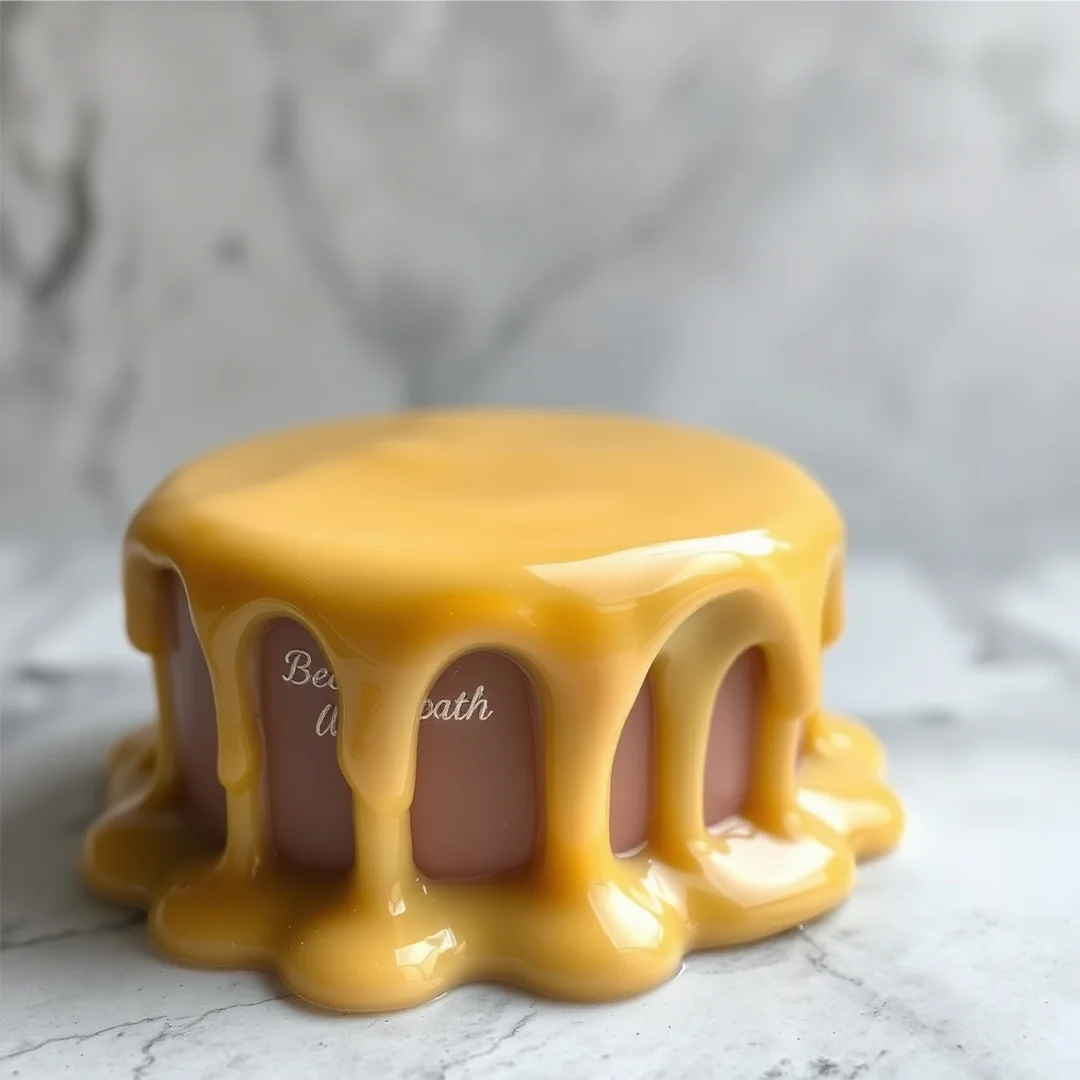
I find that letting gravity do the heavy lifting creates some of the most dynamic results among my 20 Pottery Painting Ideas for Stunning Designs. You can achieve this look by loading a large brush with plenty of viscous glaze and holding it directly over the rim of your piece. To keep the drips controlled, only apply the liquid to the top 1 inch of the pottery. This ensures the color runs down the sides in thin, vertical lines rather than pooling at the bottom.
The firing process changes everything, as the heat inside the kiln causes the minerals to melt and move. If you use two different colors, they often blend where they overlap. You should test your glaze on a small sample tile first to see how much it spreads. This helps you avoid ruining your favorite ceramic bowls before they head into the high heat.
Intricate Mandala Art

Start your design by marking the center point of your ceramic plate with a faint pencil lead before adding any color. This simple trick ensures your pattern stays balanced as you expand. When exploring 20 Pottery Painting Ideas for Stunning Designs, mandalas stand out because they turn simple pieces into complex geometric art. Always work from the center outward to keep your symmetry intact. I recommend using fine-tipped dotting tools or small brushes to maintain crisp edges on every petal and circle. Staying patient with repetitive motifs is the hardest part, as you need to let each layer dry slightly to prevent smearing. For a professional finish, keep your color palette limited to 3 or 4 shades of underglaze. This creates a cohesive look that pops once the piece emerges from the kiln with a glossy, food-safe finish.
Charming Fruit Prints
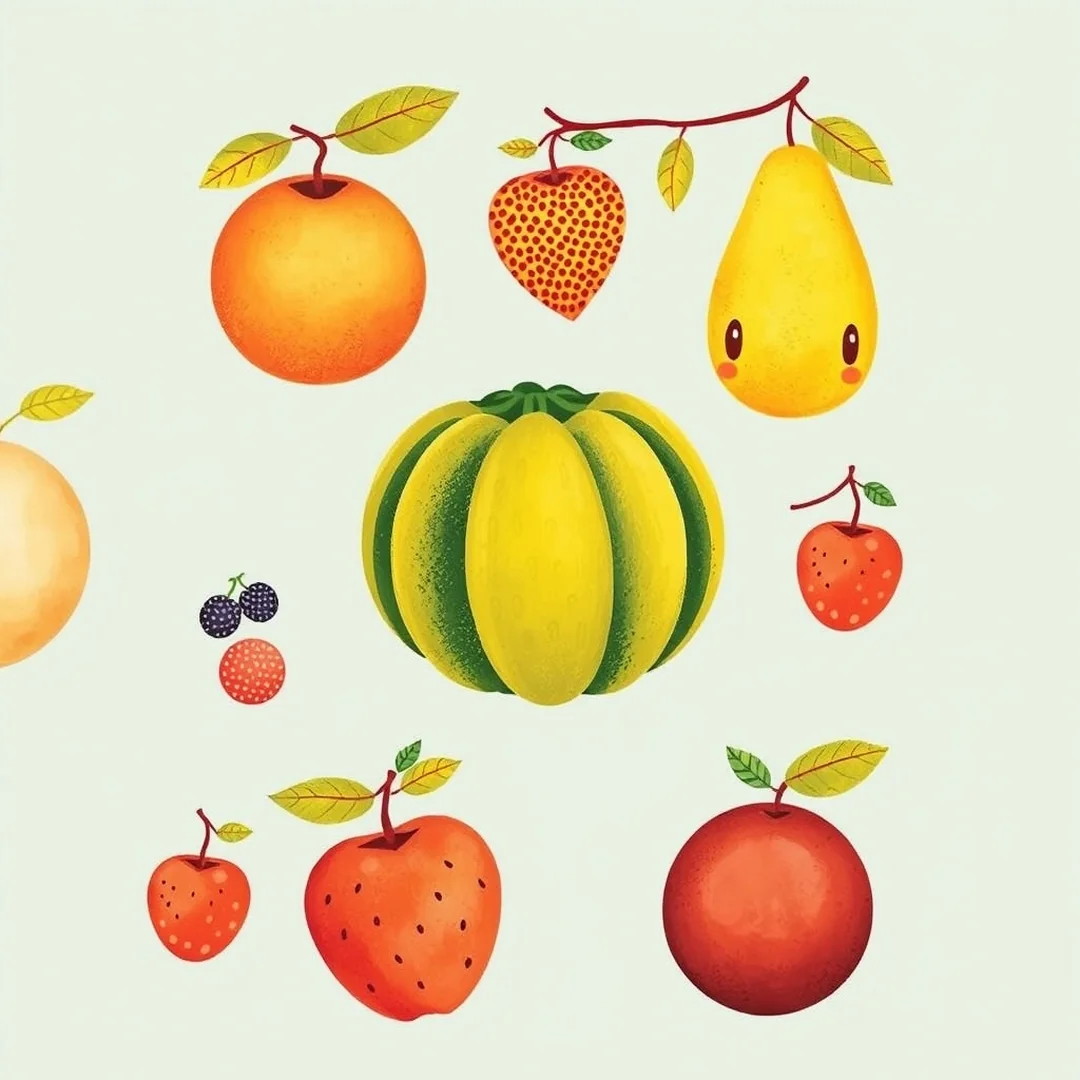
Summer brings a fresh energy to your pottery studio, making fruit motifs one of the most popular 20 Pottery Painting Ideas for Stunning Designs. You can easily simplify complex fruits like strawberries or cherries into basic geometric shapes on ceramic plates. Start by drawing a simple triangle for the berry body and small circles for the seeds to keep the look clean and intentional.
When selecting your colors, choose an underglaze with high vibrancy to ensure your design pops after the kiln firing process. I find that applying three thin coats of pigment prevents streaky brush strokes and creates a smooth finish. If you want a consistent look, limit your palette to just 3 primary colors. This simple approach turns plain bisque into professional hand-painted home decor that feels both modern and playful for your kitchen table.
Rustic Speckled Finish
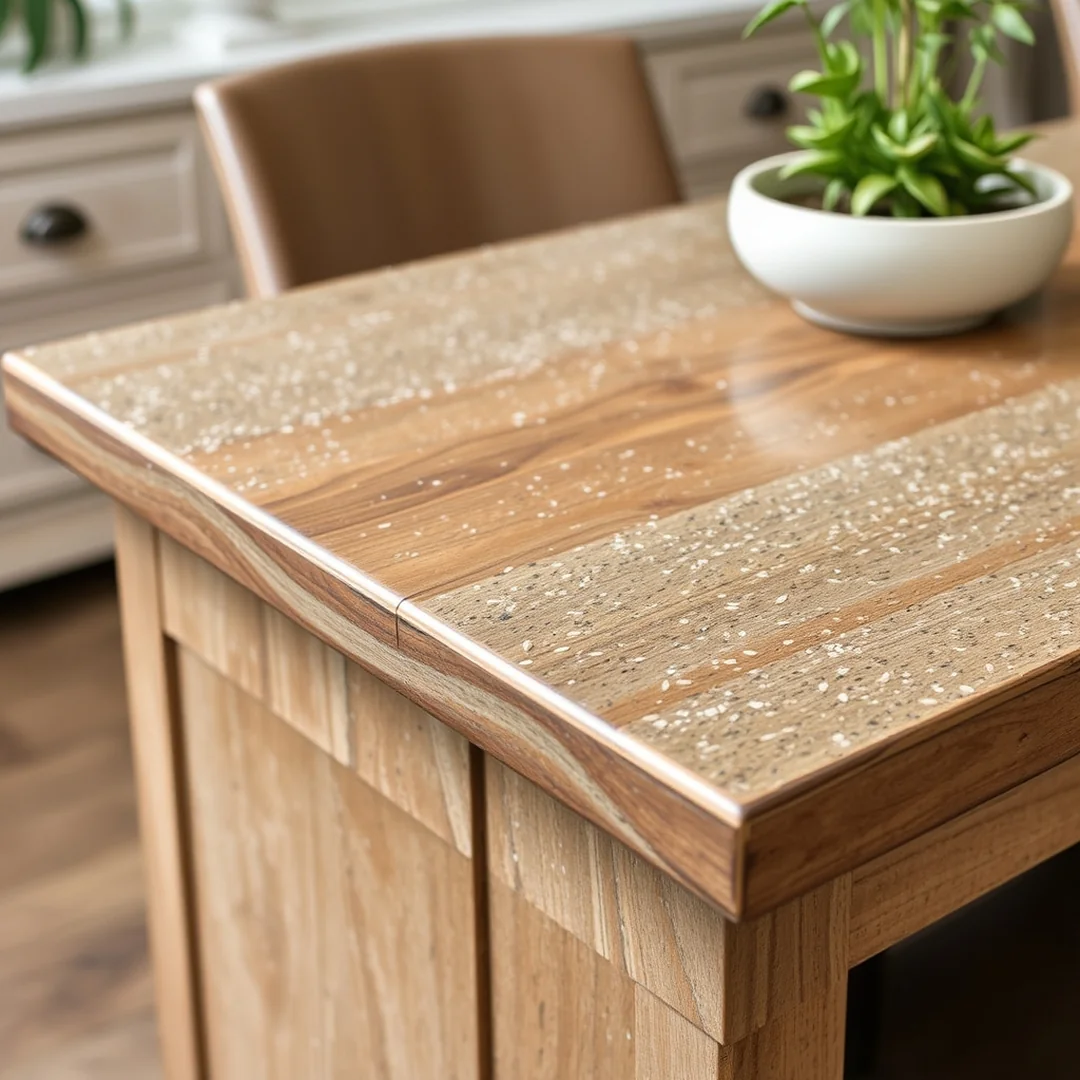
Buying a professional speckled mug at a boutique costs around $35, but creating this look yourself at a local pottery studio is much cheaper. This technique stands out among 20 Pottery Painting Ideas for Stunning Designs because it adds instant character to plain ceramic bowls. Use a stiff-bristled brush to flick small droplets of contrasting underglaze across your bisque. You simply load the brush with a small amount of paint and pull your thumb across the bristles to create a fine mist. Before you start, cover your workspace with at least three layers of newspaper to stop splatter from ruining your table. This beginner friendly pottery design is messy, so wearing an apron is a smart move. Once the piece goes through the firing process in the kiln, these tiny dots turn into a permanent, tactile texture that feels high-end.
Chevron Pattern Layout
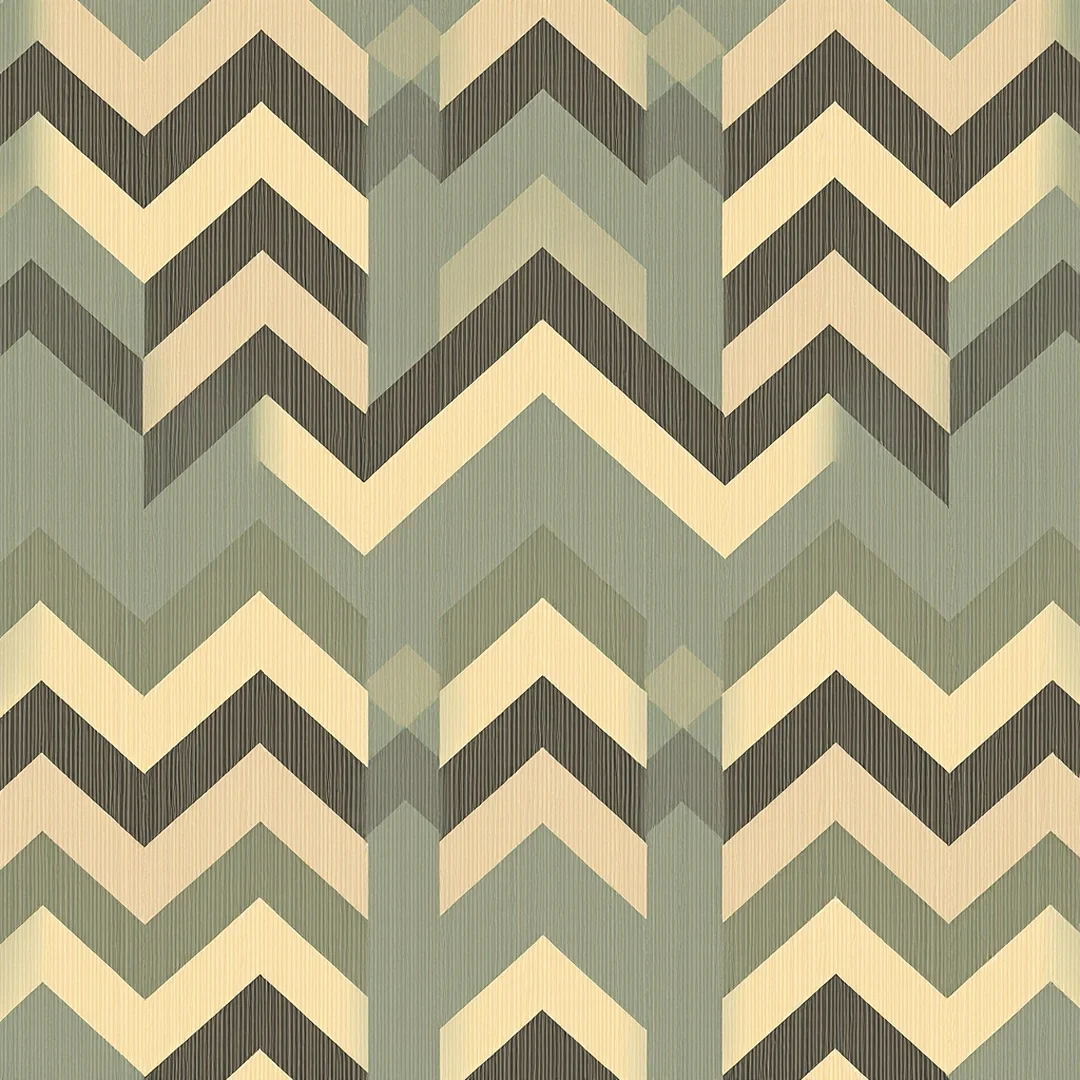
You can create a precise chevron look on your ceramic bowls by using masking tape to mask off consistent 45-degree angles. This method is a favorite among my 20 Pottery Painting Ideas for Stunning Designs because it removes the guesswork from freehand drawing. Start by cutting your tape into strips exactly 0.5 inches wide for a balanced visual scale. Apply the first row of tape in a zig-zag motion, pressing the edges down firmly to prevent underglaze from bleeding underneath. I always run my fingernail along the edge of the tape one last time before applying color to ensure the seal is airtight. Once you paint over the gaps, pull the tape away while the underglaze is still slightly damp to keep your lines clean and sharp before the piece heads to the kiln.
Starry Night Scenes

You might feel intimidated by complex space scenes, but creating a night sky is one of the most rewarding 20 Pottery Painting Ideas for Stunning Designs for your next visit to a pottery studio. Start by sponging dark blue and purple underglaze onto your bisque piece. Use a large sea sponge to pat the color on in layers, blending colors for deep backgrounds to create a sense of depth before the piece goes into the kiln. Aim for a gradient that moves from midnight blue at the edges to a lighter violet toward the center.
Once your background is dry, grab a small liner brush or a toothpick. Adding fine white highlights last is the secret to making stars pop against the dark base. Use exactly 3 different sizes of dots to mimic a realistic constellation pattern across your ceramic mugs or plates.
Personalized Lettering Styles
Do you want to add a unique name or meaningful quote to your ceramic mugs? Adding text is one of my favorite 20 Pottery Painting Ideas for Stunning Designs because it turns a simple piece into a thoughtful gift. Before you touch your brush to the bisque, always practice your script on a piece of printer paper. This helps you get a feel for the spacing and scale of your letters.
When you move to the pottery, keep your text centered and readable by using a light pencil mark as a guide. If you have shaky hands, try using a 000 size liner brush for better control with your underglaze. This small tool helps you create clean, crisp lines without making the text look crowded. Remember to keep the letters consistent in height to ensure your final piece looks polished after it goes through the kiln.
Textured Impasto Techniques
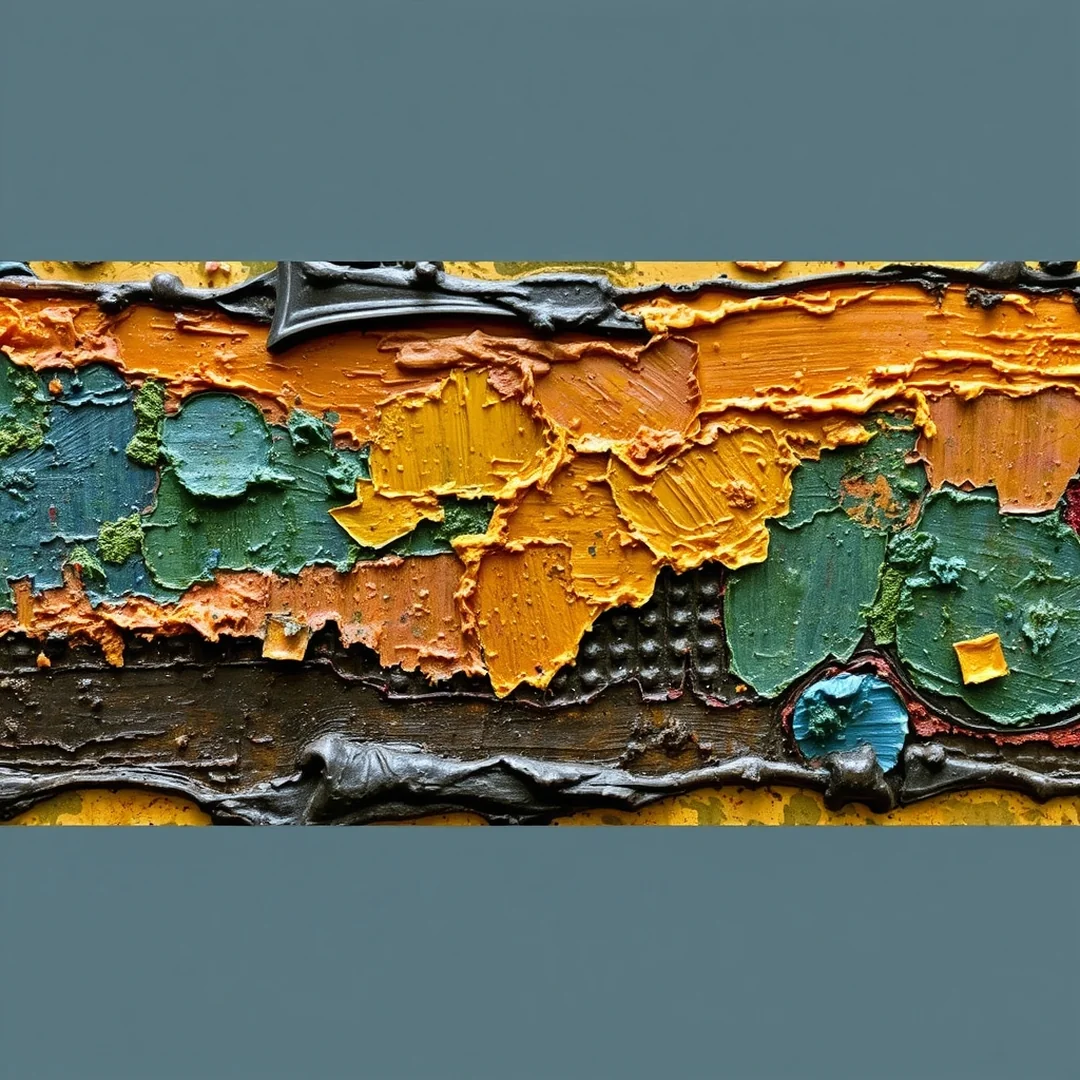
Many beginners think smooth surfaces are the only way to achieve professional results, but building up thick layers of paint adds incredible depth to your work. Using impasto techniques allows you to create a signature artist style by stacking layers of underglaze directly onto the bisque. You can mix 20 Pottery Painting Ideas for Stunning Designs by combining simple dabbing motions with heavier brush strokes to give your ceramic bowls a tactile feel. I suggest using a stiff synthetic brush to apply three coats of underglaze, letting each one dry before adding the next. This creates a raised, sculptural relief that stands out after the firing process. You will find that layering colors creates unique shadows that standard flat painting simply cannot match. It turns a basic mug into a piece of art that people want to touch.
Intricate Sgraffito Carving
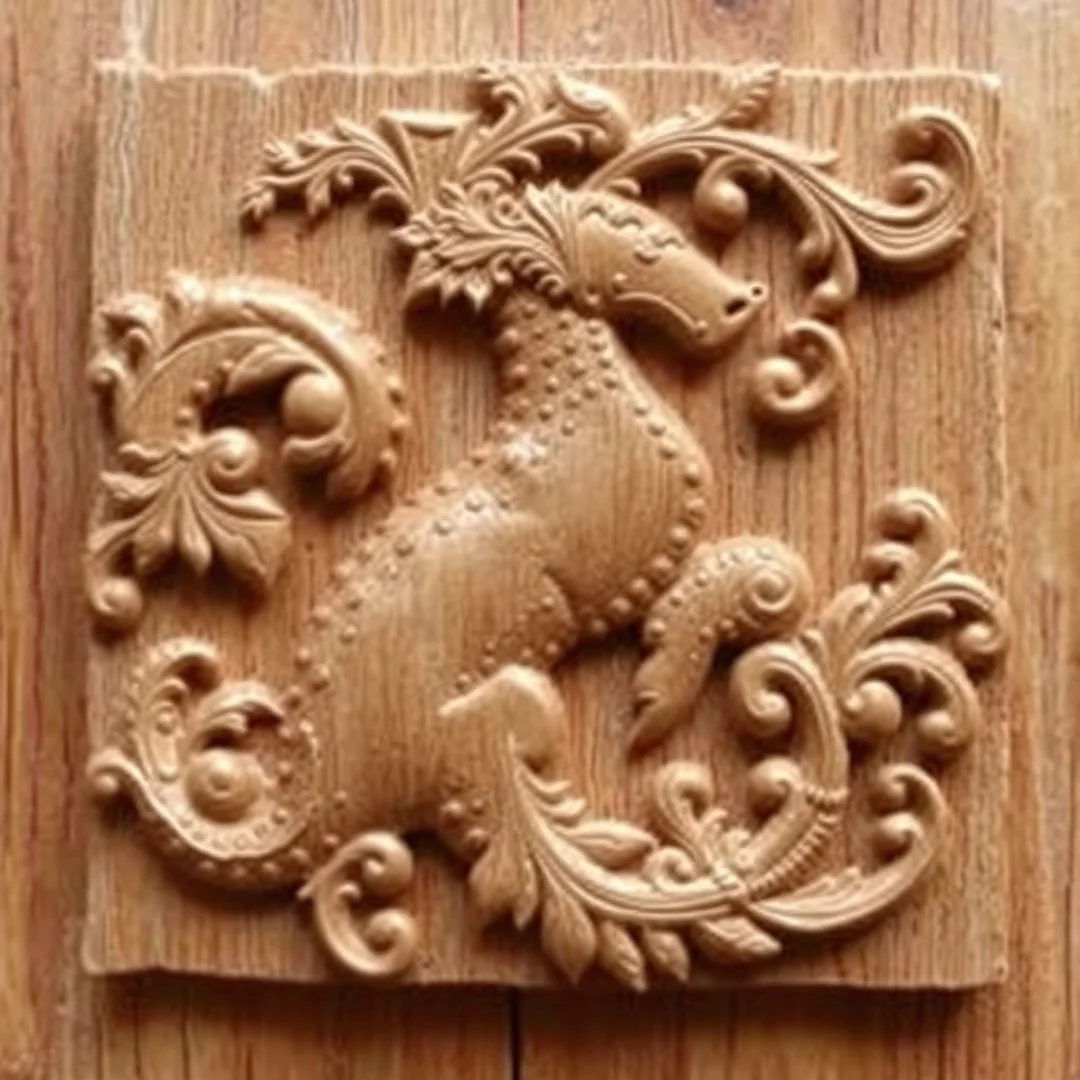
I find that carving into leather hard clay feels much more rewarding than simply painting on a flat surface. This technique is a standout among 20 Pottery Painting Ideas for Stunning Designs because it reveals the raw clay body beneath your colored underglaze. You should apply three thin coats of underglaze to your bisque or greenware before you start carving. Using a sharp needle tool, you can scratch away lines to expose the base color, which creates a sharp contrast. Mastering complex color blending requires you to layer different shades of underglaze before scratching, allowing the kiln firing process to fuse the colors into a professional finish. Do not be afraid of pushing your design boundaries by experimenting with 1 millimeter wide lines. This level of detail transforms simple ceramic bowls into high end art pieces that look like they belong in a professional gallery.
For another perspective, this detailed piece on 20 Creative Pottery Painting Ideas is worth a read.
FAQ
Are these designs food safe?
Your pieces are only food safe if you use non-toxic, lead-free glazes and follow the firing process in a professional kiln. Always check the label on your materials to ensure they are specifically marked as dinnerware safe for your 20 Pottery Painting Ideas for Stunning Designs.
How do I fix mistakes?
If you make a smudge on your bisque, wait for the area to dry completely and gently scrape the paint away with a small needle tool or a clean, damp sponge. Keeping a damp cotton swab nearby is the best way to clean up edges before the piece heads to the kiln for its final firing.
Difference between bisque and glaze?
Bisque is unglazed ceramic ware that has already been fired once in a kiln, making it porous and ready to absorb your color. Glaze is a glass-like coating applied over your design that turns into a protective, waterproof surface once it goes through the final high-temperature firing.
Best tip for beginners?
To avoid visible brush strokes, apply three thin layers of underglaze rather than one thick coat, letting the piece dry between each application. You should aim to overlap your strokes slightly to ensure an even finish that looks professional and smooth.
What supplies do I need?
Start with a set of at least 5 synthetic brushes in various sizes and a few fine-tip sponges for texture. If you plan to create intricate patterns, a pack of masking tape costs around $4 and helps keep your lines sharp and professional.
You might also like: 17 Pottery Vase Painting Ideas For Home Decor
Key Takeaways
As autumn leaves begin to fall, it is the perfect time to head to a cozy pottery studio and try these 20 Pottery Painting Ideas for Stunning Designs.
- Prep your bisque by wiping it with a damp sponge to remove dust before you start, which ensures your underglaze applies evenly without spots.
- Use color theory to create a professional set by sticking to a 3-color palette, like navy, cream, and mustard, for a cohesive look on your ceramic bowls.
- Control your lines by applying 1-inch wide masking tape to your mug, creating crisp geometric edges that look like they came from a high-end shop.
- Master your brushes by using synthetic bristles for smooth coverage and light pressure to avoid visible brush strokes on your final piece.
- Choose simple patterns like dots or stripes when starting out, as these beginner friendly pottery designs offer high impact with low stress.
Save this guide to your favorite Pinterest board for your next creative weekend.