15 How To Decoupage With Fabric Step By Step Beginner Guide
Introduction
You can turn a scratched, outdated nightstand into a custom showpiece for under $20 using our 15 How to Decoupage with Fabric Step by Step Beginner Guide. Fabric decoupage completely changes old furniture by adding soft textures and bold patterns that paint alone simply cannot replicate. It hides deep wood imperfections while giving your room a cozy, professional look.
Getting started requires only a few basic supplies you likely have at home. You will need a bottle of Mod Podge, a sharp pair of fabric scissors, and a standard foam brush to spread your adhesive smoothly. I recommend starting with thin cotton fabric because it saturates well without becoming too bulky or stiff. This DIY fabric decoupage guide breaks down the entire process into manageable stages so you can achieve a smooth, bubble-free finish on your very first try.
Selecting Right Fabric
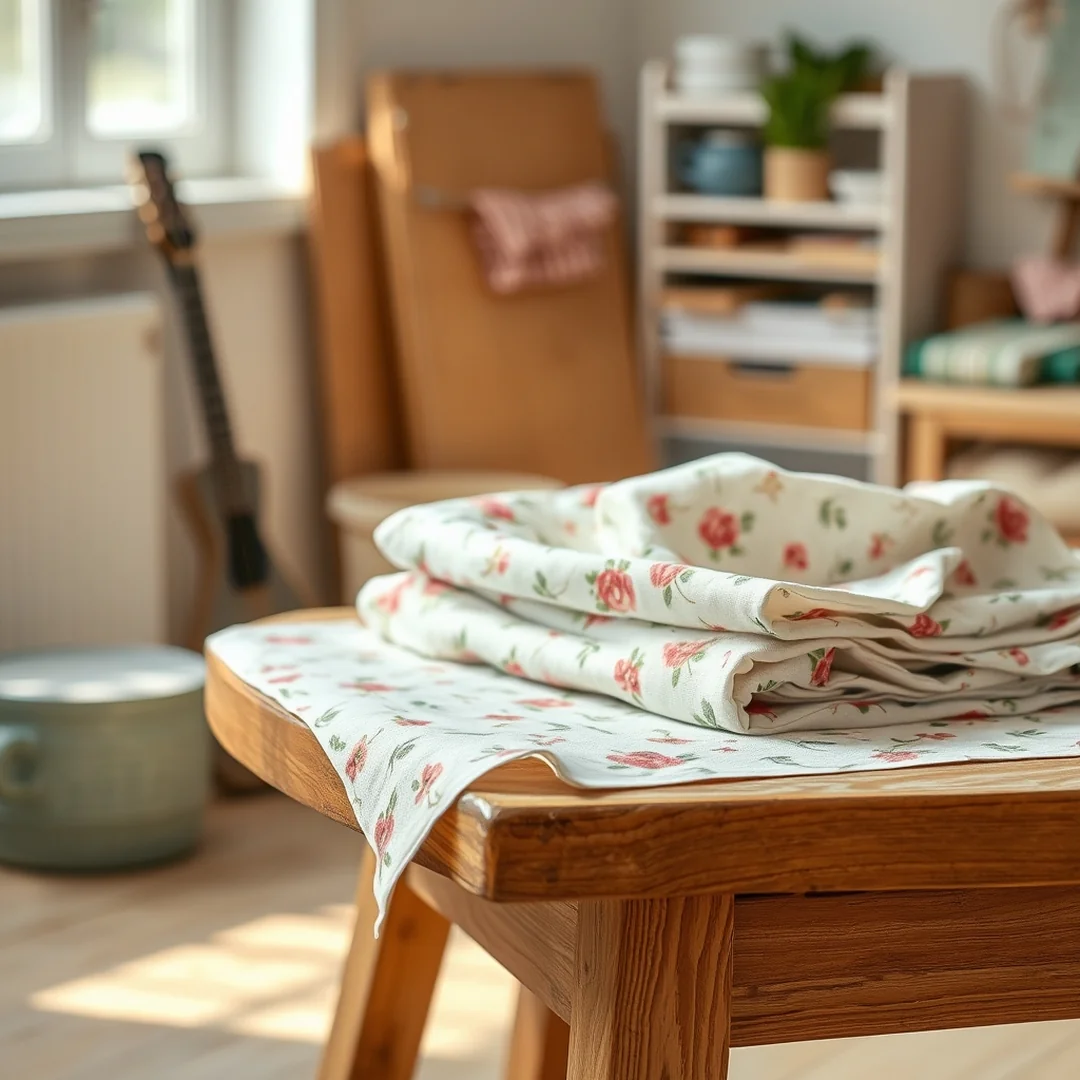
You might feel tempted to grab that thick velvet remnant from your craft bin, but thin 100 percent cotton fabric is the secret to success when you start your 15 How to Decoupage with Fabric Step by Step Beginner Guide. Thin cotton absorbs the Mod Podge evenly without becoming stiff or bulky. It follows the curves of your wood furniture and lays flat against the surface, making it much easier to achieve a professional finish on your first try.
Avoid heavy upholstery materials because they act like a sponge. These thick fabrics soak up way too much adhesive, which often leads to soggy patches and uneven drying. You will struggle to get the air bubbles out when the fabric is too heavy and dense. If the material is thicker than a standard bedsheet, it is likely too difficult for a beginner project.
- Stick to lightweight prints or solid cotton weaves.
- Ensure the fabric is clean and pressed before you begin.
- Avoid stiff canvas or denim for your initial attempts.
I always recommend spending about $5 on a new fat quarter of quilting cotton to test your technique. This thin material creates a smooth bond that looks like paint once you apply your final sealer.
Surface Preparation Steps
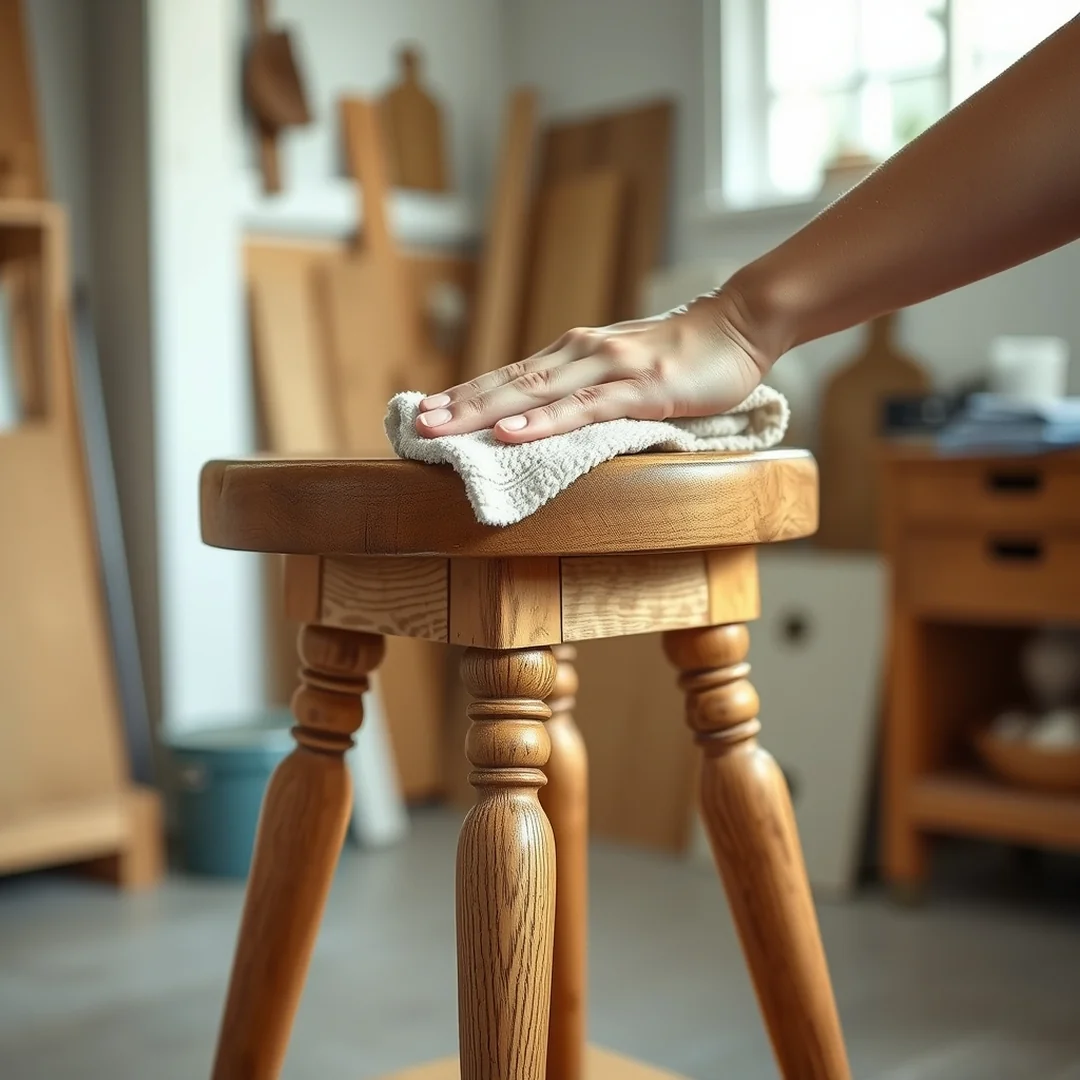
Do you want your project to last for years without peeling? Following this 15 How to Decoupage with Fabric Step by Step Beginner Guide starts with making sure your wood furniture is perfectly clean and smooth before you apply any Mod Podge.
Start by wiping the entire surface with a damp cloth to remove dust and grime. If you skip this, dirt particles will get trapped under your cotton fabric and create tiny bumps. If the wood has a glossy or old finish, you must use 120-grit sandpaper to scuff the surface. This creates small grooves that help the glue grip the wood properly. You do not need to strip the wood down to the raw grain, but you should sand it until the surface looks dull.
After sanding, use a vacuum or a sticky tack cloth to remove every bit of sawdust. Any remaining grit will ruin the smooth look of your final piece. Once the wood is clean and dry, it is ready for your adhesive. Taking these steps now prevents the fabric from lifting later, which is the most common mistake for beginners.
Prewashing Your Fabric
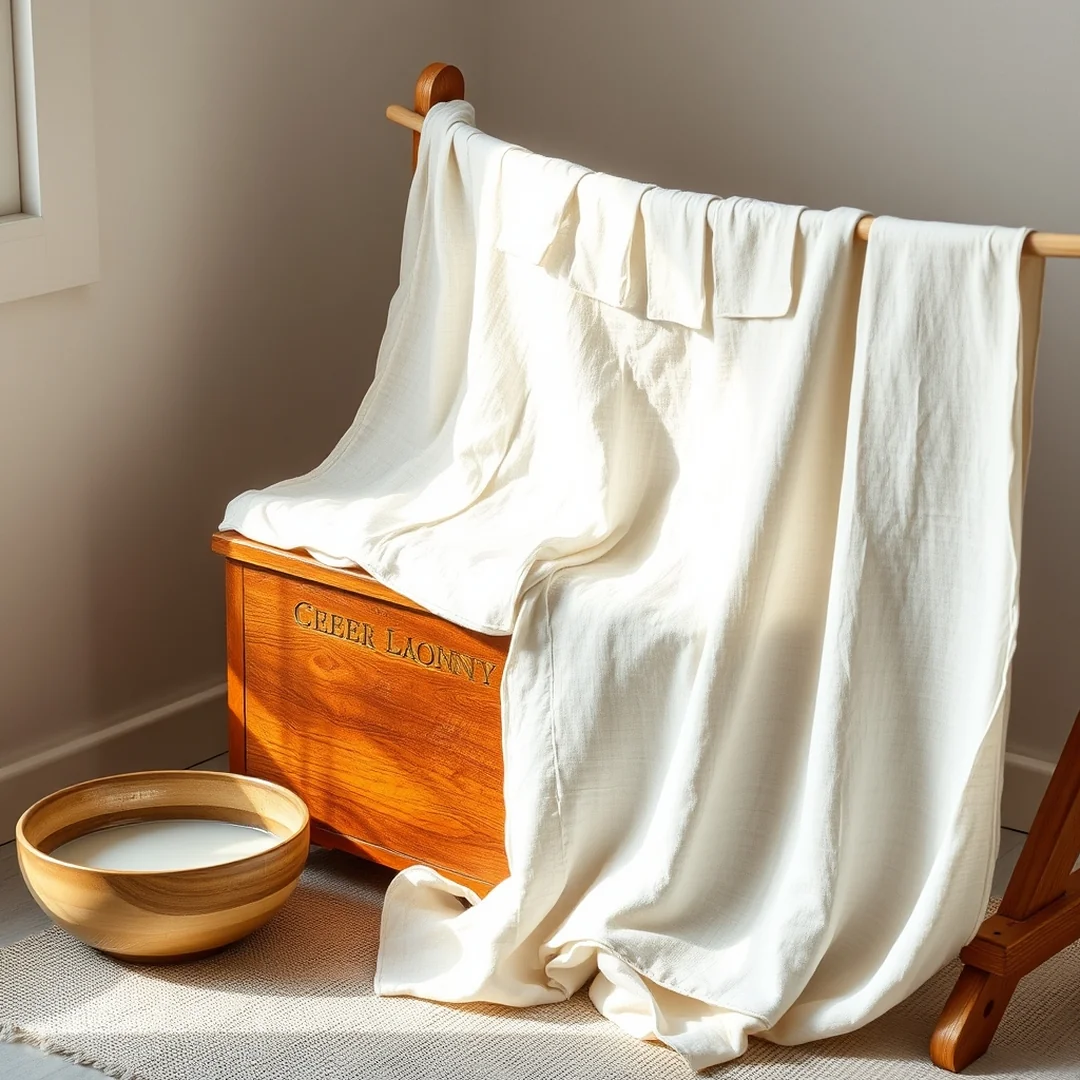
Many crafters assume new material is ready for glue, but skipping the wash cycle often leads to bubbling later. You should always remove the sizing from your material to ensure the adhesive actually bonds to the fibers instead of sitting on a waxy factory coating. This is a critical step in my 15 How to Decoupage with Fabric Step by Step Beginner Guide that prevents the fabric from peeling away from wood furniture after a few months.
Wash your 100 percent cotton fabric in the washing machine using warm water and no fabric softener. Softeners leave a residue that acts as a barrier against Mod Podge. After washing, place the fabric on an ironing board and press it until it is perfectly flat. This removes wrinkles that would otherwise hide under your adhesive and cause uneven pattern alignment. If you cut the fabric while it is still wrinkled, your finished design will look distorted once you apply it to the surface.
Spending just 15 minutes on this prep work makes a huge difference in the final texture of your project. Ironed fabric creates a smooth surface that is much easier to manage when you start applying it to your base.
Applying Adhesive Medium
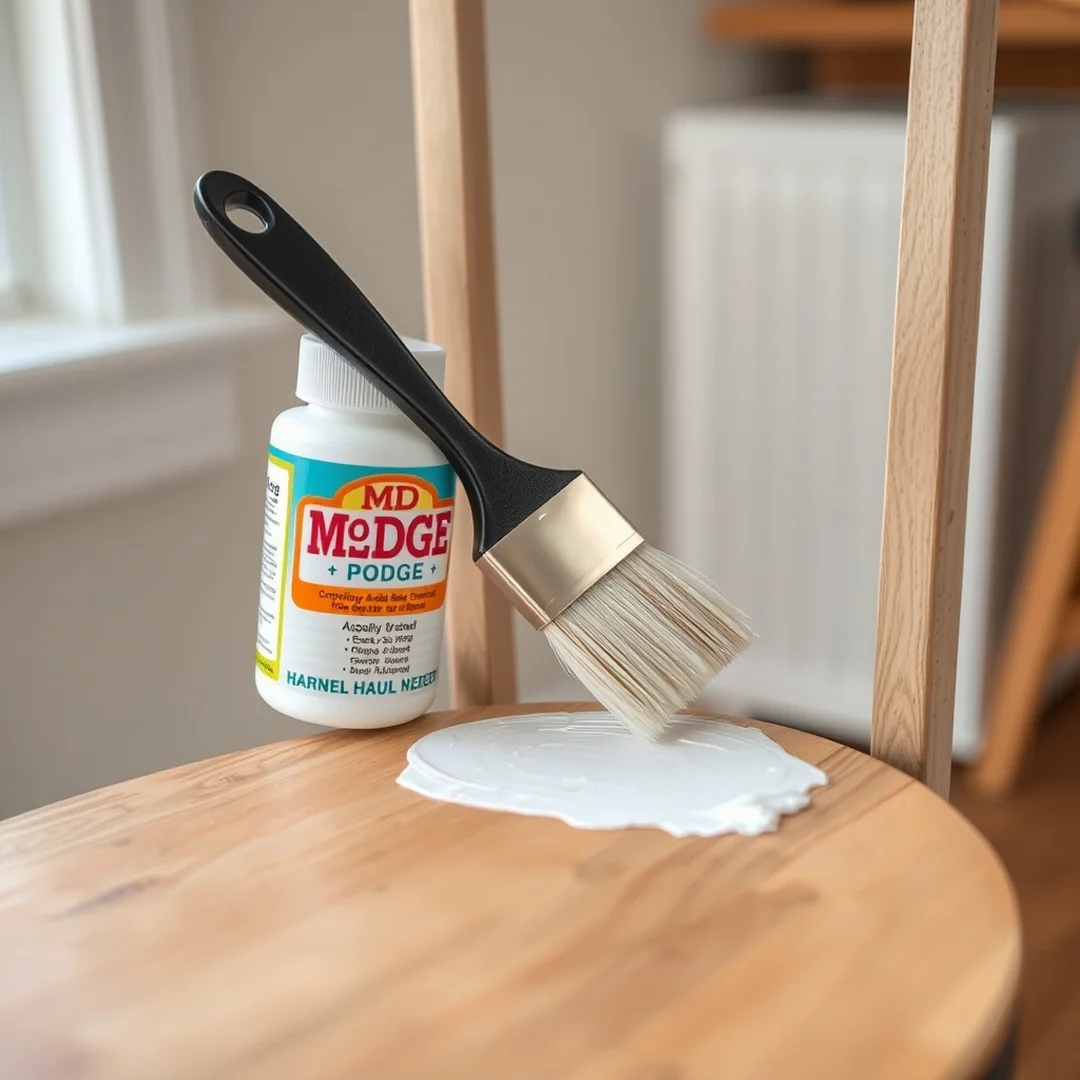
I have found that using the right amount of glue is the difference between a smooth finish and a lumpy, frustrating mess. Following this 15 How to Decoupage with Fabric Step by Step Beginner Guide, you should start by applying a thin, even coat of Mod Podge directly to your wooden surface using a 2-inch foam brush.
If you apply the adhesive too thickly, the fabric will soak up the excess glue and become stiff, which makes it hard to smooth out later. I suggest working in small sections so the glue doesn’t dry before you place your material down. Once the surface is coated, gently lay your cotton fabric over the wet glue. Using a brayer is the best way to press the cloth firmly into the adhesive and push out any trapped air.
- Keep your layer of glue thin to prevent unsightly bubbling underneath the fabric.
- Ensure the entire surface is covered so you don’t have dry patches or loose edges.
- Avoid using a brush that sheds, as loose bristles can get caught under your material.
This method ensures a professional bond that stands up to daily wear.
Smoothing Fabric Down
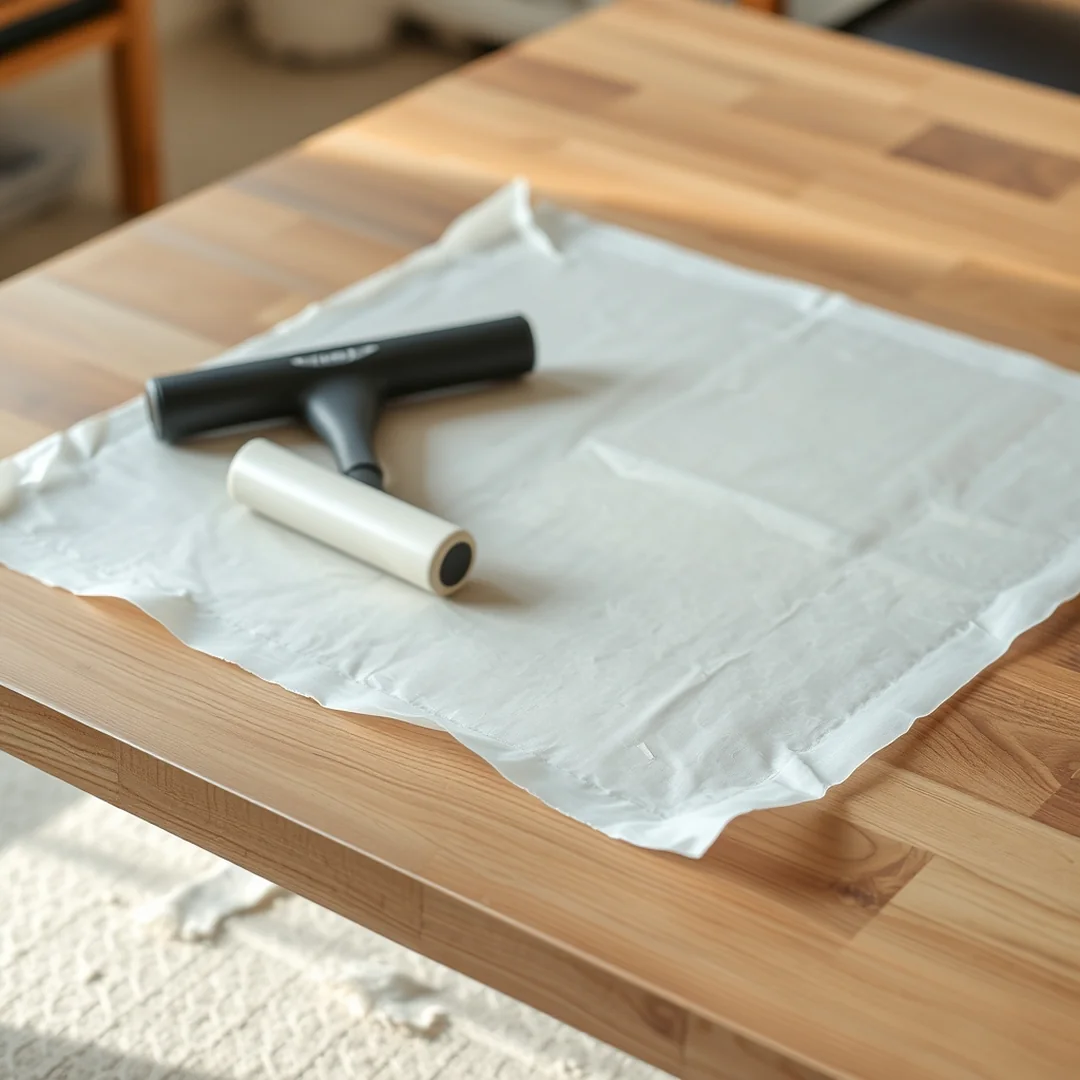
Place a sheet of parchment paper over your wet material before you start to protect the surface from snagging. This simple trick is essential for anyone following this 15 How to Decoupage with Fabric Step by Step Beginner Guide to ensure a clean finish without damaging delicate fibers.
Use a brayer to firmly push out any trapped air bubbles or excess glue. Always start your motion from the center of the piece and roll slowly toward the outer edges. This method forces air out from underneath the fabric instead of trapping pockets against the wood furniture. If you push toward the middle, you will likely create ripples that are difficult to remove later.
Apply steady pressure with your tool across the entire area. A quality rubber brayer usually costs about $8 and works better than using your hands or a cloth. If you notice a stubborn bubble that refuses to move, carefully lift that edge of the fabric, apply a tiny bit more Mod Podge with a small brush, and roll the area again. Take your time during this stage to ensure the cotton fabric adheres perfectly flat to the surface.
Managing Pattern Alignment
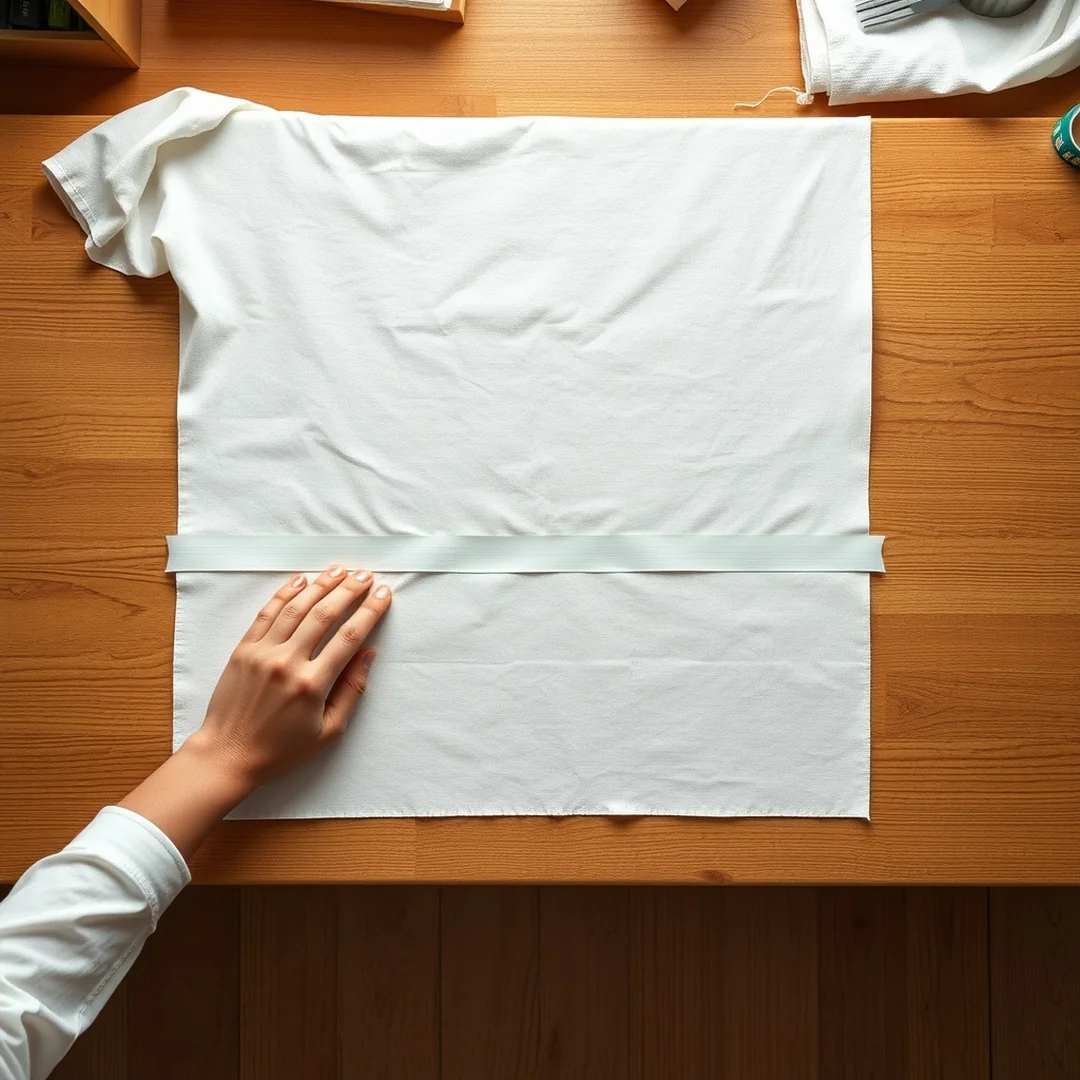
Spring cleaning is the perfect time to refresh your space, and this 15 How to Decoupage with Fabric Step by Step Beginner Guide ensures your patterns stay perfectly straight. Start by laying your cotton fabric over your wood furniture while it is dry. Use a piece of masking tape to mark the center point on both the fabric and the surface. This simple step prevents the print from shifting while you apply your Mod Podge.
If your furniture project requires more than one sheet of material, prioritize matching patterns at the most visible seam. Overlap the edges by exactly 1 inch to ensure the design flows seamlessly across the joint. Once the fabric is positioned, use a sharp utility knife to cut through both layers at once. Peel away the excess strips and press the edges together for a professional finish that hides the seam.
- Always iron your fabric flat before cutting to remove stubborn wrinkles.
- Use a brayer to push air bubbles toward the edges for a smooth surface.
- Check the pattern repeat on your fabric roll before you make your first cut.
Following these steps helps you maintain control, even if you are new to this craft.
Trimming Fabric Edges
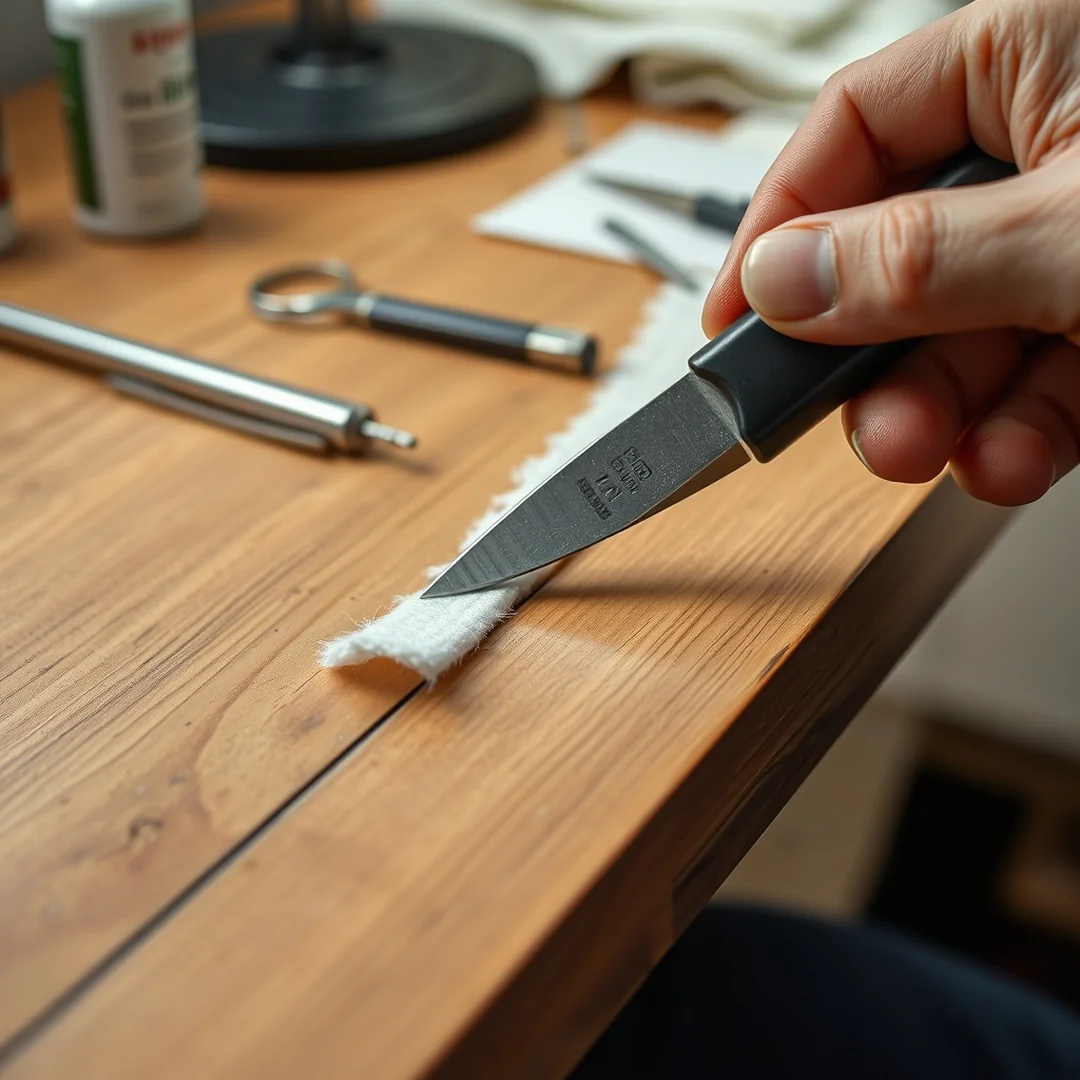
Buying a $15 precision utility knife is much cheaper than replacing a ruined project because of jagged, uneven fabric edges. As you follow this 15 How to Decoupage with Fabric Step by Step Beginner Guide, precision is your best friend when working with cotton fabric. Once your adhesive has dried completely, hold your knife at a 45-degree angle against the edge of your wood furniture. Use light, steady pressure to slice through the excess material in one smooth motion. This prevents the fabric from bunching up or tearing away from the surface.
To keep your edges looking crisp, you must prevent fraying. If you leave the raw edges exposed, they will eventually lift or unravel from friction during daily use. Follow these two steps to lock the fibers in place:
- Apply a thin layer of Mod Podge directly over the cut edge using a fine-tipped foam brush.
- Let the glue dry for at least 30 minutes before applying your final polyurethane sealer to ensure a durable, wipeable finish.
This simple sealing technique ensures your DIY decor stays neat, even if your furniture sits in a busy hallway.
Handling Curved Surfaces
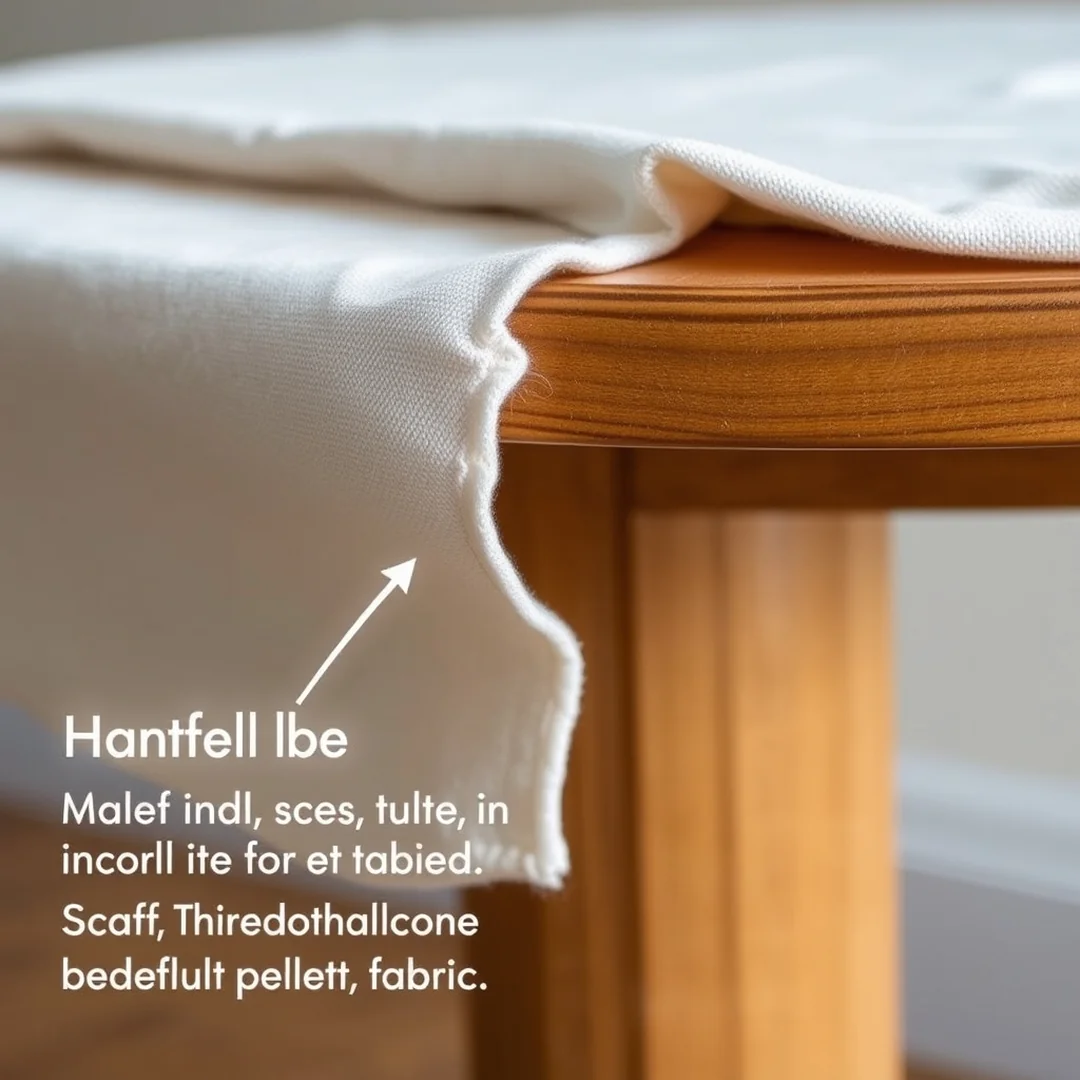
You can successfully cover rounded edges by making small relief cuts every 1/2 inch along the fabric overhang. These tiny slits allow the material to overlap neatly without creating bulky ripples or unsightly puckers. Since fabric lacks the flexibility of paper, these cuts are vital for achieving a smooth, professional finish when following this 15 How to Decoupage with Fabric Step by Step Beginner Guide.
Working in small sections is the best way to maintain control over the pattern alignment. Apply your Mod Podge to a 4-inch area at a time and press the cotton fabric down firmly. If you try to glue the entire piece at once, the fabric may shift or gather in places you cannot reach. I have found that using a clean brayer helps press the fabric into the curves, ensuring a tight bond against the surface. If you notice a stubborn bubble forming near a curve, use a sharp utility knife to make a pinprick, then gently smooth the area again. Keep your sections manageable to ensure the glue does not dry before you have properly positioned the fabric over those tricky corners.
Removing Air Bubbles
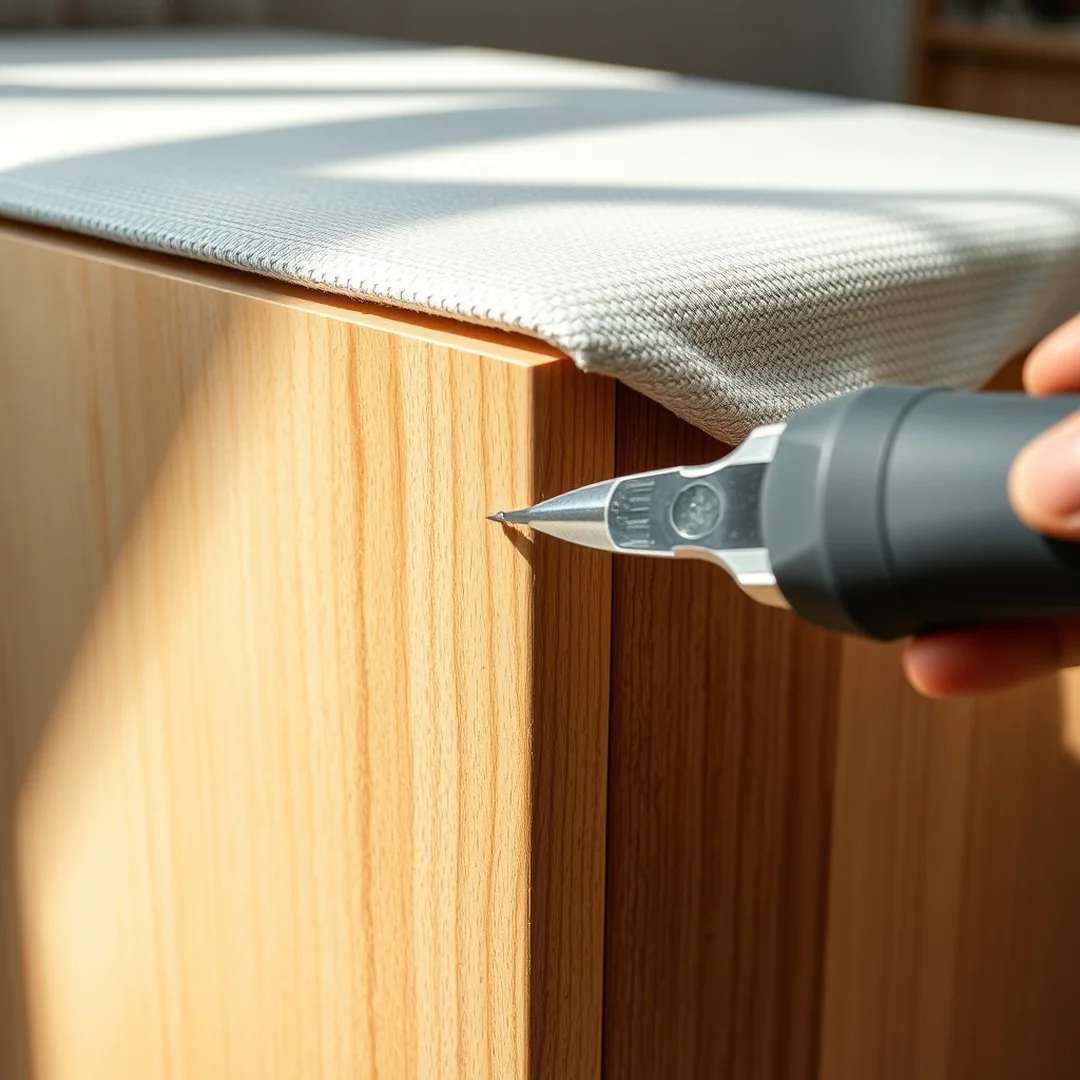
You might notice a small bump forming under your cloth as you follow this 15 How to Decoupage with Fabric Step by Step Beginner Guide. It happens even to pros when applying Mod Podge to wood furniture. If you spot a bubble, take a sharp utility knife and poke one tiny hole directly into the center of the trapped air. Press down gently with your finger or a clean cloth to push the air out through the opening. Once the air is gone, dab a minuscule amount of glue over the hole to seal it shut.
If the bubble is larger and the glue has already started to set, you can use heat to fix the surface. Place a piece of parchment paper over the area to protect your fabric. Set your iron to a low, dry heat and press firmly for about 10 seconds. This reactivates the adhesive medium underneath, allowing you to smooth out the ripples using a brayer. Work from the center of the bubble outward to ensure a flat, professional finish. This simple technique keeps your project looking smooth and prevents the fabric from peeling over time.
Sealing Your Project
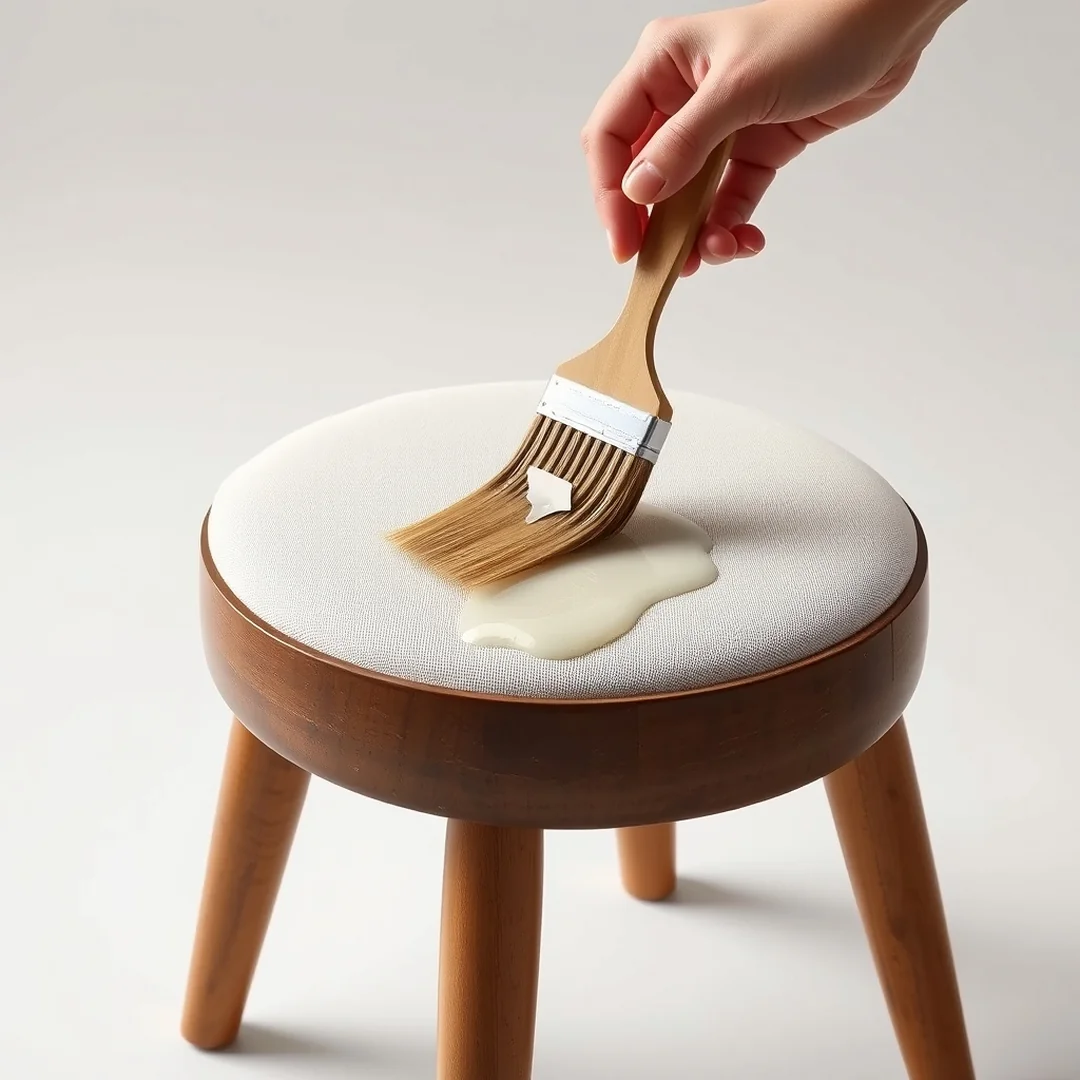
Do you want your hard work to last for years of daily use? Applying a polyurethane sealer is the final step in my 15 How to Decoupage with Fabric Step by Step Beginner Guide to ensure your piece is durable and easy to clean.
Once your Mod Podge is fully dry, which takes about 24 hours, you should apply a clear finish to protect the fabric. I suggest using a water based polyurethane because it won’t yellow over time like oil based options. Use a clean, soft bristle brush to apply a thin, even coat across the entire surface. This creates a wipeable surface that lets you remove dust or spills with a damp cloth without damaging the fabric fibers underneath.
For high traffic items like side tables or trays, I recommend applying at least 3 coats of sealer. Make sure to lightly sand with fine grit sandpaper between layers to keep the texture smooth. This sealing process turns your project into a functional piece of furniture that stands up to regular wear. It is the best way to lock in your design and keep the cotton fabric looking fresh for a long time.
Applying Multiple Coats
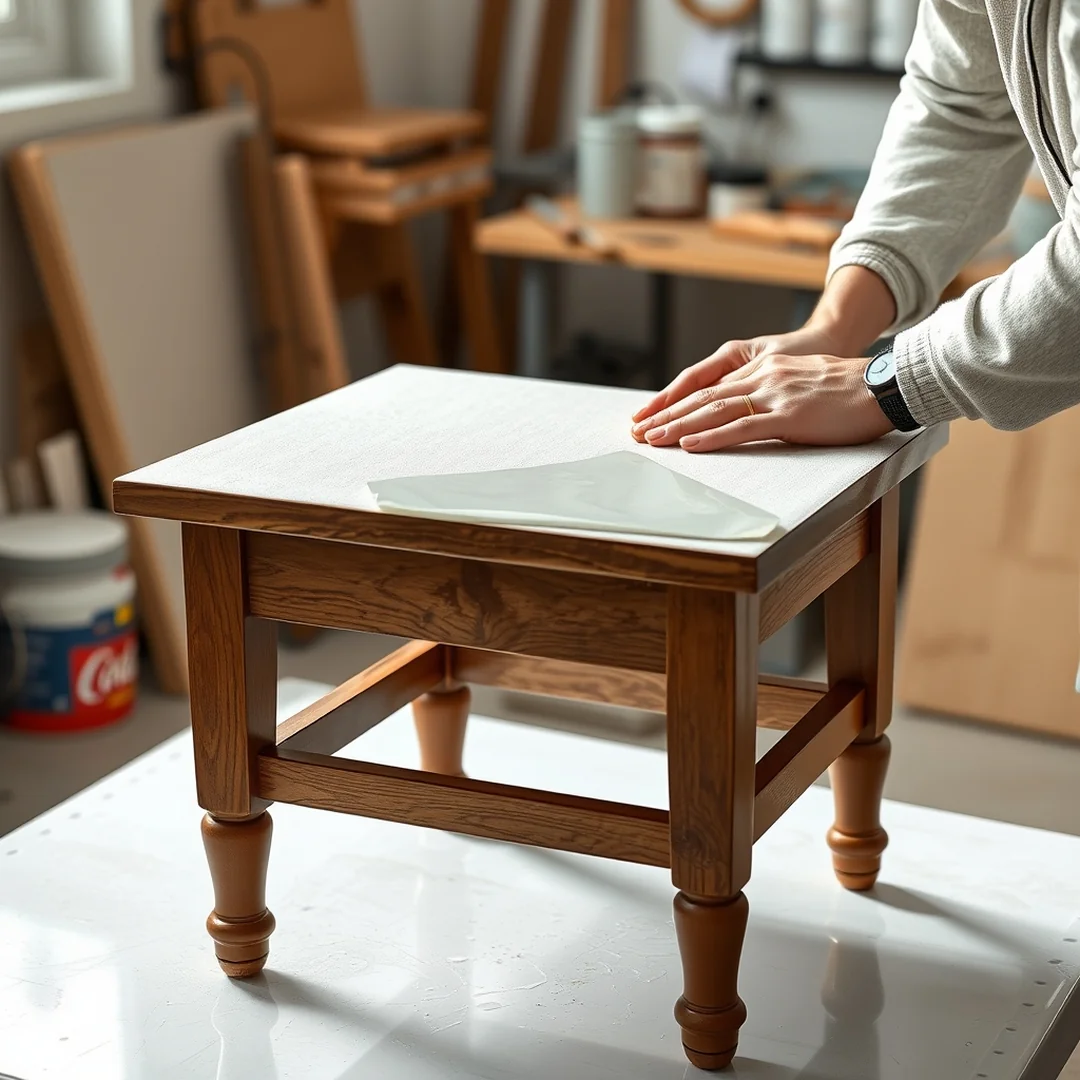
You might think one layer of sealer is enough, but a single coat leaves the fabric texture exposed and prone to stains. Applying three layers of sealer is the secret to a professional finish when you follow this 15 How to Decoupage with Fabric Step by Step Beginner Guide. The extra coats create a smooth, protective shell that makes your piece wipeable and durable for daily use.
Use a high-quality polyurethane sealer to ensure your hard work lasts. I suggest waiting at least 4 hours between each application to allow the previous layer to cure completely. If you rush this process, the moisture can cause the fabric to lift or bubble, ruining your smooth surface. Always use a clean foam brush for each layer to prevent streaks from old glue residue.
- Apply a thin, even coat using long strokes.
- Check the surface for missed spots under good lighting.
- Sand lightly with fine-grit sandpaper between the second and third coats for a glass-like feel.
This patience ensures your decoupage furniture with fabric tutorial results in a long-lasting piece. Even if you are tempted to speed things up, respecting the cure time is the only way to avoid a tacky, uneven mess.
Drying Time Requirements
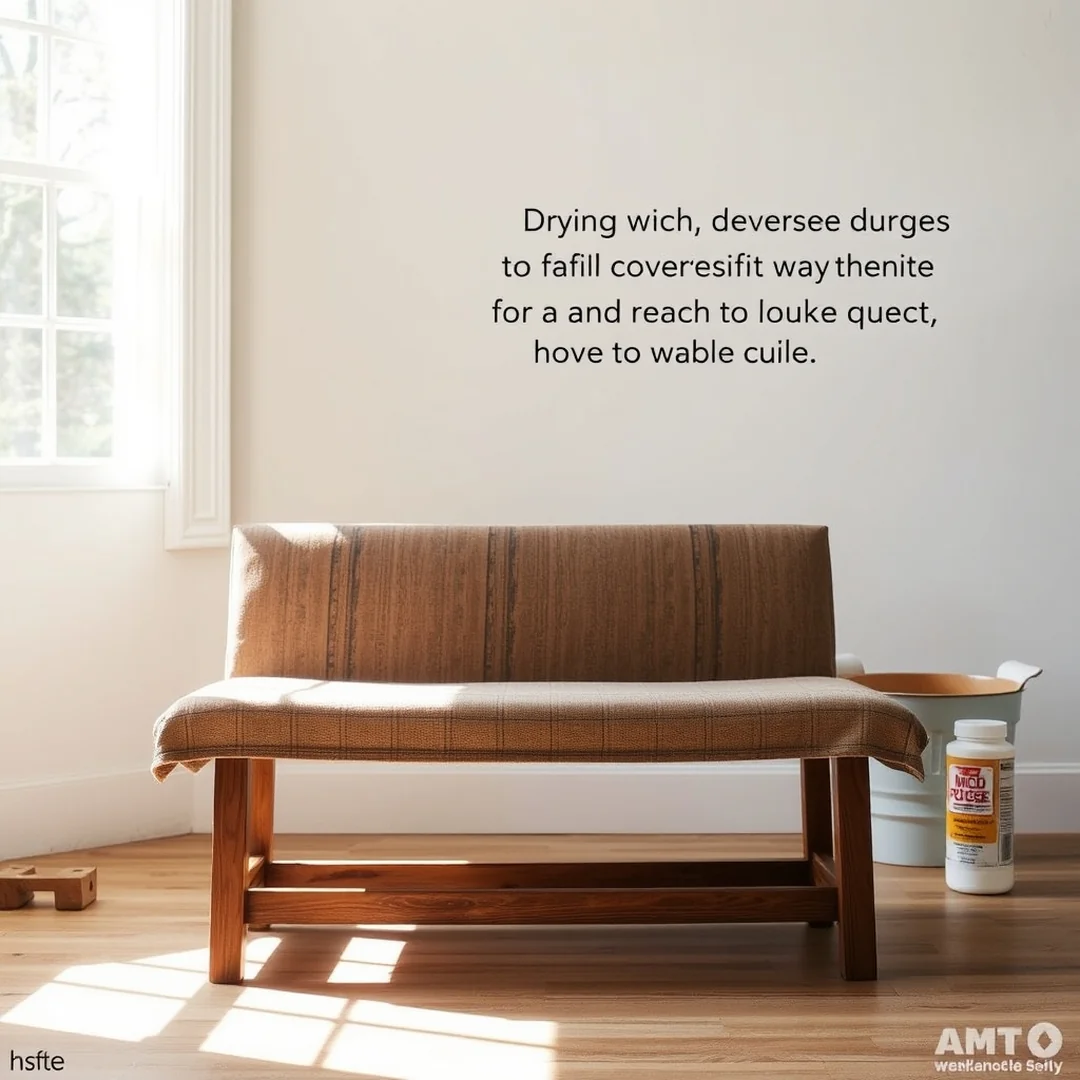
I have learned the hard way that rushing the drying process is the quickest way to ruin a project. You should wait at least 24 hours for the Mod Podge to cure completely before you attempt to seal your piece. Following this 15 How to Decoupage with Fabric Step by Step Beginner Guide ensures your fabric bonds securely to the wood without lifting later.
If you notice the fabric edges look a bit raw or don’t sit perfectly flush against the wood furniture, using acrylic paint is a clever trick. I usually pick a shade that matches the background color of my cotton fabric. Use a thin artist brush to dab the paint where the fabric meets the wood. This creates a soft transition that hides any uneven cuts or fraying threads. Just make sure the paint is dry before you add your final polyurethane sealer.
Choosing paint that perfectly matches your pattern makes the fabric look like it was printed directly onto the surface. If you try to seal the project before the adhesive is dry, you might trap moisture underneath, which leads to bubbles or peeling. Patience here really pays off with a professional finish.
Decorating Glass Items
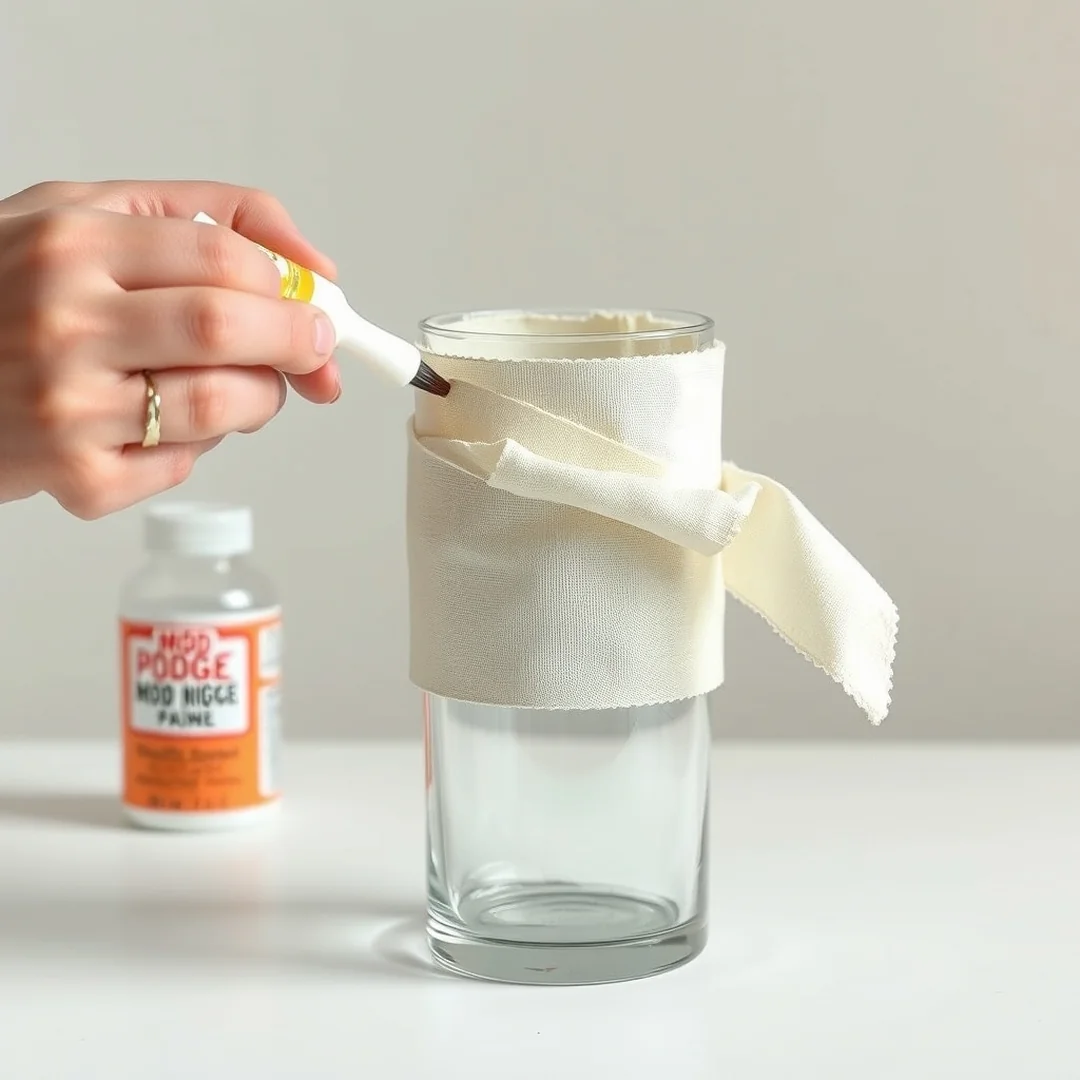
Use a thin layer of Mod Podge on your glass vase to prevent the glue from soaking through and stiffening the material. This ensures your project stays flexible while adhering firmly to the surface. When you follow this 15 How to Decoupage with Fabric Step by Step Beginner Guide, always choose a lightweight cotton fabric because heavy textiles refuse to conform to tight curves.
Start by applying the adhesive directly to the glass with a foam brush. Lay your fabric down and work from the center outward to push away trapped air. To keep the fabric tight against smooth curves, use a small rubber brayer to apply even pressure across the entire surface. If you see a bubble that won’t budge, carefully prick it with a pin and press the fabric back down.
- Cut your fabric into 2 inch wide strips to make wrapping rounded glass easier.
- Trim excess material with sharp fabric scissors once the glue is tacky but not fully dry.
- Overlap seams by 1/8 of an inch for a clean look.
- Let the piece sit for 24 hours to ensure the bond is permanent before you add a sealer.
Troubleshooting Common Mistakes
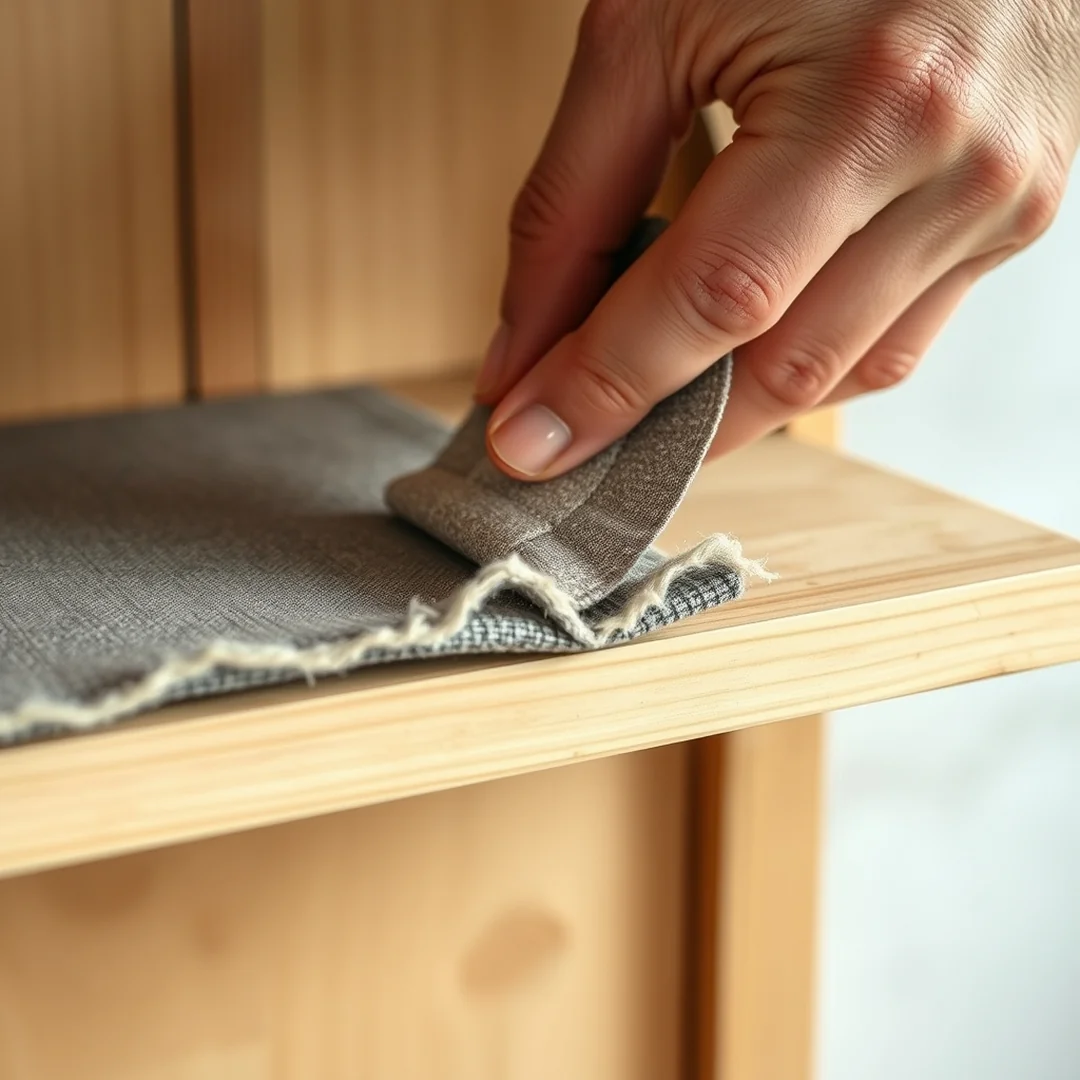
Spring is the perfect time to refresh your home decor, but even when you follow the 15 How to Decoupage with Fabric Step by Step Beginner Guide, minor issues can appear. If your fabric edges look messy or frayed after the adhesive dries, do not peel the material off. Instead, use fine grit sandpaper with a 220-grit rating to gently buff the dried edges. This creates a clean, professional line without pulling at the fibers of your cotton fabric.
Another frequent frustration involves hardware such as drawer pulls or knobs. It is easy to accidentally get Mod Podge on these parts while you work. If you notice sticky residue near your furniture handles, wipe it away immediately with a damp cloth before it cures. Using a soft touch when working around these metal pieces prevents unwanted build-up that looks sloppy. If the glue has already hardened, a small utility knife can help you carefully trim the fabric away from the hardware base. Taking these extra steps ensures your final project looks intentional and polished, turning a simple DIY task into a piece that looks like it came from a high-end furniture store.
Final Fabric Decoupage Tips
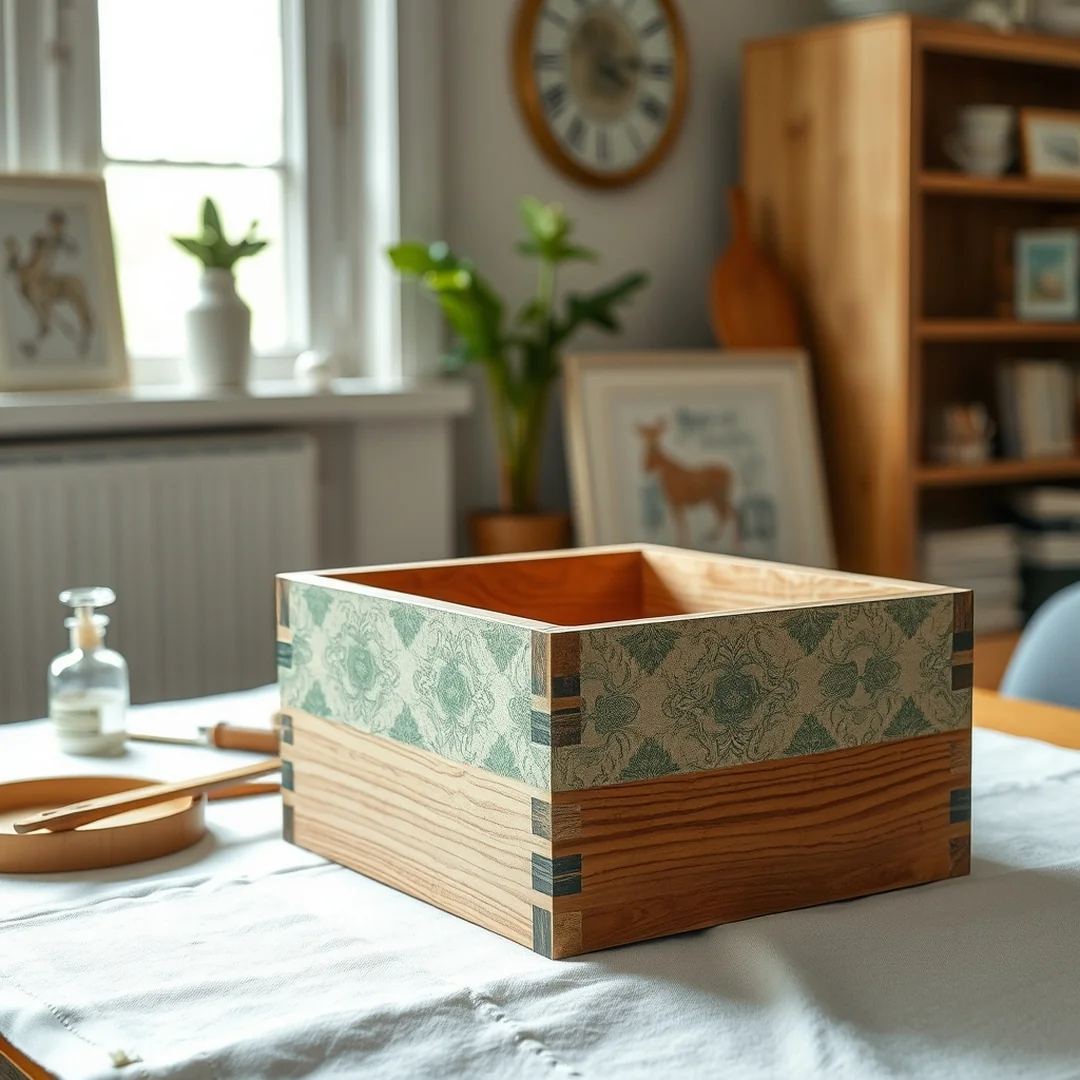
Fabric projects often cost under $15 for materials, making them far cheaper than buying new home decor items. Following this 15 How to Decoupage with Fabric Step by Step Beginner Guide ensures your piece looks polished rather than homemade. Before you add your top coat, hold your project under a bright light to check for dry spots where the glue didn’t fully saturate the material. If you see light areas, use a small foam brush to dab a tiny amount of Mod Podge under the fabric edge and press it down firmly.
For lasting results, always let your project cure for at least 24 hours before applying a final polyurethane sealer. This waiting period prevents the fabric from shifting or bubbling while you work. If you notice a small bubble after the glue dries, take a sharp utility knife to make a tiny slit and inject a drop of adhesive. Use a brayer to push the air out toward the cut. Proper sealing turns your fabric into a durable surface that you can easily wipe clean with a damp cloth. Always keep these steps in mind to ensure your DIY creation stays beautiful for years.
For another perspective, this detailed piece on How to Decoupage Furniture with Fabric – Tanglewood Works is worth a read.
FAQ
Do I need to wash fabric first?
You should always wash your cotton fabric before starting your project to remove any factory sizing or finishes. This simple step prevents the material from shrinking later when it absorbs the moisture from your adhesive.
Can I use regular wood glue?
Standard wood glue is often too thick and dries with a yellow tint that ruins your design. Stick to a dedicated Mod Podge formula designed for fabric to ensure a clear finish and proper flexibility.
How do I fix frayed edges?
Trim any loose threads with sharp fabric scissors and apply a very thin bead of glue along the cut edge before pressing it down. Using a brayer to roll over the edges helps lock the fibers in place for a clean, professional look.
Is fabric suitable for curved surfaces?
Yes, but you must choose a thin, lightweight material that can stretch slightly without bunching up. Make small relief cuts in the fabric to help it wrap around curves smoothly, then use a foam brush to press it firmly into place.
How many sealer coats for high traffic?
For furniture that sees daily use, apply at least 3 coats of a high-quality polyurethane sealer over your fabric. Following our 15 How to Decoupage with Fabric Step by Step Beginner Guide ensures each layer cures fully, creating a durable surface that you can easily wipe clean with a damp cloth.
You might also like: 18 Upcycle Lampshade Ideas Transform Any Room Easily
Key Takeaways
Following this 15 How to Decoupage with Fabric Step by Step Beginner Guide helps you turn worn furniture into custom decor without common mistakes.
- Thin cotton fabric is the best material for beginners because it absorbs glue evenly and adheres smoothly to wood.
- Surface preparation remains critical, so use 120-grit sandpaper to rough up your wood before applying any adhesive.
- Use a brayer to push out trapped air bubbles immediately after laying down your fabric to ensure a professional finish.
- Proper sealing with at least 3 thin coats of polyurethane sealer ensures your fabric decoupage project lasts for years in high-traffic areas.
- Trim fabric edges using a sharp utility knife once the Mod Podge is fully dry to prevent fraying and maintain crisp lines.
- Apply adhesive sparingly using a foam brush to keep the fabric flexible rather than stiff.
Save this guide to your Pinterest board to keep these tips handy for your next DIY project.